


HDR looks dim or flat when the content, system settings, monitor mode, tone mapping, room lighting, or panel hardware are not aligned. Certification confirms a tested performance tier, but it does not guarantee that every game, stream, desktop app, cable path, and picture mode will deliver the same punch.
Does your certified monitor make explosions look gray, night scenes muddy, or streaming movies less vivid than SDR? A five-minute check of system HDR, the monitor’s picture mode, and the HDR/SDR brightness balance can often separate a real panel limitation from a simple setup mismatch. You’ll leave with a practical way to diagnose the weak link and tune the screen for gaming, work, and video without chasing fake brightness.
Why a Certified HDR Monitor Can Still Look Underwhelming
Certification is a performance floor, not a magic switch. The DisplayHDR certification program helps reduce confusion around HDR monitor claims by testing luminance, color gamut, bit depth, and response behavior, but different certification levels still represent very different real-world experiences.
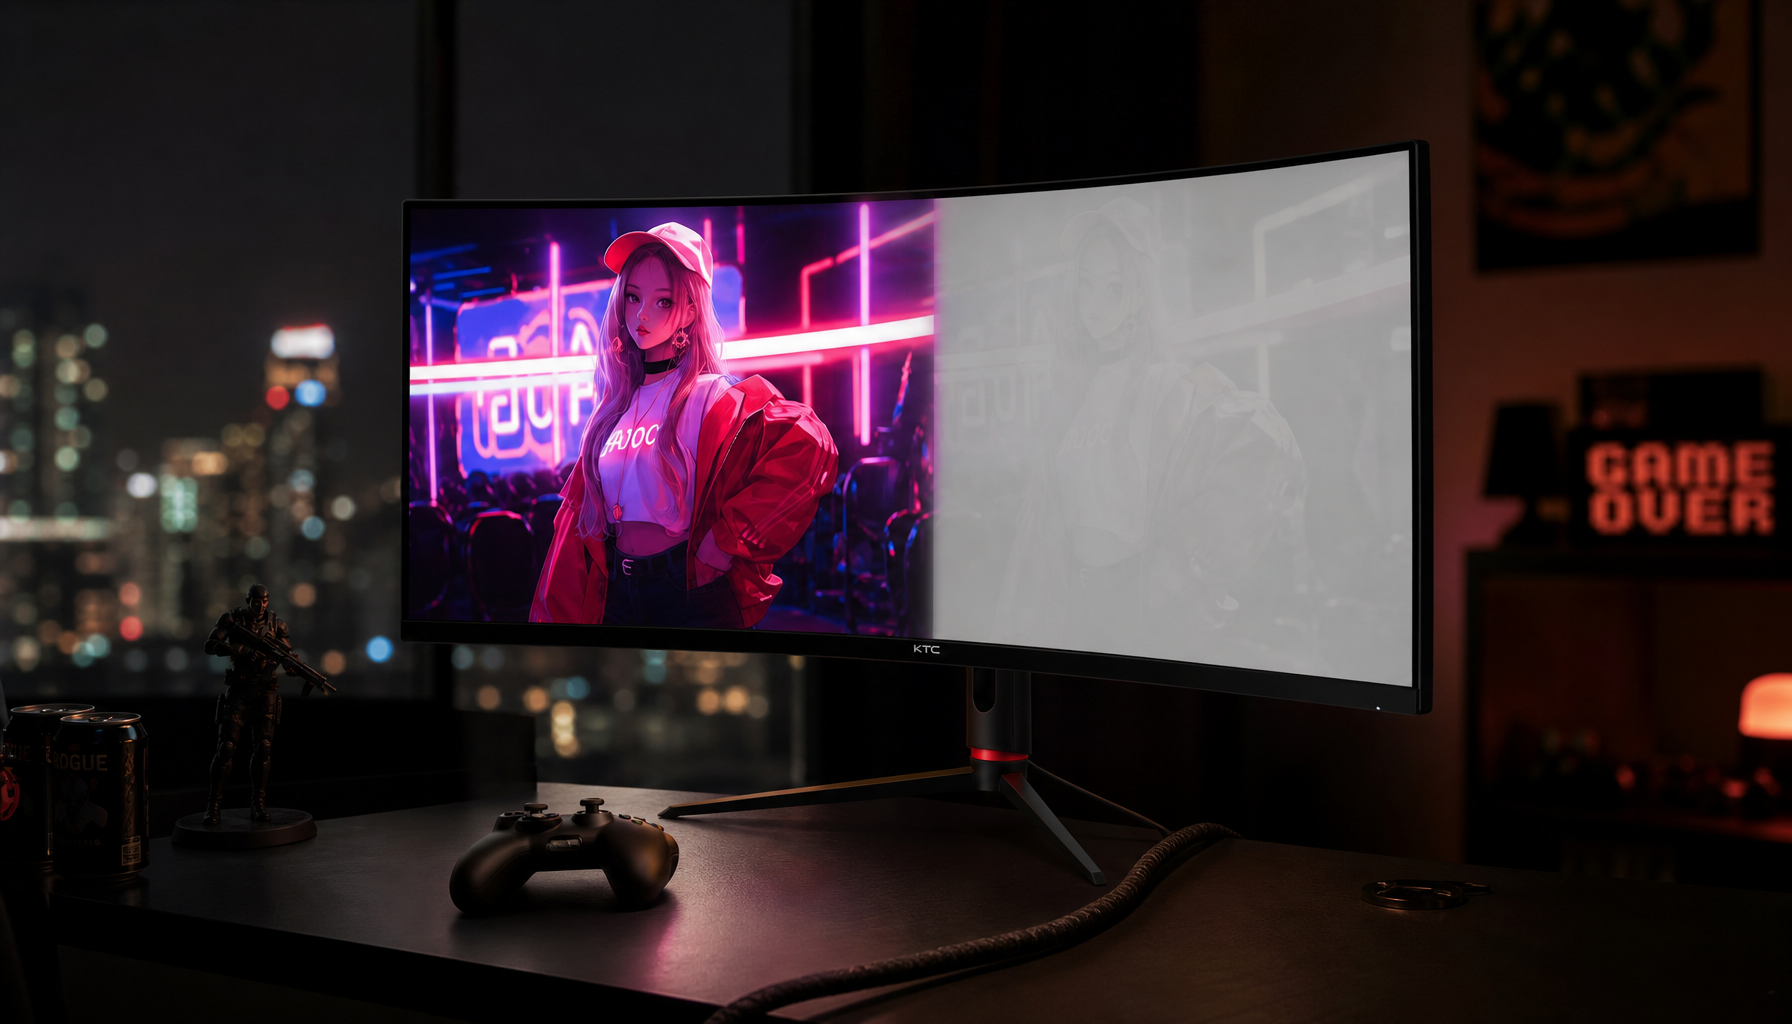
An entry-level certified monitor may accept an HDR signal and show brighter highlights than SDR, yet still struggle with full-screen brightness, black depth, or local dimming. In practice, a small sun reflection in a game may pop, while a bright snowy map or office window scene may look restrained because the monitor cannot sustain high brightness across a large area.
This matters for buyers and current owners. A certified monitor can be working correctly and still look flatter than expected if its hardware is closer to HDR compatibility than cinematic HDR impact. For a portable smart screen or office productivity display, HDR support may be useful for content compatibility, while a gaming monitor with stronger contrast and better peak brightness will usually create a more convincing HDR experience.

HDR Is Not Supposed to Make Everything Brighter
One of the most common misunderstandings is expecting HDR to make the whole screen brighter. Good HDR is about range: brighter highlights, deeper shadows, and more color detail where the content calls for it. If an image is mastered with a normal-looking indoor scene, HDR may keep the average picture level close to SDR while reserving brightness for lamps, reflections, fire, headlights, or sunlight.
That is why a movie can look dim beside an SDR desktop that has been running too bright or too saturated. The HDR brightness controls note that brightness should be adjusted for room lighting and that laptop HDR behavior can differ from external monitor behavior when using the HDR/SDR brightness balance control.
A simple example helps. If you edit documents all day with a very bright SDR desktop, then start an HDR film graded for a darker room, the movie may look restrained even when the monitor is following the signal more accurately. Turning up every HDR control may make the image punchier, but it can also erase shadow detail or blow out highlights.
System HDR Settings Can Make SDR Content Look Washed Out
The operating system has to place SDR apps, HDR video, game overlays, browser windows, and the desktop into one final image. That is harder than it sounds. When HDR is enabled at the system level, SDR apps are mapped into the HDR desktop environment, and the brightness relationship between SDR and HDR can feel wrong if the slider is poorly set.
On an external monitor, the HDR/SDR brightness balance mainly changes how SDR content appears beside HDR content. On many laptops, the same control can affect HDR brightness relative to SDR. That difference explains why two users can follow the same advice and see opposite results.

The practical fix is to stop judging HDR from the desktop alone. Open a real HDR video or game, confirm the app is outputting HDR, then adjust the HDR/SDR balance so SDR windows do not look glaring or dull. For productivity, many users get the cleanest text, color, and battery behavior by leaving HDR off until they actually play HDR content.
Tone Mapping Can Flatten Highlights or Crush Shadows
Tone mapping is the translation step that makes HDR content fit your monitor’s real limits. If a game, PC, console, or streaming app sends a highlight that exceeds the monitor’s capability, something has to give. The display can compress highlights, clip them, dim the whole image, or shift contrast in ways that make HDR look less dynamic.
The HDR calibration discussion highlights a real complication: HDR content is not mastered consistently. One title may target moderate peak brightness, another may carry much brighter metadata, and games may rely on PC or console calibration sliders rather than fixed movie-style mastering.
Double tone mapping is another trap. If the operating system or a game maps the image once, then the monitor applies an aggressive HDR enhancement again, highlights can look milky and dark scenes can lose depth. For gaming monitors, the best sequence is usually to select the monitor’s most accurate HDR or HDR Game mode first, disable extra dynamic contrast or enhancement processing, run system or game calibration, then fine-tune per-game sliders using both a dark scene and a bright sky or explosion.
The Monitor Mode May Be the Problem
Certified monitors often include several HDR-related modes, and they are not equal. One mode may prioritize accuracy, another may chase brightness, and another may reduce latency for games. Some monitors also expose dynamic contrast, energy saving, local dimming strength, black equalizer, auto brightness, or eco settings that can quietly change the image while HDR is active.
That is why a certified screen can dim during a game menu, brighten during a white webpage, then flatten again in a darker cutscene. The issue may not be the HDR signal at all. It may be the monitor reacting to average picture level, power limits, or an enhancement feature that was designed to make showroom demos look punchy.
For a reliable baseline, choose the certified HDR mode or the most accurate HDR mode, turn off eco dimming and unnecessary dynamic contrast, then test again. If the image becomes less flashy but more consistent, you have found the tradeoff. Accuracy-first modes tend to preserve intent; brightness-first modes can look more exciting but may distort color, skin tones, and highlight detail.
Setting Area |
When It Helps |
When It Hurts |
Accurate HDR mode |
Better color, tone mapping, and consistency |
May look less bright in a sunlit room |
Dynamic contrast |
Adds punch to casual viewing |
Can pump brightness and crush shadows |
Local dimming high |
Improves black depth on capable panels |
Can create halos or uneven brightness |
Reduces latency and works with game sliders |
May sacrifice strict color accuracy |
|
Eco or auto brightness |
Saves power and reduces glare |
Can make HDR look unstable or dim |
Cables, Ports, Codecs, and Apps Can Break the Chain
HDR is a full signal path, not just a monitor spec. The PC, GPU, driver, cable, port, dock, browser, streaming app, and codec all have to support the mode you are trying to run. A monitor may support HDR at 4K, but a weak adapter or older dock may prevent the full refresh rate, color depth, or HDR signal from working cleanly.
Official guidance recommends modern display connections, including USB-C paths where supported, and advises avoiding unnecessary adapters when possible. For video playback, the same HDR guidance notes that HDR video decoding support matters, with common HDR codecs relevant to major streaming and web video workflows.
A practical test is to reduce complexity. Connect the monitor directly to the GPU with a known-good cable, update the GPU driver, confirm the operating system reports HDR support for that specific display, and play known HDR content in a compatible app or browser. If HDR improves, the old link in the chain was the limiter.

Room Lighting Changes the Result
HDR is more sensitive to room conditions than most people expect. A monitor that looks powerful at night can look unimpressive in a bright room because reflections and ambient light raise the perceived black level. Once blacks look gray, the whole image loses depth, even if the monitor is technically producing the same brightness.

For office productivity displays, this is especially common. Overhead lights, white walls, and daylight from a nearby window can overpower subtle shadow detail. Raising brightness may help daytime visibility, but it can also make highlights less distinct if the panel runs out of headroom.
The best real-world setup is task-based. Use SDR for office work when color consistency and eye comfort matter. Use HDR in a controlled room for movies and story games. For competitive gaming, choose the HDR game mode only if it preserves visibility and latency; otherwise, a well-tuned SDR mode can be the better performance choice.
How to Diagnose Dim or Flat HDR Without Guesswork
Start with the signal. Confirm HDR is enabled for the exact monitor you are using, not just globally. If you run multiple displays, select the HDR-capable one in display settings and verify that the system recognizes it as HDR-capable.
Then test real HDR content, not the desktop wallpaper. A proper HDR streaming video should show an HDR label in the quality menu when the system is configured correctly, and HDR games should expose HDR calibration or brightness sliders only when HDR is active.
Next, separate setup issues from panel limits. If small highlights are bright but full-screen scenes look muted, the monitor may have limited sustained brightness. If blacks look gray in a dark room, contrast or local dimming may be the bottleneck. If colors look pale only on the desktop, the issue is likely SDR mapping inside HDR mode rather than broken HDR playback.
Finally, calibrate in the lighting where you actually use the screen. The HDR Calibration app can set darkest visible detail, brightest visible detail, and maximum brightness for system HDR behavior. It will not turn a modest panel into a flagship HDR display, but it can prevent the system from making poor assumptions about your monitor’s limits.
Certified Does Not Mean Identical
A certified HDR monitor should meet a defined test tier, but HDR quality still depends on the display class. LCD monitors need enough backlight control to deliver bright highlights without lifting blacks. Emissive displays can produce much deeper blacks, which is why the certification system includes a separate True Black branch for those technologies.
For buying decisions, generic “HDR supported” language is weak. More useful signals include DisplayHDR level, peak brightness, sustained brightness, contrast, local dimming quality, black level, color volume, 10-bit signal support, and the quality of calibration controls. Independent monitor education pages also emphasize that HDR impact depends heavily on real brightness, contrast, and color performance rather than the label alone through HDR monitor testing.
For a pro gaming monitor, prioritize real HDR performance and usable game calibration. For an office productivity display, prioritize SDR accuracy, text clarity, and controlled HDR compatibility. For a portable smart screen, treat HDR as a bonus unless the panel has enough brightness and contrast to make it meaningful outside a dim room.
The Reliable Fix: Build Separate Modes
The most stable approach is not one universal HDR setting. Use a calibrated SDR mode for desktop work, an accurate HDR mode for movies, an HDR game mode for low-latency play, and a brighter practical mode only when the room demands it.
That sounds less convenient than leaving HDR on forever, but it produces better results. SDR apps stay crisp and predictable. HDR games get the tone mapping they expect. Movies keep their intended contrast. Your monitor stops being judged by the worst app in the chain.
Dim or flat HDR is usually not one failure. It is a mismatch between content, operating system, monitor processing, room light, and hardware limits. Treat HDR like a performance mode, not a checkbox, and a certified monitor becomes much easier to evaluate, tune, and trust.


