


Pixel overdrive is a monitor setting that speeds up LCD pixel transitions to reduce normal ghosting, but if it is pushed too far it can create inverse ghosting: bright, pale, or oddly colored trails behind moving objects.
If fast camera pans in a shooter leave a pale trail behind enemies, your monitor may be tuned too aggressively for speed. A better setting can make moving targets, scrolling text, and sports footage look cleaner without changing your GPU or console. This guide explains what to change, what trade-off to expect, and how to test it quickly.

What Pixel Overdrive Actually Does
Why LCD pixels need help
Pixel overdrive is an LCD response-time acceleration feature that applies extra voltage so pixels can reach their next color faster. In plain terms, it helps the panel keep up with motion so edges look less smeared during gameplay, video, or fast scrolling.
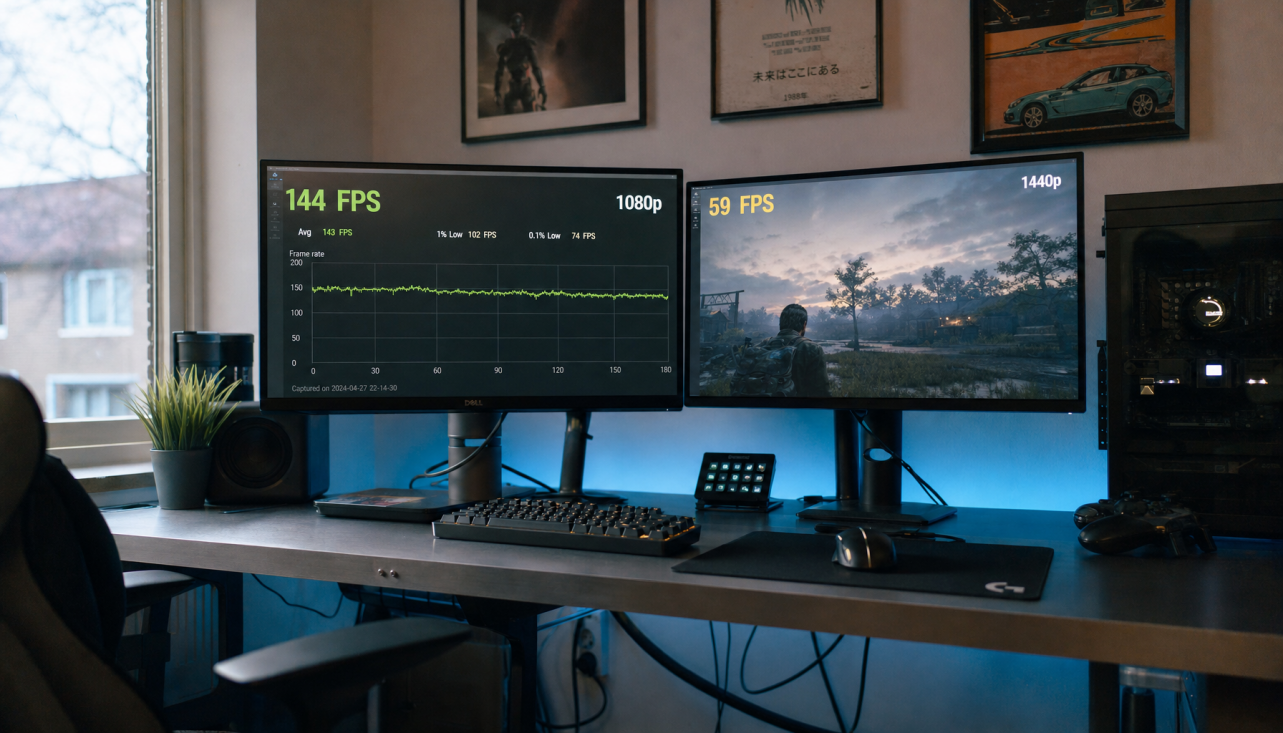
The timing window gets tight quickly on high-refresh monitors: a 144Hz screen gives each frame about 6.9 ms, while 240Hz cuts that to about 4.17 ms. If pixel transitions are slower than the refresh cycle, part of the old image remains visible into the next frame, which is why fast strafes, racing turns, and dark-scene pans can look blurry even on a high-Hz gaming monitor.
Where to find the setting
You usually access the overdrive control in the monitor OSD under names such as Overdrive, Response Time, Trace Free, or AMA. Most monitors offer a few levels like Off, Low, Medium, and High, although some use numbered scales instead.
When Overdrive Helps Most
The best-fit gaming scenarios
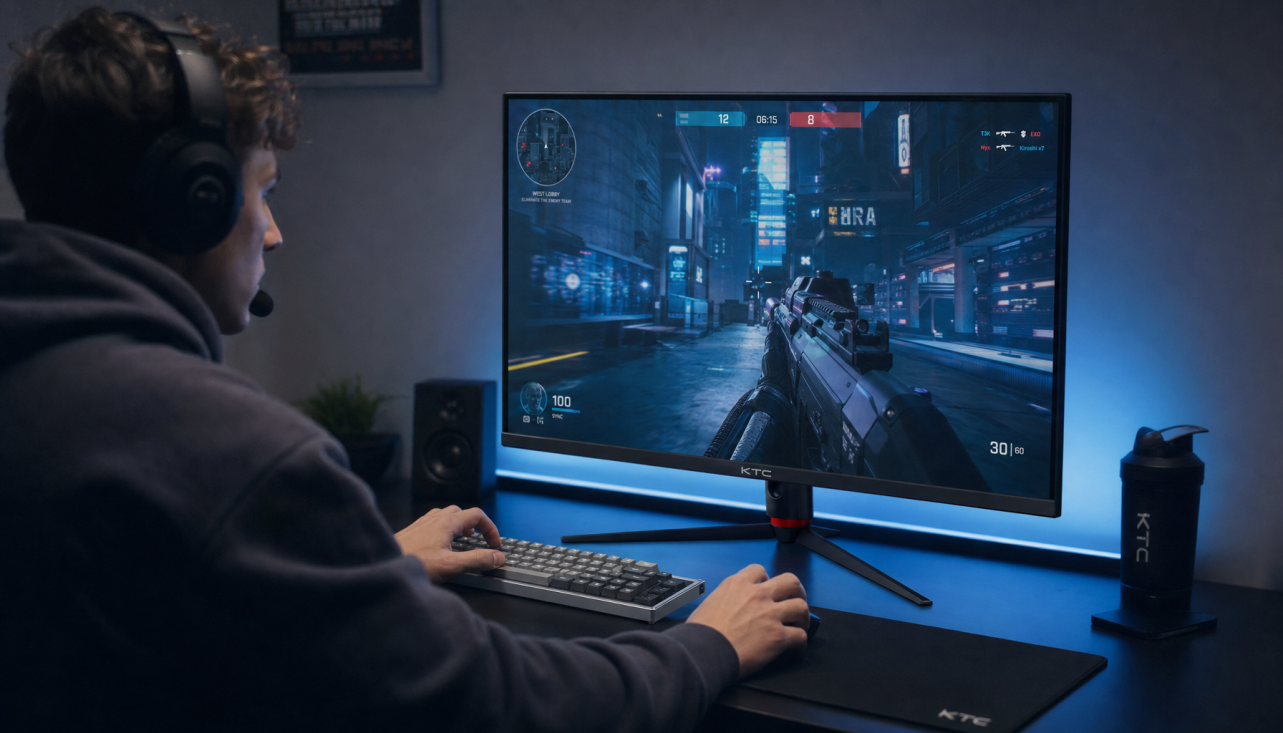
Fast-moving games benefit most from overdrive that reduces ghosting, especially esports shooters, racing games, sports titles, and any game with frequent camera pans. The practical outcome is simpler than the spec sheet: cleaner enemy outlines while strafing, sharper lane markers in racing games, and less smear behind HUD elements when you flick the camera.

Measured response behavior still matters more than the box claim, and review testing benchmarks are a useful reality check. A rise/fall time under 4 ms and a total response time under 7 ms are good signs for motion clarity, but the best setting is the one that keeps blur down without adding overshoot, especially in darker scenes where many LCD panels struggle the most.
Quick comparison by scenario
Monitor behavior varies by model, but this table is a reliable starting point for common gaming setups.
Scenario |
Typical refresh/FPS pattern |
Good starting point |
What you want to see |
Warning sign |
Competitive PC shooter |
165Hz to 240Hz with stable FPS |
Medium or Medium-High |
Cleaner target edges during strafes |
Bright halos behind players |
PC with VRR on |
FPS swings across a wide range |
Medium |
Acceptable motion at both high and low FPS |
More coronas when FPS drops |
Console 120Hz mode |
120Hz output |
Medium |
Sharper camera pans and less trailing |
Reverse trails on HUD or text |
Console 60Hz quality mode |
Locked 60fps |
Low or Medium |
Mild blur without obvious artifacts |
Halos that look worse than the blur |
General desktop use |
Scrolling and window movement |
Low or Medium |
Cleaner text motion |
Colored trails while dragging windows |
When Overdrive Creates Inverse Ghosting
Ghosting, inverse ghosting, and motion blur are not the same thing
Regular ghosting is a trailing artifact caused by uneven pixel transition speeds, so it usually looks like a dark smear or shadow behind motion. Inverse ghosting, also called overshoot or a corona, happens when overdrive pushes the pixel past its target color and the panel has to pull it back, which creates a brighter or reverse-colored trail instead.

Too much pixel overshoot often looks worse than the original blur because your eye catches the bright halo immediately. That is why the fastest overdrive preset is rarely the best one on a gaming monitor: it may win a spec-sheet race while losing in actual gameplay.
Why good testing uses moving-camera captures
Reliable motion-artifact testing follows the object across the screen instead of photographing a frozen frame. Blur Busters’ pursuit-camera examples use motion at 960 pixels per second because that better matches what your eyes perceive while tracking movement, which is far more useful than a stationary photo if you are trying to judge ghosting or coronas on a real monitor.
How to Pick the Right Overdrive Setting
Start in the middle, not at the top
A mid-level overdrive setting is the safest starting point on most LCD gaming monitors. Low often leaves visible blur, while High or Extreme is where inverse ghosting usually appears first, so Medium or Normal is usually the best first test for PC players, console players, ultrawide users, and portable gaming monitors that expose the same control.
Variable refresh complicates things because fixed overdrive can change behavior across refresh rates. A setting that looks clean near 144 FPS can become too aggressive near 60 FPS, which is why FreeSync and G-Sync Compatible displays sometimes show more halos when your frame rate drops, even if the same preset looked excellent a moment earlier.
Review labs account for that trade-off, and RTINGS measures response time with VRR enabled because that reflects how many people actually game. If your monitor locks overdrive while VRR is active, judge the setting at both the high and low ends of your normal frame-rate range before deciding it is truly dialed in.
How to Tune Overdrive on PC and Console
A fast testing method that works
The best practical tuning method is simple: use native resolution, set the monitor to its highest refresh rate, start at Medium, and check motion before and after each change. On PC, TestUFO is still the fastest way to spot blur versus halos; on console, use a familiar game with smooth pans, menu scrolling, and at least one dark scene where trailing is easy to notice.
Higher refresh rates and strobe backlights reduce a different problem called sample-and-hold motion blur, so they can help even after overdrive is tuned. For many players, the cleanest setup is a combination of the highest stable refresh rate, in-game motion blur disabled, frame rate held close to refresh rate, and strobing only if the monitor supports it well at around 120Hz to 144Hz.
What to do if inverse ghosting suddenly gets worse
Sudden inverse ghosting that appears overnight is usually not a cable problem. Experienced display troubleshooters point first to monitor firmware bugs, driver issues, bad profiles, or a refresh-rate change that left overdrive in a poor state, so a factory reset, profile reset, and refresh-mode check should come before you start replacing parts.
FAQ
Q: Is inverse ghosting worse than normal ghosting?
A: For many players, yes. Inverse ghosting is often more distracting because the trail is brighter or more visible than the original blur, so the usual fix is to lower overdrive by one step.
Q: Does adaptive sync solve overdrive problems automatically?
A: Not always. VRR and overdrive can work very well together on displays with variable overdrive, but fixed overdrive presets can still overshoot at lower frame rates.
Q: Can OLED monitors show this exact problem?
A: Usually no in the same way. The inverse ghosting behavior described here is mainly tied to LCD overdrive on TN, IPS, and VA panels, while OLED monitors have very different pixel-response behavior.
Practical Next Steps
If you want the shortest path to a cleaner image, keep this checklist next to your monitor menu:
- Set the monitor to its native resolution and highest available refresh rate.
- Open the OSD and set Overdrive or Response Time to Medium or Normal.
- On PC, run TestUFO full-screen; on console, use a game with fast pans, scrolling UI, and a dark area.
- Look for two different problems: dark smears mean overdrive is too low, while bright or colored halos mean it is too high.
- If halos appear, drop one step; if smearing is still obvious, raise one step and retest.
- If you use VRR, test at both your usual high FPS and low FPS range before settling on a preset.
- If artifacts suddenly get much worse everywhere, factory-reset the monitor and recheck profiles, refresh rate, and motion settings.
References
- DisplayNinja: What Is Overdrive On A Monitor And How Do You Turn It On And Off?
- Mobile Pixels: What Is Overdrive on a Monitor?
- Blur Busters: LCD Motion Artifacts 101
- Blur Busters: LCD Overdrive Artifacts FAQ
- RTINGS: Our Monitor Motion Tests: Response Time
- Pixio: Mastering Overdrive
- KTC: Gaming Monitor Ghosting Solutions
- Cevaton: What Is Overdrive on a Monitor?
- Blur Busters Forums: Inverse ghosting caused by PC hardware?
- Yahoo Tech: What Is Inverse Ghosting, and How Do I Get Rid of It?


