


Curved desktop displays introduce a measurable geometric mismatch between the flat rectilinear projection most 3D engines assume and the physical arc of the screen. For 3D engine designers working on AR/VR prototypes or ultra-wide gaming environments, this mismatch can distort perceived scale, break spatial judgment, and require explicit camera or viewport corrections. The practical decision is whether your monitor curvature (typically 1000R or 1500R) and viewing distance justify a standard camera, a shader-based approximation such as Panini projection, or a full mesh-based remapping in tools like Unreal nDisplay.

The Geometry Gap: Why Flat Projection Assumptions Fail on Curved Monitors
Standard 3D engines use rectilinear projection, which treats the rendering surface as a flat plane perpendicular to the camera axis and projects the scene through a flat frustum. On a curved monitor the edges of the panel physically curve toward the viewer, so light emitted from those edges travels a shorter distance to the eye than light from the center. The result is a pincushion-like effect where straight lines in the virtual world appear bowed outward on the physical display.
This matters for engine designers because inaccurate spatial perception in a prototype directly affects downstream AR/VR experiences and player comfort in wide-FOV games. While gamers may enjoy the wraparound immersion of a curved panel, developers must treat the same hardware as a non-linear output surface that demands calibration. As this gamedev discussion on curved-monitor rendering notes, the core assumption of a flat rendering plane no longer holds.
The conflict is most visible in ultra-wide aspect ratios (21:9 or 32:9) where edge stretching becomes pronounced. Without correction, objects near the sides of the viewport appear unnaturally compressed or elongated, breaking the illusion of consistent scale that AR/VR pipelines rely on.
Mathematical Foundations: Calculating the Chord-vs-Arc Delta for FOV Geometry
Three variables drive the mismatch: curvature radius R (in mm), arc width S (the physical length along the curved surface), and chord length C (the straight-line distance between the left and right edges). The engine typically calculates FOV from the chord, yet the light actually travels along the arc. The ratio S/C therefore quantifies distortion intensity.
The chord length is given by the formula C = 2R × sin(S / (2R)). For a typical 49-inch 1000R ultrawide the arc-to-chord ratio often exceeds 1.04, enough to produce noticeable depth errors in precision work. A 34-inch 1500R panel usually sits closer to 1.02, where many developers can get acceptable results with lighter correction. These values are derived from standard geometric relationships and align with practical calculators used in simulation and racing titles.
When the ratio climbs above approximately 1.05, standard rectilinear projection begins to fail basic depth-perception checks. Lower-curvature or flat panels stay well below this threshold and require no special handling. The table below summarizes safe starting points based on the trade-offs discussed above.
| Curvature radius | Arc-to-chord ratio range | Distortion risk | Recommended correction strategy | Best-fit use case |
|---|---|---|---|---|
| 1000R | Highest arc-to-chord band in the planner’s tiering | High | nDisplay mesh, or custom matrix if the view is fixed and correction can be tuned once | Teams doing close-view 3D engine work where immersion matters more than exact geometric fidelity |
| 1500R | Middle arc-to-chord band | Medium | Panini shader for ordinary perspective compensation; custom matrix if the pipeline already supports it | General 3D engine work where a curved panel may help comfort but distortion must be controlled |
| 1800R | Lowest arc-to-chord band among the three | Low | None for most workflows; use Panini only if the viewport is wide enough to expose edge stretch | Work that is closer to flat-monitor behavior and needs the least correction overhead |
| Flat | Near-zero arc-to-chord band | Lowest | None | Precision-sensitive editing, UI-heavy tasks, or any workflow where geometric consistency is more important than wraparound feel |
This visualization clarifies when curvature crosses the threshold that justifies custom math. For most engine designers the 1000R class is the point where correction becomes non-optional for AR/VR preview accuracy.

Mastering FOV Geometry for 3D Engine Designers Using Curved Desktop Displays
Engineers can close the geometry gap with engine-specific tools once the chord-versus-arc delta is quantified. The guiding principle is to match the virtual projection to the physical arc width rather than the chord. This “R-D-S Delta” approach shifts the workflow from eyeballing FOV to a repeatable correction model.
In Unreal Engine the professional standard is nDisplay with a Mesh projection policy. You export an .obj of the monitor’s exact curvature, UV-map it to the virtual screen, and let nDisplay warp the rendered viewport to match the physical surface. Official Epic documentation on projection policies in nDisplay details how the Mesh policy handles non-linear geometries such as curved monitors or LED walls. This method delivers the highest geometric fidelity but carries setup overhead suitable for studio pipelines.
Unity developers commonly reach for a custom ProjectionMatrix or the built-in Panini Projection post-process. Panini (sometimes called cylindrical) projection reduces edge stretching while attempting to preserve vertical lines. A typical “squeeze” factor can be derived as 1 – (C/S); values between 0.6 and 0.9 often produce visually acceptable results on 1000R–1500R panels. While effective, this remains a shader approximation rather than true geometric correction, as noted in graphics-programmer discussions on rendering to curved frustums. Test the parameter in your specific scene because the optimal value changes with aspect ratio and intended viewing distance.
For both engines the viewing distance D ideally equals the curvature radius R at the center. Any other seating position introduces additional perceptual error that no static correction can fully eliminate. When your workflow involves frequent model changes or collaborative review, prioritize nDisplay mesh mapping; when rapid iteration on a single workstation is the goal, a tuned Panini shader often suffices.
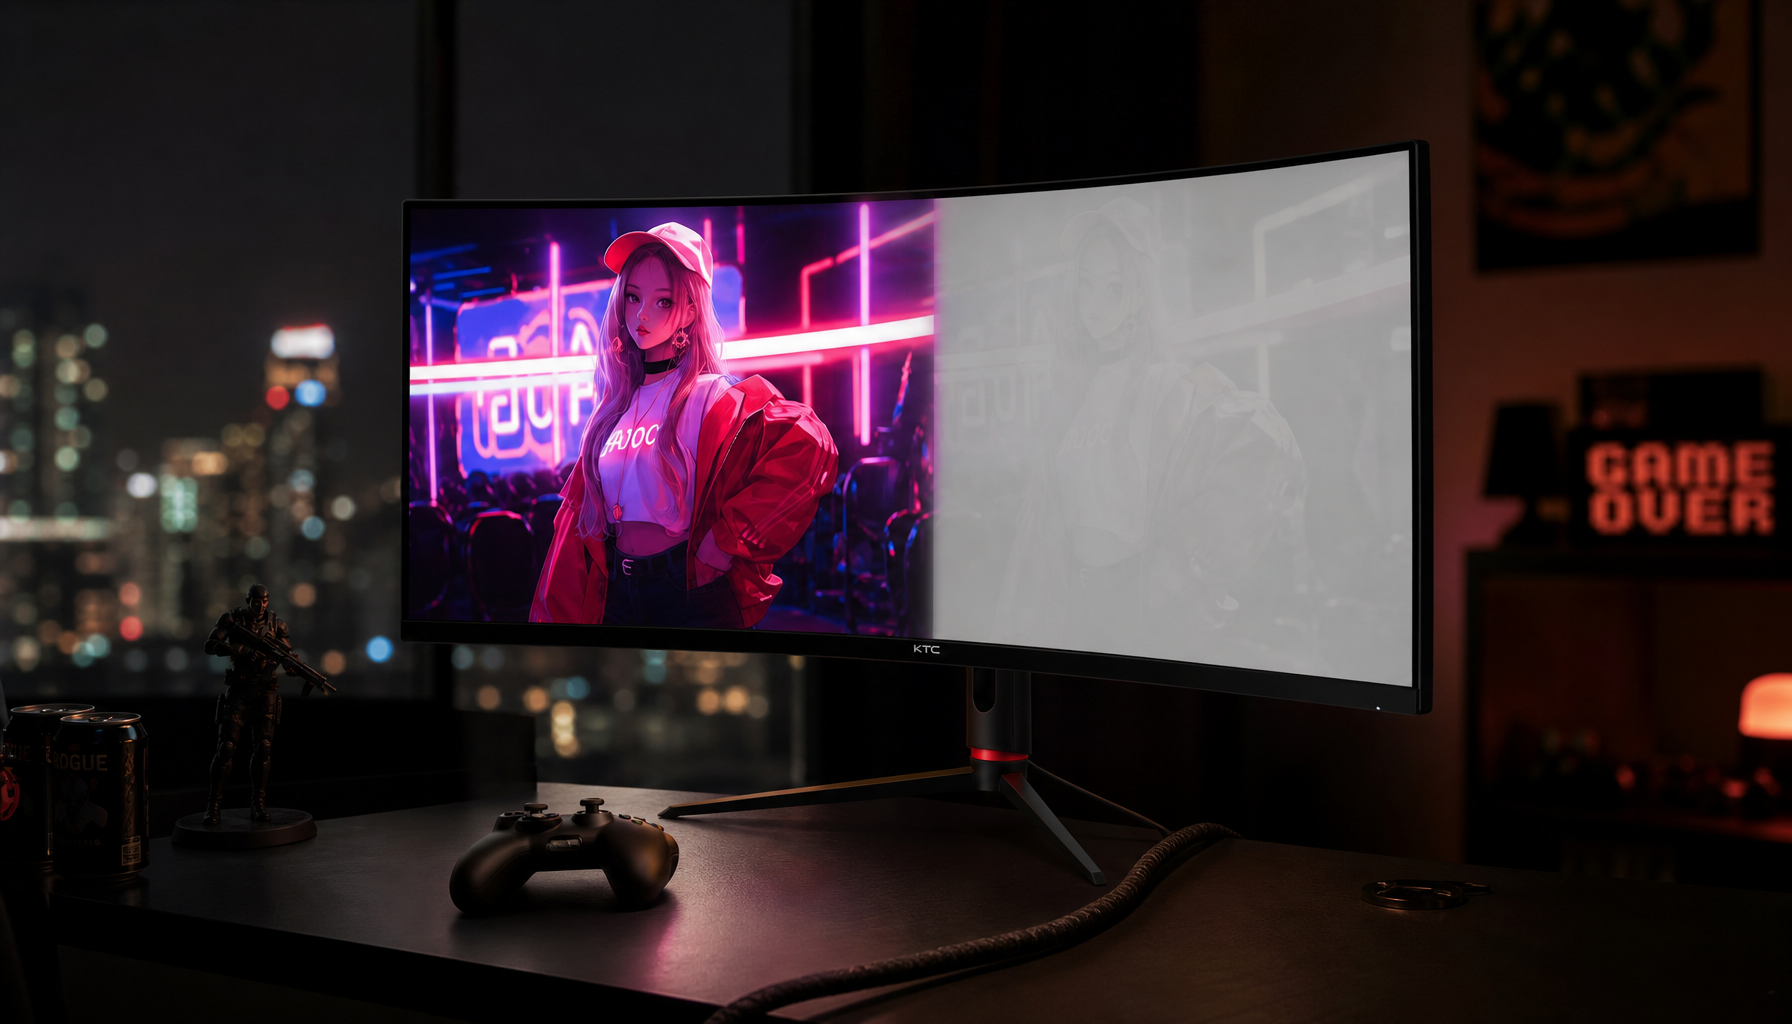
Curved monitors from the KTC lineup illustrate these differences in practice. The 49-inch DQHD 180Hz 1000R model (H49S66) presents the highest arc-to-chord ratio and therefore benefits most from mesh-based correction when used for spatial computing previews. The 34-inch ultrawide 1500R (H34S18S) sits in the medium-correction zone where Panini projection usually restores acceptable linearity. Both appear in the broader curved monitors collection alongside flatter high-refresh options that may be preferable for UI-heavy engine work.
Related reading on monitor selection for technical tasks includes how ultrawide monitors affect gaming and productivity and the real impact of viewing angle on color consistency.
Validation and Pitfalls: Ensuring Spatial Precision in 3D Engine Design
A calibrated FOV is only as good as your validation method. The most reliable check is the straight-line test: place a 3D grid or wireframe cube that spans the full horizontal FOV and verify that horizontal edges remain visually straight when viewed from the intended seating distance. Any visible bowing indicates that the correction factor still needs adjustment.
A frequent error is confusing horizontal FOV (hFOV) with diagonal FOV (dFOV) when entering values for ultrawide aspect ratios. Always calculate and apply the horizontal figure; using the diagonal inflates the side angles and exaggerates the very distortion you are trying to remove. Another common pitfall is ignoring the viewing-distance variable. Only when D equals R does the mathematically correct FOV produce perceptually correct results; at other distances you must choose between geometric accuracy and perceptual comfort.
Use this checklist when bringing a new curved workstation online:
- Measure or look up the exact curvature radius and physical arc width of the panel.
- Compute the chord length and arc-to-chord ratio using the formula above.
- Set the engine camera distance to match the radius at center screen.
- Apply the appropriate correction (Panini squeeze, custom matrix, or nDisplay mesh).
- Run the straight-line test at your normal working distance.
- Compare side-by-side with a flat reference monitor on the same scene; adjust until depth and scale match your mental model.
- Re-validate after any major change in scene scale, aspect ratio, or engine version.
Misconfigured FOV on curved displays can lead to spatial judgment errors and motion discomfort, particularly in AR/VR preview pipelines. Treating the curved monitor as a precision tool rather than a plug-and-play display keeps those risks under control.
How Much Does Curvature Radius Affect Required FOV Correction?
Higher curvature (lower R number) increases the arc-to-chord ratio and therefore the correction needed. 1000R panels typically require mesh remapping or aggressive shader tuning for accurate spatial work, while 1500R or flatter displays often need only mild Panini adjustment or none at all. Always calculate the specific ratio for your panel size rather than relying on the R value in isolation.
Is nDisplay the Only Professional Solution for Curved Output?
nDisplay with Mesh policy is the gold-standard approach inside Unreal Engine for non-linear surfaces, but it is not the only option. Teams already invested in Unity can achieve good results with custom projection matrices or Panini shaders. The choice depends on whether your pipeline values pixel-perfect geometry (favor nDisplay) or rapid iteration with acceptable perceptual accuracy (favor shader approximations).
When Should a 3D Designer Choose a Flat Monitor Instead of Curved?
Choose flat when your work involves precise UI layout, orthographic views, or any task where geometric consistency across the entire viewport is more important than wraparound immersion. Curved panels excel in wide-FOV scene preview but introduce extra calibration steps that may not be justified for every workflow.
Can Panini Projection Fully Eliminate Distortion on 1000R Ultrawides?
Panini projection is a useful approximation that reduces edge stretching, yet it remains a post-process heuristic rather than a true geometric correction. On aggressive 1000R panels you will usually still see residual distortion at the far edges; combine it with a custom projection matrix or switch to nDisplay mesh mapping when pixel-level accuracy is required.


