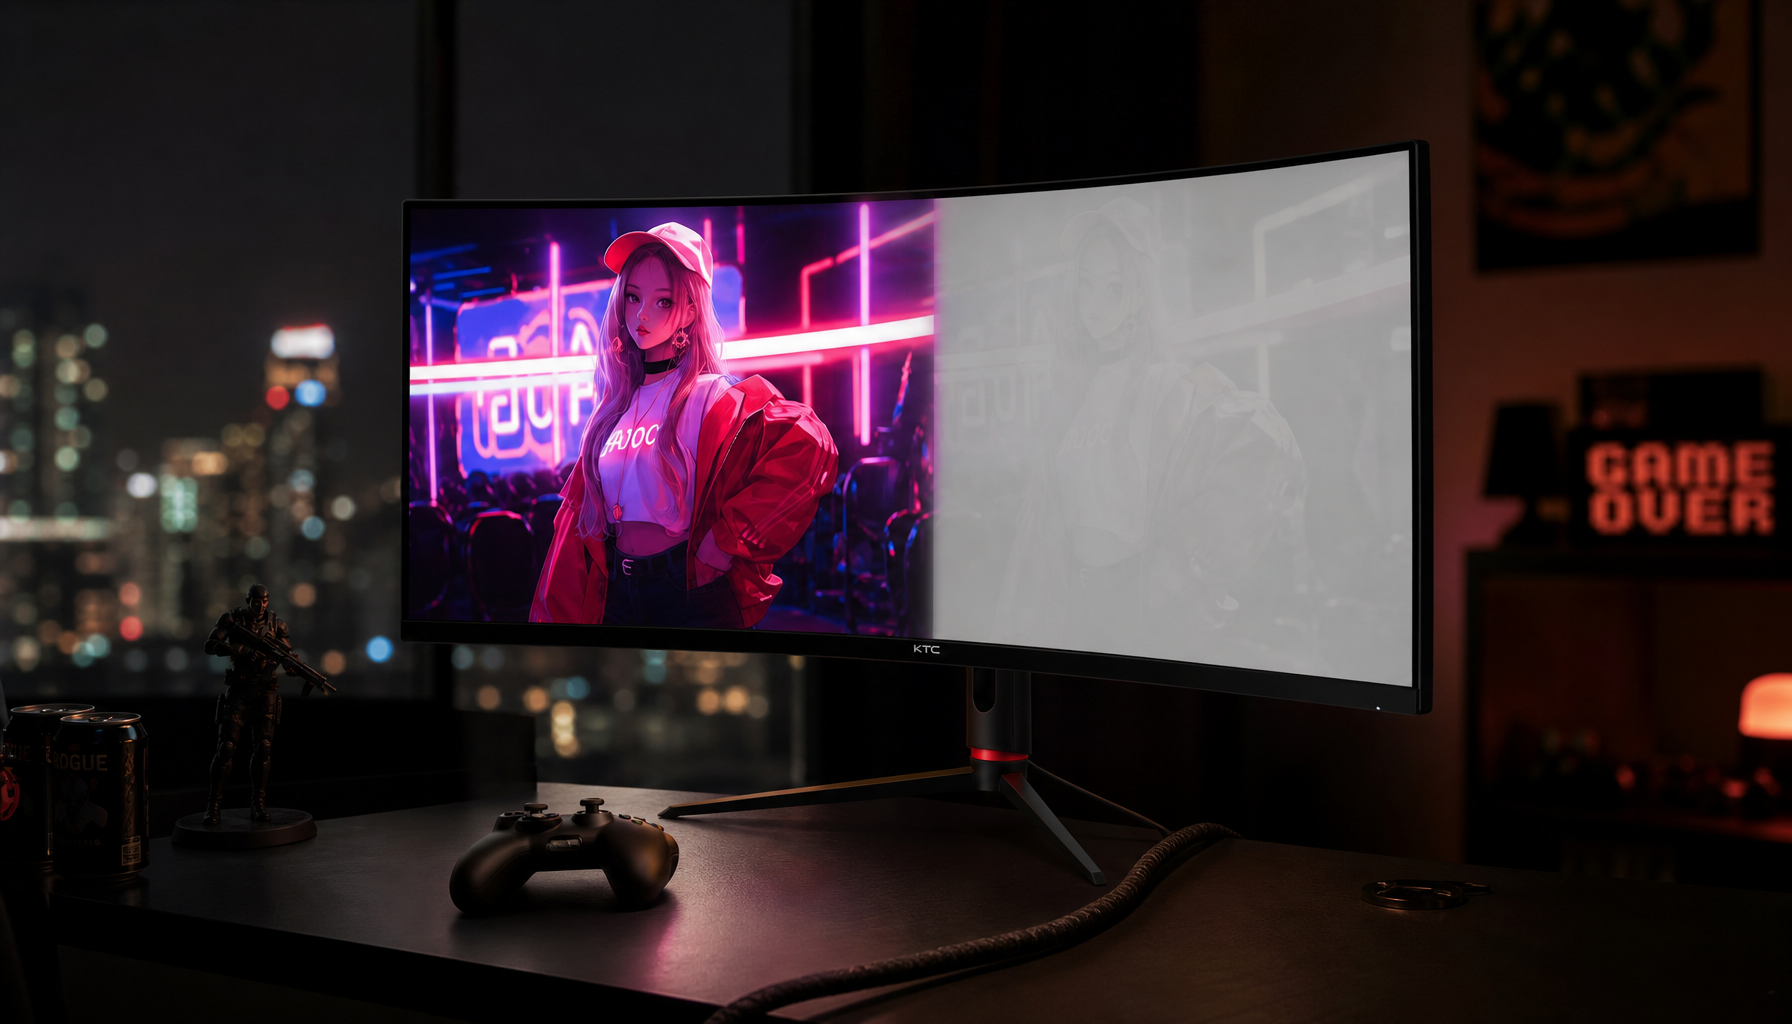
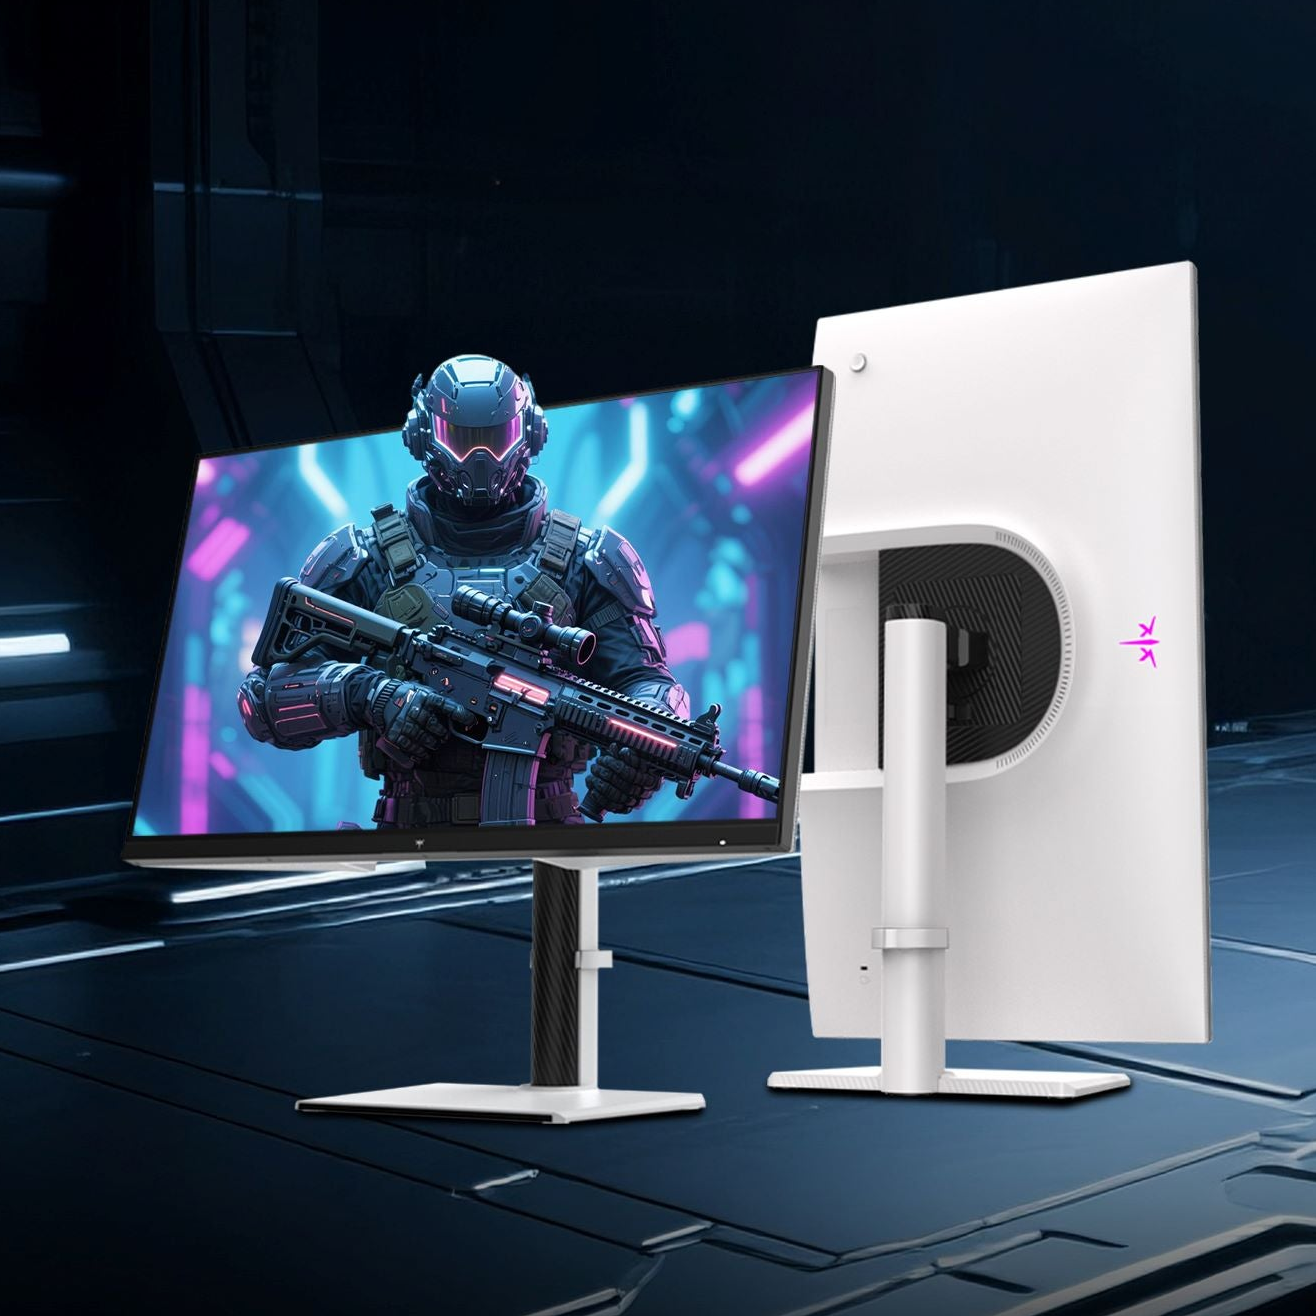



Viewing angle changes how skin tone, contrast, and saturation appear on your screen, so a portrait can look correct from one seat and slightly green, flat, or too warm from another. For retouching, judge color from a centered, repeatable position on a calibrated display, then verify before export.
Why Viewing Angle Matters for Skin Tone
Portrait retouching is a game of small differences. A tiny shift in cheek redness, under-eye shadow, or lip saturation can decide whether a face looks natural or over-processed.

When you view a display off-axis, the panel may shift brightness, contrast, and hue. That matters because skin tones sit in a sensitive range: the eye quickly notices when warmth turns orange, magenta becomes blotchy, or shadow detail loses depth.
Color evaluation workflows control lighting, observer position, and sample angle because viewing conditions can make color appear brighter, darker, duller, or oversaturated; the same logic applies to screen-based retouching, where viewing conditions shape the judgment you trust.
The Retouching Mistakes Off-Axis Viewing Creates
The most common issue is overcorrection. If the screen looks cooler from your seat, you may add warmth that later appears too yellow on a client’s display or in print.

Contrast judgment also drifts. From a poor angle, shadow transitions can look crushed or lifted, so dodge-and-burn work becomes uneven. This is especially risky around jawlines, noses, hair edges, and textured skin.
Saturation is another trap. A display that loses color strength off-center can push you to over-saturate blush, lips, or wardrobe colors. On a better-aligned screen, the file may look loud instead of polished.
For portrait work, the highest-value monitor specs are not just resolution and brightness. Color depth, color accuracy, wide-gamut coverage, and calibration support are decisive buying factors for a photo-editing monitor.
Build a Reliable Viewing Position
Start with the screen directly in front of you, not angled from the side. Your eyes should land near the upper-middle of the panel, with the portrait’s face close to the center of the screen during final color checks.

Keep the display perpendicular to your line of sight. Even on strong panels with wide viewing angles, a centered position gives you the most repeatable read on skin tone and tonal separation.
Use a quick pre-export routine:
- Center the face on screen before judging color.
- Sit at the same distance for every final pass.
- Check neutral grays, whites, and skin highlights.
- Toggle before and after at the same viewing angle.
- Recheck on a second calibrated display if available.
A wide-gamut monitor helps only when it is accurate and calibrated; serious photo editing depends on a well-calibrated wide-gamut display rather than brightness or panel size alone.
Monitor Choice: Value Without Guesswork
For value-oriented creators, a display with strong factory calibration, wide color coverage, and ergonomic adjustment is usually the smart baseline. A 27-inch 4K or 5K screen gives enough room for a portrait, reference panels, and histogram tools without forcing constant zooming.
Avoid judging critical portrait color on a steeply angled laptop screen, a bargain panel, or a display used far off-center in a dual-monitor setup. Those are fine for browsing, client notes, or file management, but not for final skin decisions.
If you use two displays, make one your color authority. Keep your editing software’s main image window on that screen, and use the second display for thumbnails, notes, email, or reference images.

Even an excellent display cannot fix uncontrolled room light, so monitor angle, calibration, and ambient lighting need to work together.
Final Color Check Before Delivery
Before exporting, step away for a minute, return to the same centered position, and review the portrait at normal size. Look at skin highlights, cheek transitions, lip color, and shadow detail before making any final global color move.
The goal is not to chase a perfect screen from every seat. The goal is to create one reliable judgment position so your edits travel better across print, client devices, and high-end displays.