


Lowering brightness can push a monitor out of its most stable operating range, shifting gamma, white point, contrast, shadow detail, and perceived saturation even when the color preset has not changed.
Does your once-crisp display look muddy at night, with gray UI panels turning greenish and game shadows swallowing detail? A simple test pattern check can reveal whether the problem is brightness behavior, a picture mode, room lighting, or panel uniformity before you waste time chasing random settings. You’ll get a practical way to keep your monitor dim enough for comfort without sacrificing reliable color.
The Core Reason: Brightness Is Not Just “Less Light”
On most LCD monitors, the brightness slider primarily changes the backlight, not the red, green, and blue image values. That sounds harmless, but the display still has to preserve tonal steps, white balance, and contrast while producing less light. If the backlight, panel electronics, or firmware do not scale cleanly, the same file can look warmer, cooler, flatter, or more crushed at 25% brightness than it did at 70%.
Color accuracy matters because monitors reproduce visible color by mixing red, green, and blue light, a principle grounded in how the eye responds to different wavelengths; red, green, and blue are not marketing labels but the working foundation of display color. When those channels stop tracking evenly at low output, neutral grays become the first giveaway. A white document may look slightly yellow, a gray dashboard may pick up a pink cast, and skin tones can lose believable warmth.
For gaming, the pain point is usually shadow control. Lower the brightness too far and dark grays can collapse into black, making a hallway, cave, or night map look dramatic but less readable. For office work, the problem is more subtle: spreadsheets, charts, and product images may still be usable, but your decisions about contrast and brand color become less dependable.
Gamma Shift: Why Dark Areas Break First
Gamma describes how a monitor maps digital brightness values into visible brightness. A practical default for SDR work is gamma 2.2, and gamma changes overall image brightness without being the same thing as the backlight setting. When low brightness changes gamma behavior, midtones can feel heavy, shadows can bunch together, and highlight separation can shrink.
Imagine editing a product photo with a black keyboard on a dark desk. At a stable brightness, you can separate the keycaps, desk texture, and soft shadow. At very low brightness, those tones may merge. If you brighten the photo to compensate, it may look washed out on another display or too light when matched to print.

This is why copying someone else’s “best monitor settings” rarely works. Full calibration is unit-specific because two monitors of the same model can need different corrections. In practice, the brightness level you actually use is part of the monitor state. A profile created at a bright daytime setting may not describe the same screen accurately during a dim late-night session.
White Point Drift: Why Whites Stop Looking Neutral
White point is the color of “white” your monitor is aiming for. Many SDR workflows target a D65-style white point, commonly labeled around 6500K. If brightness reduction causes the red, green, and blue channels to scale unevenly, white no longer stays neutral.
A cooler drift makes whites look bluish and sterile. A warmer drift makes whites look yellow or amber. A green or magenta cast is especially destructive because it contaminates gray UI elements, photo backgrounds, and skin tones. For a productivity display, that means your clean white document is no longer a stable reference. For a gaming monitor, it can change the mood of a scene and make art direction look different from what the developer intended.

Room light amplifies the issue. Glossy displays and bright surroundings can introduce visible reflections, while ambient light can reduce perceived contrast; light pollution around a display is a real image-quality concern, not just an aesthetic preference. A monitor at 30% brightness in a sunlit room may appear flatter and less saturated because your eyes are comparing the screen against a much brighter environment.
Picture Modes Can Make Low Brightness Worse
The brightness control is often blamed for problems caused by presets. Eco, Reading, Night, Eye Care, Movie, Vivid, Game, and Dynamic Contrast modes may change brightness along with color temperature, contrast, saturation, sharpness, blue-light filtering, and processing behavior.
Dynamic contrast is especially risky because it changes the image based on content. In portable-monitor use, Dynamic Contrast Ratio can sometimes make movies punchier in a dark room, but it is unreliable for productivity, competitive gaming, travel, and battery-sensitive work because stable brightness and predictable contrast matter more than scene-by-scene drama.
The practical fix is simple: use Standard, Custom, User, or sRGB mode as your color decision mode, then reduce brightness manually. Save Reading or Night mode for comfort when you are writing, browsing, or winding down, not when you are editing photos, matching a second monitor, grading video, approving product images, or tuning game visuals.

Setting Behavior |
What You May Notice |
Best Response |
Low brightness gamma shift |
Dark grays merge into black |
Raise brightness slightly and check a near-black gradient |
White point drift |
Whites look yellow, blue, green, or pink |
Use 6500K, Warm, Custom, or calibrated RGB controls |
Dynamic contrast |
Brightness changes while scrolling or gaming |
Turn it off for work and competitive play |
Eye-care mode |
Screen becomes warmer and less neutral |
Use only when color accuracy is not required |
Poor uniformity |
Corners look dimmer or tinted |
Test full-screen gray and white fields |
Budget, Portable, OLED, and Mini-LED Screens Behave Differently
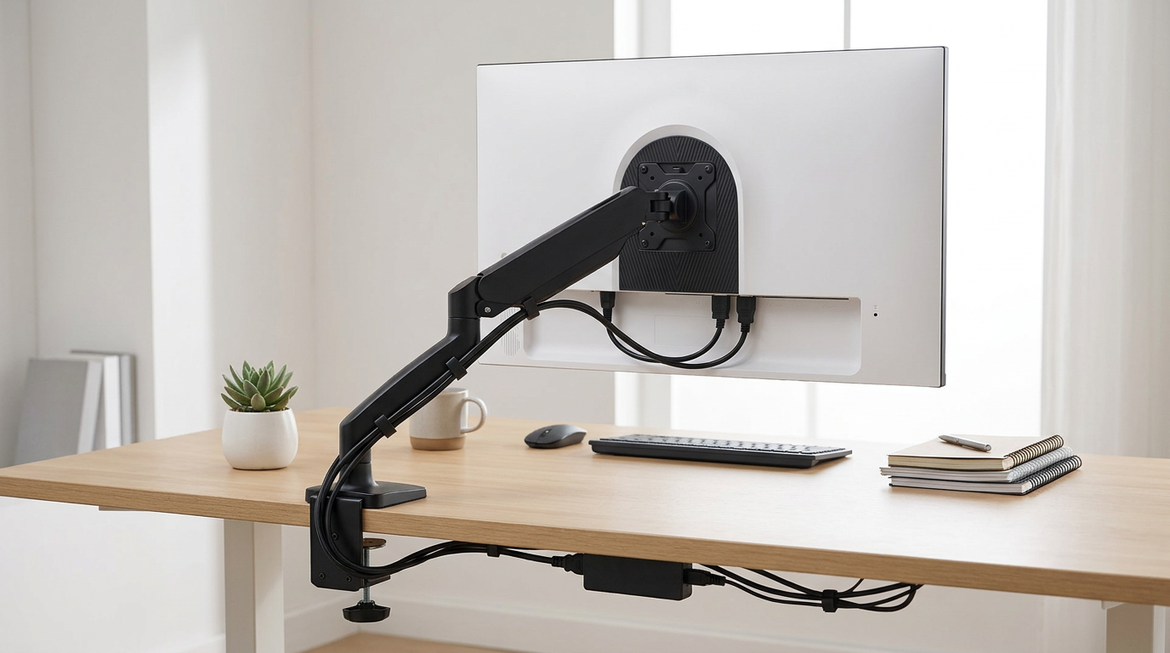
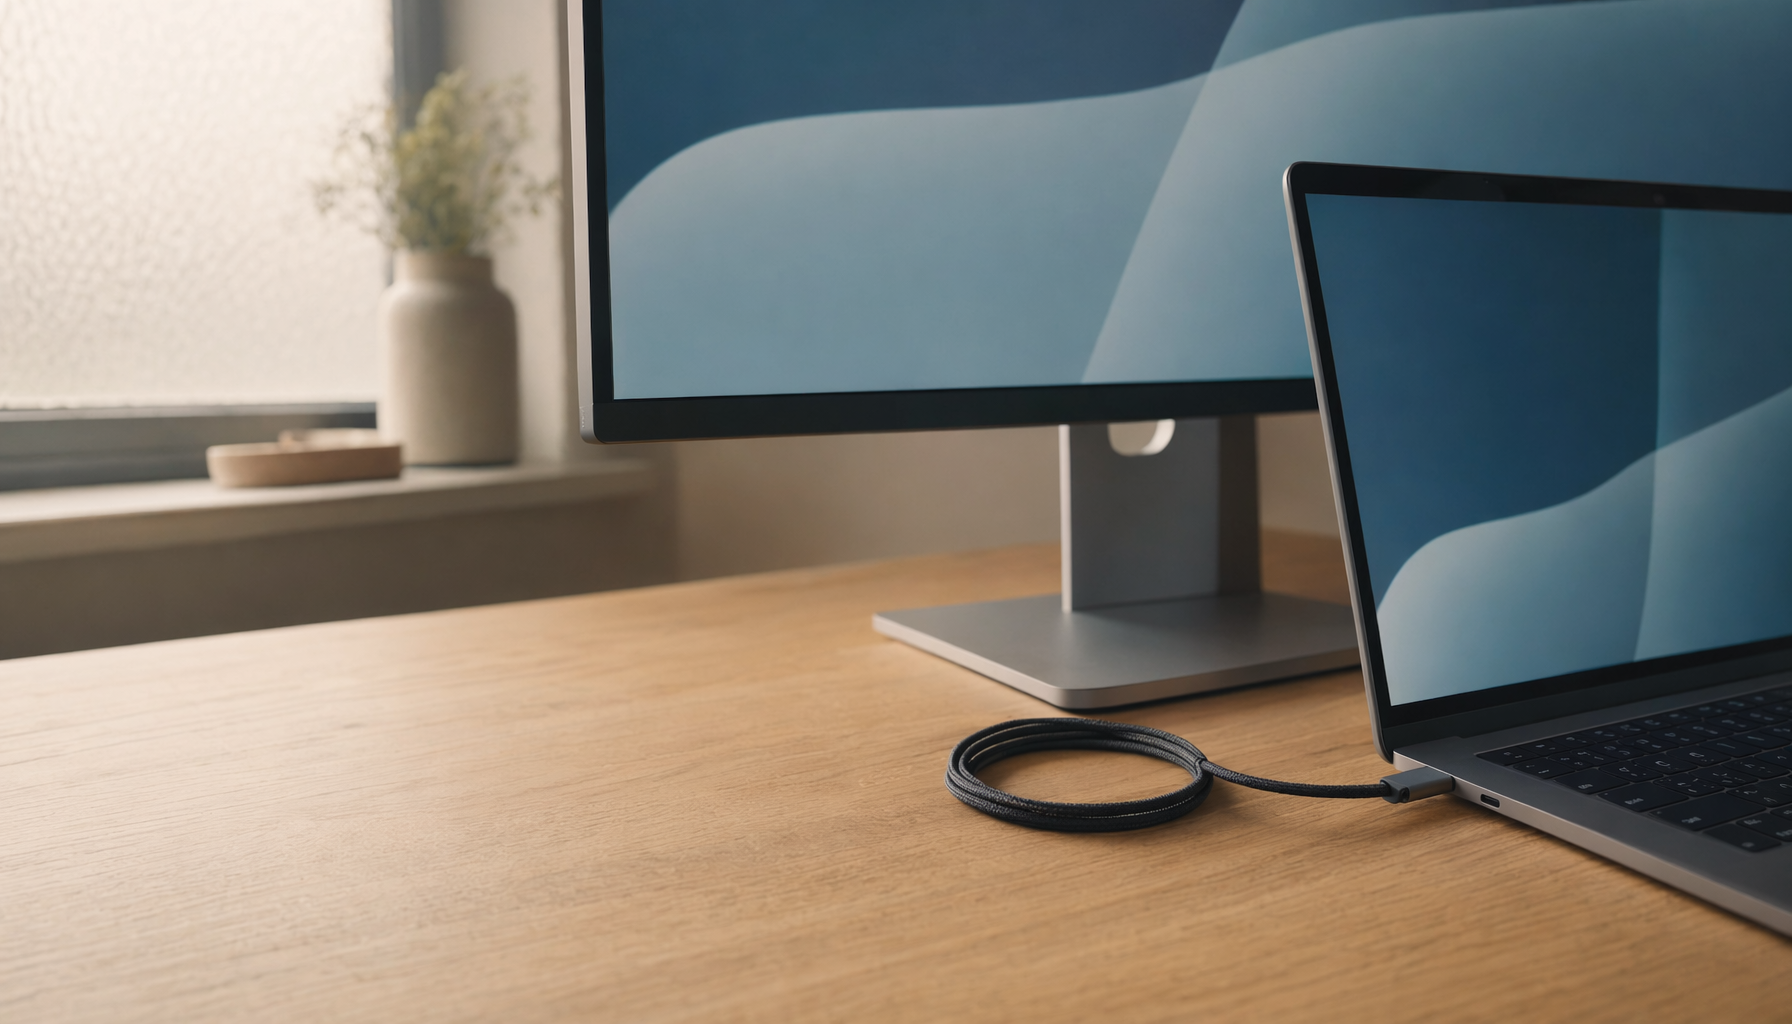
Portable USB-C monitors and budget edge-lit displays are more vulnerable because they have thin housings, tighter power limits, and often less uniform backlighting. A portable screen powered by a laptop may also change behavior depending on power mode, cable capability, or host-device output. If one cable path forces a reduced mode or unstable signal, troubleshoot the connection before recalibrating.
Panel uniformity is a separate issue from brightness percentage. A monitor can claim strong sRGB coverage and still show a cooler edge, a warmer corner, or dimmer side. Backlight uniformity affects whether the same white or gray appears consistent across the screen, which is critical for photo editing, UI design, product imagery, and multi-monitor work.
OLED avoids LCD backlight scaling, but it has its own brightness-management behavior. Automatic brightness limiting, HDR tone mapping, static-image protection, and pixel-care routines can change perceived luminance and contrast. Mini-LED LCDs can deliver strong HDR and resist OLED-style burn-in better, yet local dimming may alter perceived contrast around bright and dark zones. For color-critical SDR work, test with local dimming disabled or in the mode you actually plan to use.

How to Find Your Monitor’s Stable Brightness Range
Start by warming up the display, then choose Standard, Custom, User, or sRGB mode. Disable dynamic contrast, auto brightness, night light, aggressive eye-care processing, vivid enhancement, and inappropriate HDR processing. Set native resolution and the refresh rate you actually use.
Next, open a near-black gradient, a white field, a mid-gray field, and a familiar skin-tone image. Lower brightness slowly. If dark bars disappear, raise brightness until they are barely visible again. If the gray field changes tint as brightness drops, your monitor is drifting. If the tint stays in one corner, it is likely panel or backlight uniformity rather than a global brightness issue.

For a dim office, many users land around a moderate brightness rather than the lowest possible setting. In a bright room, going too dim is false economy because you lose contrast against the environment and start overcorrecting images. In a dark gaming setup, lower brightness can reduce fatigue, but keep enough shadow separation to preserve competitive visibility and artistic detail.
Calibration: Match the Brightness You Actually Use
Calibration is most reliable when performed at the brightness level and room lighting used for real work. If you edit at night around a low brightness setting, calibrating only at a bright daytime setting can leave the nighttime mode less trustworthy. Monitor calibration workflows emphasize consistent settings, and color calibration becomes especially important when screen output needs to match prints, another monitor, or client expectations.
A colorimeter is the cleanest answer for paid creative work, photography, design review, product content, and multi-monitor matching. Visual adjustment can get you closer, but it cannot measure Delta E, grayscale tracking, or subtle white balance errors. For everyday office productivity, you do not need to chase perfection; you need a stable mode, readable contrast, neutral whites, and repeatable brightness.

Pros and Cons of Lowering Brightness
Lower brightness has real advantages. It reduces eye strain in dim rooms, cuts power use, lowers heat, and can make long writing or coding sessions more comfortable. On portable displays, brightness reduction can meaningfully extend battery-powered work sessions.
The tradeoff is that very low brightness can reduce shadow detail, exaggerate panel unevenness, shift white point, and make saturation judgments less reliable. The best setting is not the lowest setting. It is the lowest setting that still preserves neutral grays, visible near-black detail, and comfortable contrast against your room lighting.
FAQ
Is 50% brightness always the safe point?
No. Brightness percentages are not standardized across monitors. One display at 40% may be brighter and more stable than another at 70%. Use test patterns and your room lighting rather than trusting the percentage.
Should I use sRGB mode at low brightness?
Use sRGB mode when you need reliable SDR color and the mode allows a comfortable brightness level. If sRGB locks brightness too high or too low, a calibrated Custom or User mode may be more practical.
Does a better cable fix low-brightness color drift?
Usually not. Digital cable problems tend to cause missing modes, flicker, artifacts, handshake failures, or reduced refresh and color formats. Subtle low-brightness color drift is more likely from monitor behavior, presets, calibration, uniformity, or room lighting.
Your monitor is most trustworthy when brightness, picture mode, room lighting, and calibration all describe the same working condition. Dim the screen for comfort, but keep a stable reference mode ready for the moments when color decisions matter.


