


The fastest reliable test is to run the exact signal you bought the cable for on a direct connection and verify that it stays stable without dropouts, artifacts, or quality fallback.
Does your monitor look perfect at one setting, then flicker, blur text, or lose signal the moment you switch to the mode printed on the box? A clean bench test can usually separate a weak cable from a bad adapter, port, or settings mismatch in one session. You will end up with a practical way to confirm whether the cable can really carry its advertised load.
What “full bandwidth” actually means in real use
A cable’s printed speed matters only if the complete link can sustain your intended signal format, because cabling standards address performance, compatibility, and installation quality, not just the connector on the end. For a gaming monitor, that usually means your target resolution, refresh rate, color depth, and features such as HDR or variable refresh all working together. For an office display, it may simply mean stable 4K at full desktop clarity. For Ethernet, it means the installed run meets the category performance the jacket claims.
In practice, “works” and “supports full bandwidth” are not the same. A cable may light up the display and still fail the real test by dropping to a lower refresh rate, compressing the signal path, softening fine text, or cutting out during longer sessions. On a test bench, the most common pattern is partial success at easier modes, followed by instability once you push the advertised ceiling.
Why packaging alone is not proof

For DisplayPort, certified DisplayPort cables are the safest baseline because the standard is designed to avoid bad cables rather than reward expensive ones. That matters for monitor buyers who assume a higher price guarantees better image quality. If the cable transmits the digital signal correctly, paying more does not create a sharper picture. The real value is reliability and verified compliance.
The same logic applies outside DisplayPort. Ultra High Speed HDMI and newer network categories exist because marketing claims are easy to print, while verified performance is harder to fake. If the package says the cable is built for high-refresh 4K or future-ready networking, treat that as a claim to test, not a verdict to trust.
The cleanest home test starts with the shortest signal path

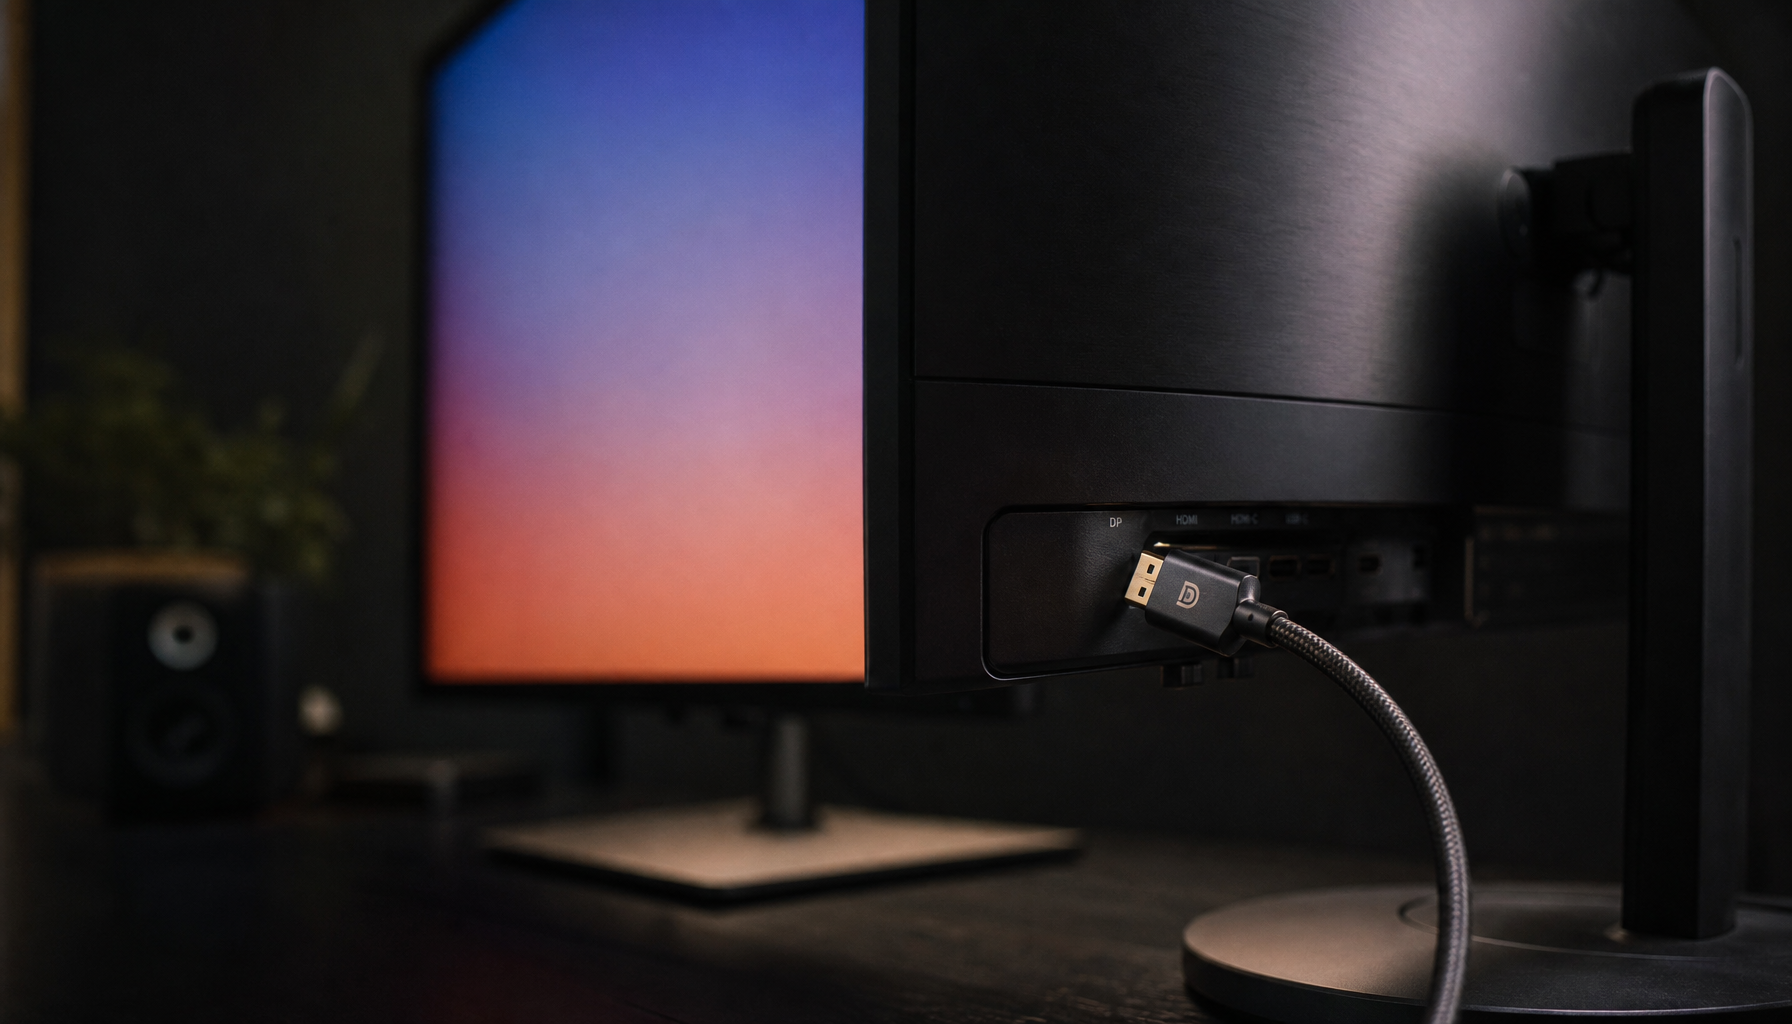
A direct connection is the only fair starting point because field certification and troubleshooting are meant to isolate the cable from other failure points. Connect the source straight to the display. Remove docks, adapters, AV receivers, capture devices, and extension couplers. If you are testing a monitor cable, use the display’s native input and the source’s native output. If you are testing network cable, patch directly into known-good equipment rather than through unknown wall plates and bargain couplers.
This matters because a bad intermediate device can mimic a bad cable almost perfectly. Someone chasing 4K at high refresh may blame the HDMI cable when the real bottleneck is a dock or adapter. A home office user may blame internet service when the real issue is weak termination or interference in the cabling path. A clean test setup removes those false leads early.
How to stress the cable the right way
The most honest test is the heaviest mode you actually plan to use, because cable performance usually degrades first under higher frequency and more demanding conditions. For a monitor cable, set the display to its maximum intended resolution and refresh rate in the GPU control panel or operating system, then confirm the monitor reports that same active mode in its on-screen menu. Leave it there long enough to catch intermittent failures, not just a quick desktop flash.
For DisplayPort specifically, all certified DisplayPort cables support HBR2, which is enough for 4K at 60 Hz. If your monitor is advertised for higher-refresh 1440p, 4K above 60 Hz, or more advanced features, the practical test is whether that exact mode stays stable during actual use without sparkles, black screens, audio glitches, or random wake problems. Those are classic signs of marginal signal integrity, not just driver issues.
For network cable, run the link at the highest speed your devices support and watch for renegotiation, packet loss, or fallback to a lower link rate. A Cat6 run that behaves like a lower category under load has already failed the spirit of the label, even if it occasionally passes traffic.
Length, bends, and interference can make a good cable behave like a bad one
Longer runs raise the stakes because signal loss, impedance effects, and noise sensitivity become more important as distance increases. That is why a short cable may pass a monitor test while a longer version of the same nominal spec does not. For home display setups, a roughly 6 ft run is usually a better verification baseline than a much longer cable snaked behind furniture.
Physical handling matters more than many buyers expect. Exceeding bend radius can raise loss, damage the cable, and reduce signal quality, while poor routing near power lines increases the odds of interference. In practical terms, do not coil the cable into a tight loop behind the desk, crush it under a monitor arm, or test it while it is draped across a noisy power brick if you can avoid it.
Shielding is part of the same equation because foil and braided shielding involve different tradeoffs. Foil is lighter and less expensive, while braided copper is tougher and generally better at suppressing noise. That does not mean every short desktop cable needs the heaviest shielding available, but it does explain why one cable survives a noisy setup and another falls apart.
What pass and fail usually look like

Test result |
What it usually means |
What to do next |
Target mode locks in and stays stable |
The cable is likely meeting the claimed bandwidth in your setup |
Keep the direct-path setup as your baseline |
Display works only at lower refresh or resolution |
Signal headroom is insufficient somewhere in the chain |
Swap in a shorter or certified cable and remove adapters |
Random black screens, sparkles, or audio pops |
Marginal cable quality or interference is likely |
Re-test with cleaner routing and a known-good port |
Ethernet link drops to a lower speed |
Cable, termination, or installation quality is limiting performance |
Re-terminate or certify the run with proper test gear |
When you need more than a home test
Real compliance testing uses specialized instruments because VESA-authorized test tools separate cable PHY, source PHY, sink PHY, and protocol behavior instead of guessing from symptoms alone. That is the professional standard, and it is why a home test should be framed honestly: you are verifying practical performance in your own signal chain, not issuing a lab certificate.
For structured cabling, the same principle holds. Network certification checks length, attenuation, crosstalk, and return loss against defined pass/fail limits. If you are wiring an office, a studio, or a whole-home network, that is where proper certification earns its keep. For a single desk setup, your best substitute is disciplined testing with known-good hardware and the exact mode you care about.
The most reliable buying and testing mindset

The strongest rule is to choose the right standard, then prove it in your actual use case, because modern categories and certified cable types matter only when they match your distance, speed, and device compatibility. A short, certified cable usually beats a longer, flashier, unverified one. That is especially true for high-refresh gaming displays, where bandwidth margin disappears quickly.
If the cable passes a direct maximum-mode test with clean routing and no intermediaries, it is doing the job the package promised. If it works only after you lower the load, shorten the run, or remove key features, the packaging may still look impressive, but the signal path has already told you the truth.
A display should feel effortless at full speed. When the cable is right, your monitor reaches its rated mode cleanly, your desktop stays crisp, and your setup fades into the background instead of fighting you.


