


USB-C single-cable docking reduces desk clutter, but it does not eliminate cable planning. The main challenges are cable capability, cable length, power routing, monitor bandwidth, device compatibility, and safe under-desk organization.
Does your clean one-cable laptop setup still leave a knot of HDMI, power, Ethernet, and charger cords hiding behind the monitor? A well-planned USB-C dock can make your laptop connection faster to use every day, but only when the dock cable, power path, and hidden cable routes match the devices on your desk. Here is how to build a cleaner, more reliable docking setup without trading visible clutter for hidden performance problems.
The Promise and the Reality of Single-Cable Docking
A USB-C dock is supposed to turn one laptop port into a full workstation: monitor output, keyboard, mouse, Ethernet, storage, audio, and charging through a single connection. That is the right direction for modern offices, hybrid workstations, gaming desks, and portable smart-screen setups. The visible win is obvious: one cable to the laptop instead of five.
The challenge is that “one cable” only describes the laptop side. The dock still needs power, display cables, peripheral cables, Ethernet, and sometimes a separate charger. A USB-C dock expands a laptop into multiple ports, but it does not make downstream cables disappear. In practice, the dock becomes the new traffic hub, and the quality of your setup depends on how well that hub is placed, powered, and routed.
For a real desk example, imagine a 27-inch 4K monitor, wired keyboard, gaming mouse, webcam, Ethernet, external SSD, and laptop charger. The laptop may see one USB-C cable, but the dock still has six or seven connections leaving it. If the dock sits loose on the desk, the setup often looks cleaner for one day and then becomes harder to troubleshoot than the original cable mess.
The First Challenge: Not Every USB-C Cable Can Dock

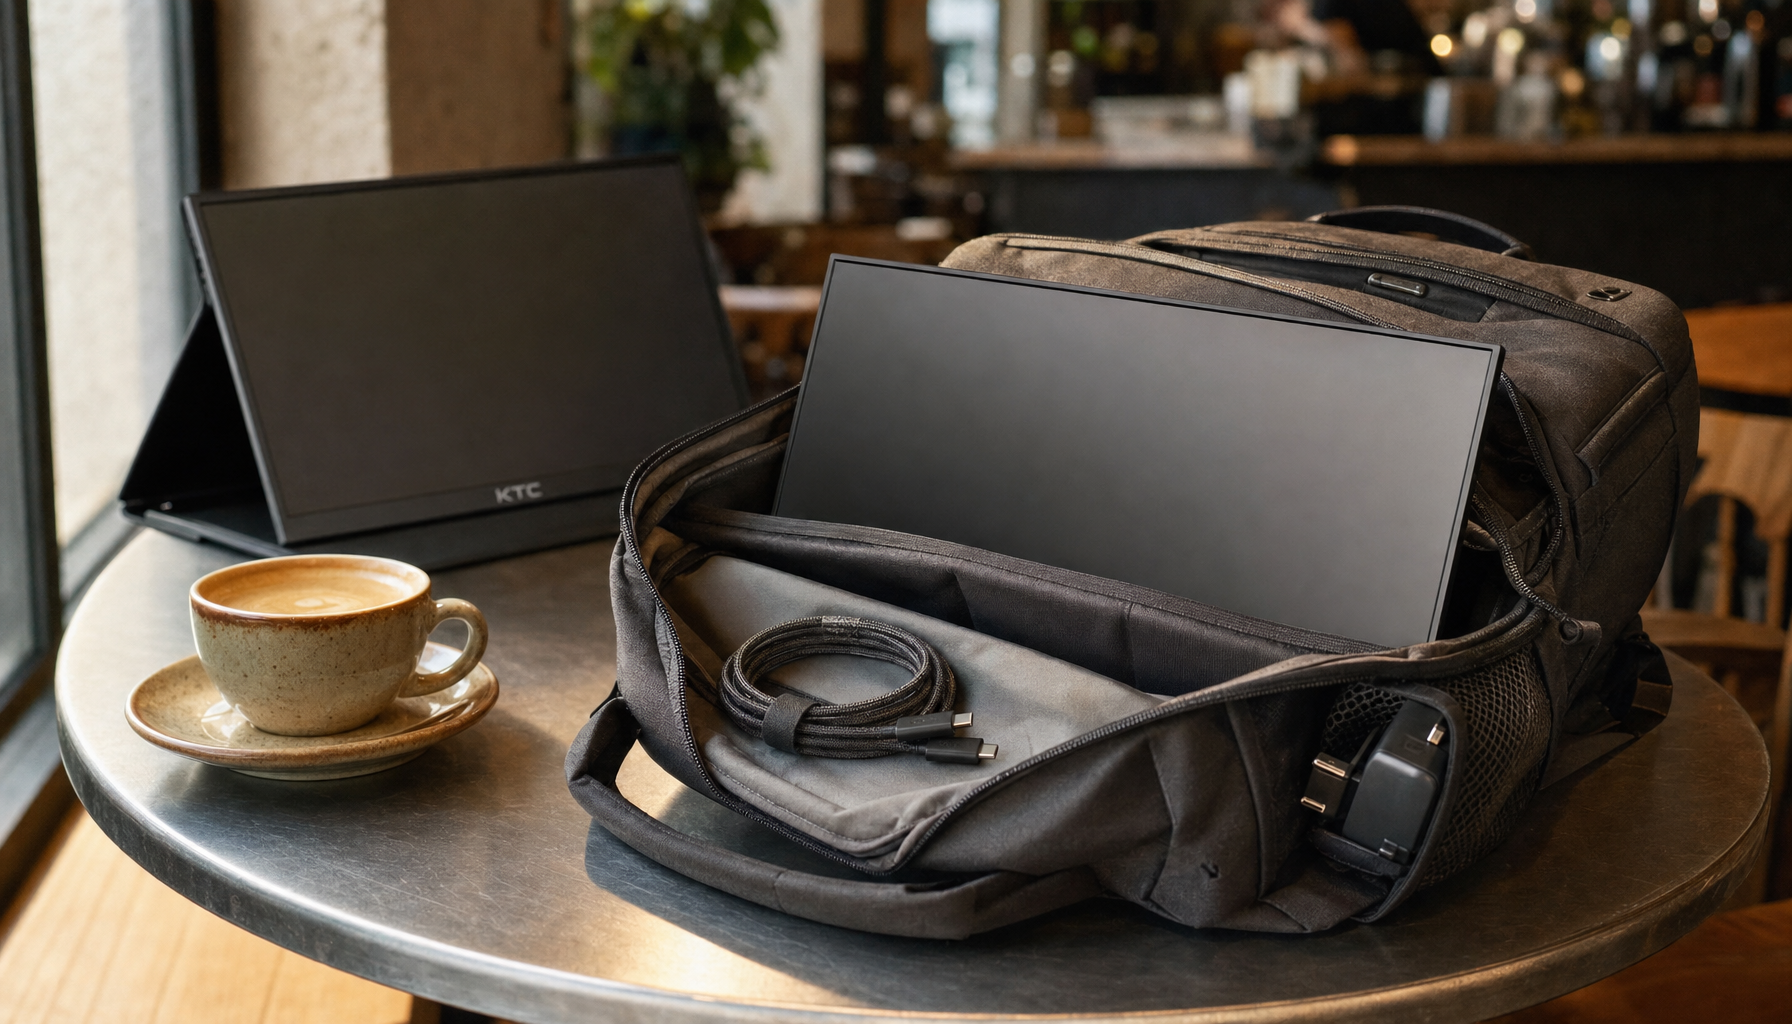
The most common failure point is the cable itself. USB-C connectors look nearly identical, yet the internal wiring can support very different jobs. A charging cable that works perfectly for a phone may fail with a dock because it lacks the conductors needed for fast data, video, or Thunderbolt features. USB-C cables can look identical, which is why using the cable included with the dock is usually the most reliable starting point.
This creates a cable management problem because the best docking cable is often short. Fully featured USB-C data cables are commonly around 3.3 ft, while charge-only cables can be much longer. That means you cannot always place the dock wherever it looks best. If your laptop sits on the left side of the desk and the monitor arm, power strip, and Ethernet jack are on the right, a short certified cable may force you to reposition the dock instead of simply buying a longer cable.
The practical move is to treat the host cable as a performance component, not decoration. Keep it visible enough to inspect, label it as the dock cable, and avoid swapping it with a random USB-C charging cord from a drawer. For gaming monitors, 4K productivity displays, and smart portable screens, this matters because video dropouts, low refresh rates, and failed charging can all trace back to the wrong cable.
The Second Challenge: Dock Placement Is a Performance Decision

A dock placed too far from the laptop strains the host cable. A dock placed too far from the monitor creates long HDMI or DisplayPort runs. A dock placed under the desk can look clean but may make SD card slots, USB ports, or headphone jacks annoying to reach. That tradeoff is the heart of cable management for single-cable docking.
For office productivity, the best location is often behind the monitor or mounted under the back edge of the desk, close enough for the short USB-C host cable and close enough to the monitor inputs. For a gaming setup, you may want the dock separated from high-use controls so the mouse cable, headset cable, and controller charging line are not crossing the display cables. For a portable smart screen, the dock may need to sit close to the screen so the display cable and power cable stay short and stable.
Under-desk cable trays are often the anchor point. Practical cable-management testing has found that a complete cable management setup can be built around trays, sleeves, and clips for about $50, with the caveat that installation takes time and cheap adhesives may fail. The setup should leave enough room for the dock’s power brick, the power strip, and service loops for cables you may need to unplug later.
The Third Challenge: Power Delivery Is Not the Same as Power Simplicity

USB-C Power Delivery makes single-cable docking feel elegant because the laptop charges through the same cable used for data and display. The limitation is that the dock’s advertised wattage does not always equal the power your laptop receives after the dock powers its own electronics and connected devices. A dock advertised at 85W or 100W may still require the correct external charger, and some compact docks do not include that charger.
Power routing is also where cable boxes and hidden trays need care. Safety guidance notes that cable management boxes are generally safe when used properly, but they should not be overfilled, should allow airflow, and should not contain sharply bent cords or covered surge-protector vents. That advice matters more with docking setups because docks, laptop chargers, monitor power bricks, and power strips can concentrate heat in one hidden spot.
A reliable layout keeps high-power components ventilated and accessible. Do not bury a hot power brick under tightly bundled cables. Do not daisy-chain power strips. If a cable box or under-desk tray feels warm, reduce the load, improve airflow, or split devices across outlets.
The Fourth Challenge: Monitor Bandwidth Can Break the Clean Setup
Single-cable docking becomes more complicated when displays enter the picture. A 1080p office monitor is easy. A 4K 60 Hz productivity display is more demanding. A high-refresh gaming monitor is more demanding still. The dock, laptop port, USB-C cable, monitor cable, and operating system all have to support the intended resolution and refresh rate.
A real-world troubleshooting approach is to use USB 3.2 Gen 2 docks for Ethernet and USB peripherals when that is the priority, but consider driving a 4K 60 Hz display directly from the laptop when display reliability matters most. That approach may add one visible cable, but it can outperform a fragile “everything through the dock” setup.
This is where the cleanest-looking solution is not always the best-performing one. For an esports desk, a direct DisplayPort or HDMI path to the monitor may preserve refresh-rate confidence. For a dual-monitor office desk, the dock may be ideal. For a portable smart screen, a short USB-C video cable and a dedicated power path may be more stable than forcing every signal through a compact hub.
Setup Goal |
Likely Cable Challenge |
Practical Fix |
4K office monitor |
Dock and cable may not support 4K 60 Hz reliably |
Verify video specs before routing cables permanently |
High-refresh gaming monitor |
Bandwidth limits may reduce refresh rate |
Consider direct monitor connection from laptop or GPU |
Hot-desking laptop |
Host cable gets swapped or misplaced |
Label the certified dock cable and keep it clipped in place |
Standing desk |
Cables pull at full height |
Use a vertical cable chain or sleeve with slack |
Minimalist desk |
Hidden power gear can overheat |
Keep power bricks ventilated and accessible |
The Fifth Challenge: Standing Desks Need Moving Cable Routes

Standing desks punish cable layouts that work fine at sitting height. A USB-C dock may stay attached to the desktop, but the outlet is usually fixed near the floor or wall. That means the power cable, Ethernet cable, and sometimes monitor power cables need enough travel to rise with the desk.
Cable chains, also called cable spines, solve this better than loose dangling cords. For full desk travel, cable chains should often be more than 50 inches long so they do not dangle when the desk is raised. They also need solid mounting brackets that stay tucked under the desktop; otherwise, cables can become visible above the desk or prevent the desk from sitting close to the wall.
For a standing gaming or productivity station, test the full height range before tightening anything. Raise the desk to its highest position, check that no cable pulls against the dock, monitor, or power strip, then lower it and confirm nothing loops into your legs or chair path.
The Sixth Challenge: Accessories Can Help or Create Maintenance Friction
Cable clips, sleeves, ties, trays, risers, and boxes all help, but over-organizing can make upgrades painful. A tight sleeve around every cable looks clean until you need to swap a monitor, replace a dock, or test a different USB-C cable. The best setup separates permanent cables from frequently touched cables.
Cable-management advice often emphasizes planning routes before attaching clips and choosing cable lengths with modest slack rather than using oversized cords that create loops. Cable lengths matter, especially when the dock’s host cable is short and the display or power cables are long. The goal is controlled slack, not tension.
A strong desk layout usually has three zones. The laptop-side host cable stays easy to reach and clearly labeled. The dock-side permanent cables route into a tray or sleeve behind the monitor. Charge-only accessories, such as phones, earbuds, watches, and tablets, move to a separate charging station instead of competing with the dock.

Pros and Cons of USB-C Single-Cable Docking
The main advantage is speed of use. You sit down, connect one cable, and the workstation comes alive. For office displays, webcams, Ethernet, and external storage, that is a real productivity upgrade. It also keeps expensive laptop ports from wearing through constant multi-cable plugging.
The tradeoff is that the setup becomes more dependent on specifications. The wrong cable, weak power delivery, unsupported display mode, or poor dock placement can create intermittent failures that feel random. Docking station accessories such as adapters, extenders, and video converters can help bridge older hardware, but every adapter adds another point to manage.
For buyers, the better question is not “Can this dock do everything?” It is “Which cables should the dock handle, and which should stay direct?” That answer depends on your monitor resolution, refresh rate, laptop charging needs, desk movement, and tolerance for visible cables.
How to Build a Cleaner Docking Setup That Still Performs
Start with the dock’s included host cable and confirm charging, display output, Ethernet, and USB storage before installing any cable tray or sleeve. Then place the dock near the laptop and monitor, not just where it looks symmetrical. Once performance is verified, route power and display cables under the back edge of the desk, leaving gentle slack near each port.
Use hook-and-loop ties instead of permanent zip ties for anything likely to change. Label the dock’s host cable, monitor cable, power input, and Ethernet line. Keep the power strip in an under-desk tray or ventilated box, but avoid stuffing power bricks into a sealed space. If the desk raises, test the cable path at full height before calling the job finished.
For a high-performance display setup, be willing to keep one direct monitor cable if it protects resolution, refresh rate, or latency. A clean desk should support the screen experience, not quietly downgrade it.
A USB-C single-cable dock is a powerful centerpiece, not a magic eraser. Treat the dock cable as a spec-critical part, give power hardware room to breathe, route cables for serviceability, and let performance decide when one extra direct display cable is worth it.


