


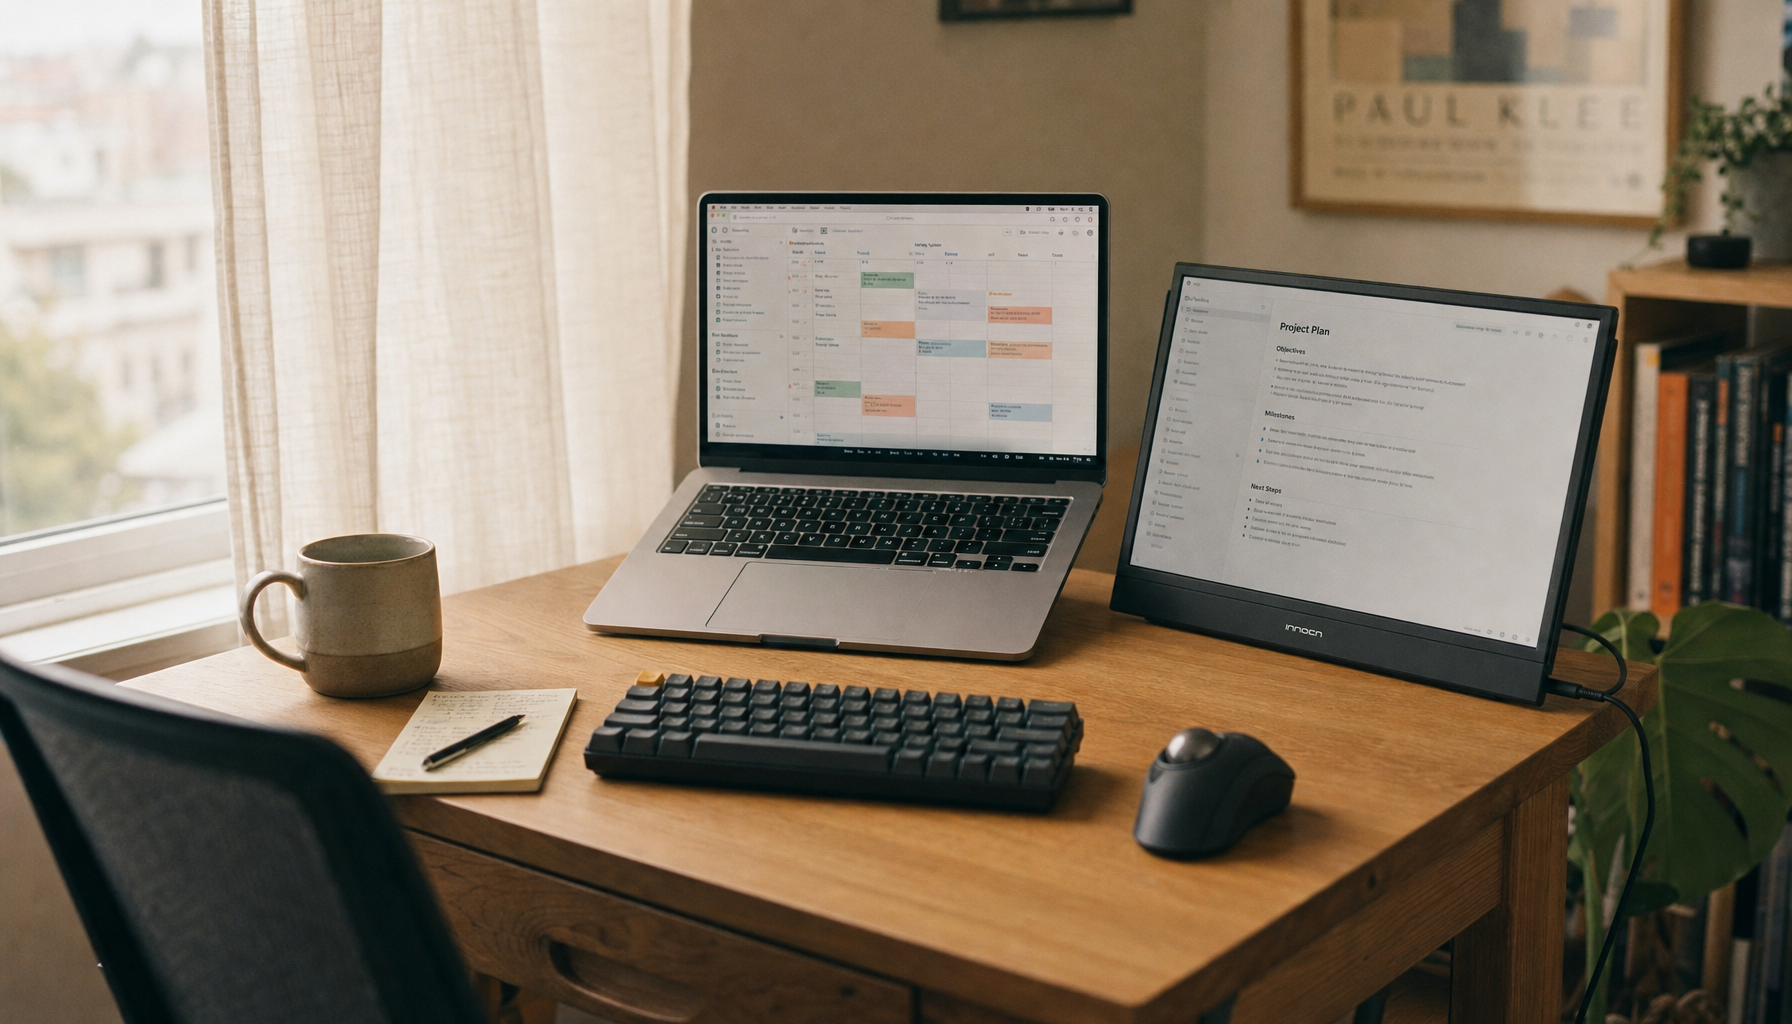
Daily portable monitor setups depend on repeatable routing, smart cable choices, and quick failure checks. The best kit is one you can pack in under a minute, rebuild without guessing, and use without stressing the ports.
Ever pull a portable monitor from your bag, only to find a USB-C cable kinked around a charger, an HDMI adapter missing, and your second screen flickering five minutes before a call? A small, labeled kit with the right slack and one backup path can make setup faster, reduce port strain, and prevent the most common display failures. Here’s how to build a daily pack-and-unpack system that stays clean without becoming fragile.
The Daily Reality: Portable Does Not Mean Cable-Free
Portable monitors promise flexibility, but the real-world kit often includes a display cable, a power cable, a charger, a wall adapter, a hub, and sometimes HDMI plus USB for touch. That is why general desk cable guidance still matters: cable management is not just hiding wires; it is organizing, routing, securing, and labeling them so the workspace functions better.
For a portable display, the challenge is different from a fixed desk. You do not have an under-desk tray, permanent grommet, or mounted power strip doing the work. Your cable management system is your pouch, cable length, connector discipline, and the order in which you unpack. A beautiful setup that takes five minutes to untangle every morning is not performance-driven; it is friction with a premium finish.
The Core Tradeoff: Fewer Cables vs. More Reliable Cables
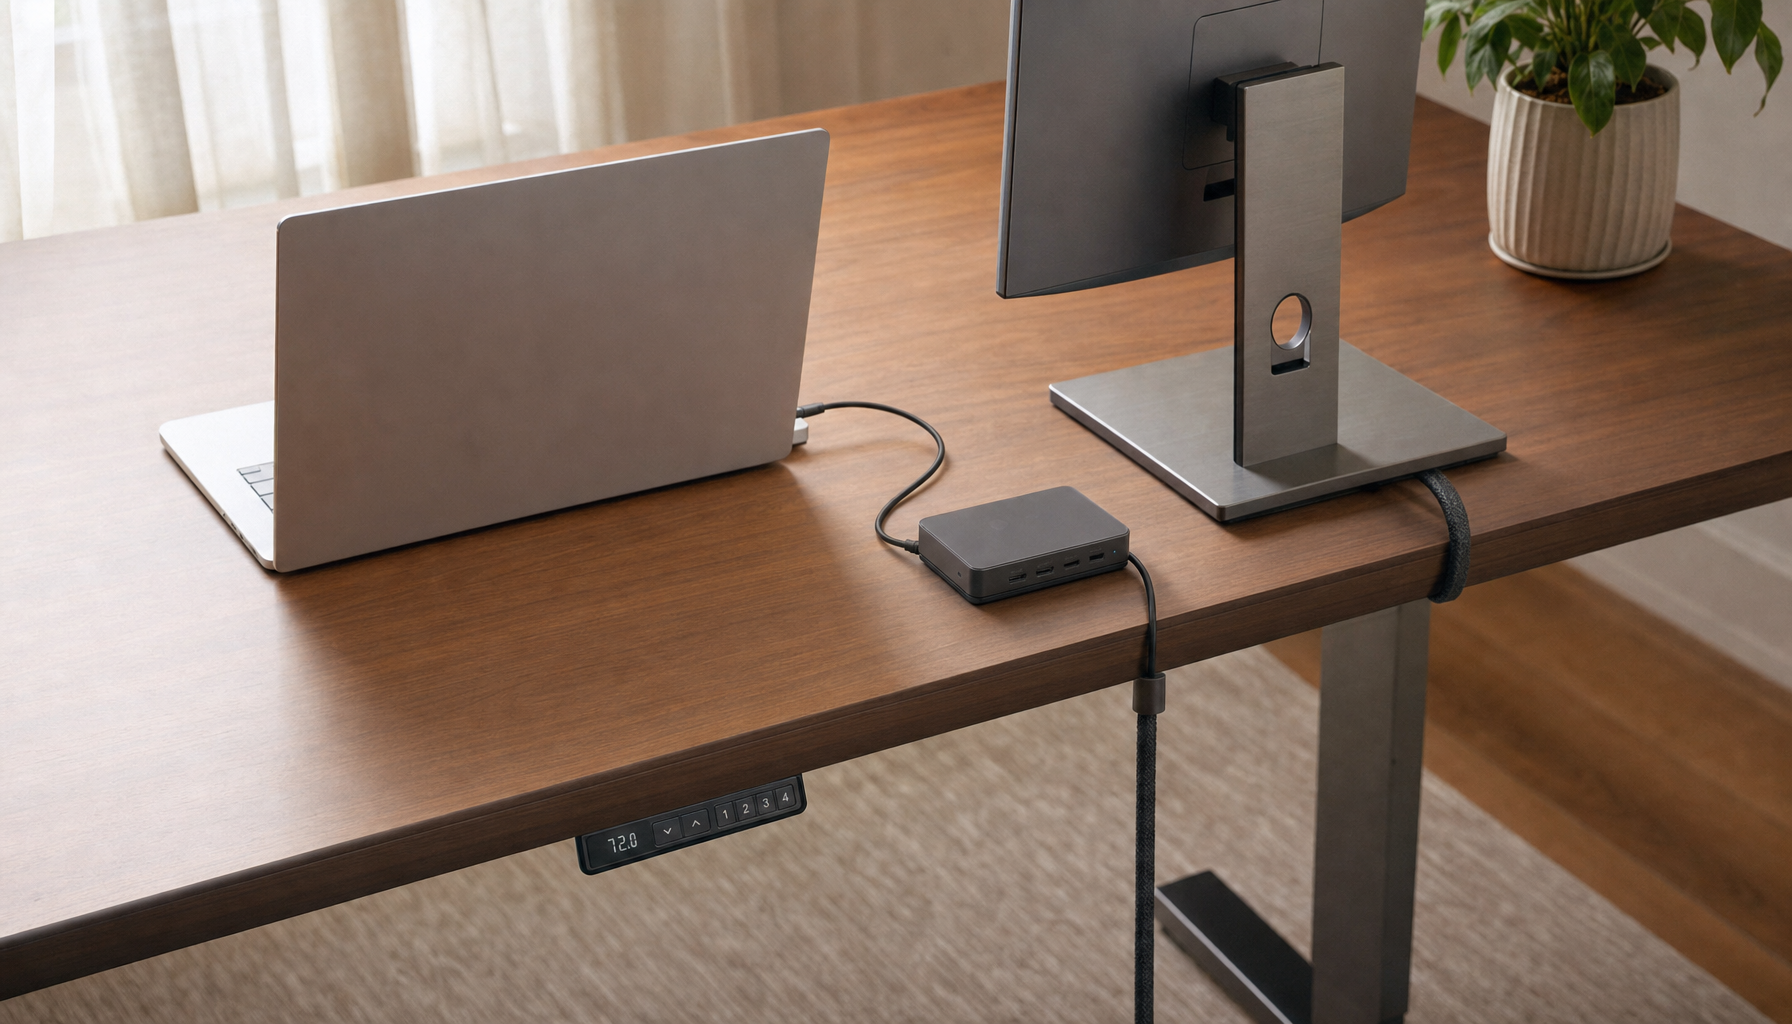
A single USB-C cable is the dream setup. When the laptop, monitor, and cable all support video, data, and power, one cable can carry the whole experience. The catch is that USB-C is a connector shape, not a promise of capability. In practice, many failed portable monitor setups come from using a charging-only USB-C cable or a laptop port that does not support display output.
The value-oriented approach is to build around a primary path and a fallback path. Your primary path might be a full-featured USB-C cable for video and power. Your fallback path might be HDMI for video plus USB-C power. That adds bulk, but it protects you when presenting from an older laptop, console, mini PC, or dock. The difference between minimal and reliable is often one short spare cable and one labeled adapter.
This is where office cable advice transfers cleanly to mobile work. Organized cords reduce distraction and make the workspace easier to use, but for a portable monitor they also reduce troubleshooting time. If two black USB-C cables look identical and only one supports display output, labeling both ends is not neatness theater; it is uptime.
What to Pack: The Practical Cable Kit
A daily portable monitor kit should be compact, but it should not be underbuilt. For a 14-inch to 16-inch portable screen, a sensible kit usually includes one full-featured USB-C cable, one shorter USB-C power cable, one compact charger, one HDMI or mini HDMI cable if your monitor supports it, and one small adapter only if you actually use it weekly.

The best cable length depends on your work surface. A 1 ft cable can look clean on a coffee shop table but may pull sharply if the laptop is raised on a stand. A 3 ft cable is usually easier to route around a laptop, tablet stand, or compact dock without creating a messy loop. A 6 ft cable belongs in a travel bag only when wall outlets are unpredictable, because excess length is where tangles begin.
Cable clips are useful for frequently accessed cords on a fixed desk, but in a portable setup their equivalent is a reusable wrap or small cable keeper. Avoid tight zip ties for daily-use cables. Reusable hook-and-loop wraps are better because the setup changes constantly and the cable jacket should not be pinched.
Packing Is Where Most Cable Damage Starts
The fastest way to ruin a reliable portable display setup is to coil every cable tightly and compress it against power bricks. Cable wear is usually boring until it becomes expensive: frayed jackets, bent USB-C tips, intermittent HDMI output, or a monitor that only works when the cable sits at a certain angle.

The better method is a loose coil with connector ends protected from bending. Keep power bricks away from thin video cables inside the pouch. If your bag has compartments, give the monitor cable its own flat sleeve or mesh pocket. This is not about luxury organization; it keeps the most failure-prone parts from grinding against harder objects during commuting.
Workplace cable guidance consistently warns that poor organization can create damaged equipment, overheating, and maintenance problems. In a mobile kit, damaged equipment usually shows up as unreliable connections rather than visible desk hazards. A cable that is kinked every day in a bag may still look fine until it fails during a client call or tournament check-in.
Unpacking Should Follow a Repeatable Order
A portable monitor setup becomes fast when the order is always the same. Place the screen first, set the laptop angle, connect display before power if using one-cable USB-C, then add external power only if brightness, touch, or stability requires it. If using HDMI, connect video first, then USB power or touch data, then confirm the operating system sees the display.

This order matters because portable setups are often diagnosed under pressure. If you connect a dock, charger, hub, and display all at once, you create four possible failure points. If the display does not wake, you do not know whether the issue is the cable, port, power budget, hub, or monitor input. A repeatable sequence turns troubleshooting into a quick check instead of a desk-side rebuild.
A useful field habit is taking one cell phone photo of the working setup, especially when using a hub or touchscreen monitor. It sounds basic, but the photo becomes your wiring map. For anyone who changes desks daily, that is the portable version of the documentation recommended in professional cable-management systems.
Pros and Cons of a Minimal Cable Setup
The strongest benefit of a minimal portable setup is speed. One capable USB-C cable keeps the workspace clean, reduces bag weight, and preserves the immersive feel of a second screen without visual clutter. It also makes small tables more usable, which matters in airports, shared offices, classrooms, and hotel rooms.
The drawback is compatibility risk. One-cable operation depends on the laptop port, monitor electronics, and cable specification all agreeing. If one part fails the chain, the whole setup collapses. Minimalism works best when you control the laptop and monitor every day, not when you regularly connect to borrowed devices.
A slightly larger kit is less elegant but more resilient. HDMI plus USB power can rescue older laptops and some mini PCs. A compact charger can stabilize brightness and prevent battery drain. The cost is more to pack, more to label, and more to manage. For daily professional use, that tradeoff is usually worth it.

Fixed Desk Thinking Still Helps Mobile Setups
Traditional desk advice recommends sorting, hiding, and anchoring cables. For portable screens, translate that into sorting, bundling, and staging. Sort cables by function so power, video, and data are not treated as interchangeable. Bundle only the cables that travel together. Stage the kit so the first cable you need is the easiest one to reach.
Under-desk trays and cable baskets are excellent for permanent workstations, but they do not solve the mobile problem. However, the same principle applies: keep power components contained and keep signal cables easy to identify. A compact tech pouch becomes the travel version of the under-desk tray.
Premium desk accessories can integrate cable storage, power, and charging into one polished station. One high-end desk accessory review highlights a concealed cord chamber, rear AC outlets, USB ports, wireless charging zones, and a $900.00 price point, showing how far integrated cable management can go for fixed desks. For a portable monitor user, the lesson is not to buy a massive riser; it is that integrated cable storage works best when cables have a defined home.
A Simple Daily Maintenance Habit
Before packing up, check three things: whether the connector is warm or strained, whether the cable jacket has a new bend or nick, and whether every adapter returned to the pouch. Do this while the monitor is still connected, because that is when port strain is easiest to see.
Every few weeks, empty the pouch completely. Remove duplicate adapters, test the main USB-C cable, and replace any cable that only works at one angle. Visual clutter can reduce focus in a workspace, but in a portable kit, hidden clutter is just as costly because it creates delays at the exact moment you need the screen working.
FAQ
Do I really need to label cables in a portable monitor kit?
Yes, if two cables share the same connector but not the same capability. Label the full-featured USB-C cable as “video” or “display” and the charging cable as “power.” That single habit prevents one of the most common portable monitor setup failures.
Are shorter cables always better?
No. Shorter cables reduce clutter, but too-short cables pull on ports when the laptop or monitor moves. For most daily portable monitor setups, a flexible 3 ft cable is the practical center point.
Should I carry HDMI if USB-C works?
If you always use the same laptop, maybe not. If you travel, present, game, or connect to shared machines, HDMI is a reliable fallback that earns its space.
Closing Thought
The real cable management win is not a spotless photo; it is a setup that survives daily movement. Choose capable cables, give each one a defined role, pack them without stress, and build a repeatable connection order. That is how a portable monitor stays immersive instead of becoming another thing to troubleshoot.


