


Place your display so ceiling lights are not in the screen’s mirror path. The best setup usually combines a side-facing desk orientation, controlled overhead brightness, soft task lighting, and a monitor height that keeps your posture neutral.
Do you keep nudging your monitor, squinting through a washed-out spreadsheet, or leaning sideways during ranked matches because a ceiling fixture is sitting in the middle of the screen? A five-minute reflection check from your normal seated position can reveal whether the problem is your desk angle, monitor tilt, overhead light, or lamp placement. Use this practical desk-arrangement sequence to get glare off your display without hurting ergonomics or productivity.
Why Ceiling Light Reflections Happen
Glare is reflected light on a computer screen that makes the display harder to see clearly, and overhead lighting is a common source. On glossy screens, the panel behaves almost like a dark mirror. On matte screens, the reflection spreads out, often becoming a gray haze instead of a sharp light spot. Both reduce contrast, which is especially hard on dark game scenes, color grading, coding themes, financial dashboards, and long document work.
The key concept is simple: if a ceiling light can bounce off the screen into your eyes, it will show up as glare. You do not have to make the room dark. You need to break that reflection path while preserving comfortable ambient light around the desk.
Start With the Seated Reflection Test
Before moving furniture, sit exactly where you normally work or play. Open a mostly dark window on your display, such as a blank dark document, a black browser tab, or a paused dark scene. Look for bright patches, fixture shapes, or washed-out zones. Then gently tilt and swivel the monitor while watching whether the reflection moves.

Check the screen from your normal workstation position because glare is position-dependent. A display that looks fine while standing can be hard to use once you sit down. If the bright patch disappears when you lean a few inches left or right, desk orientation is probably the fix. If it disappears when you tilt the monitor slightly, the fixture may be manageable through screen angle alone.
For example, if your ceiling light is centered above and slightly behind you, a flat vertical monitor often catches that light directly. Pulling the monitor a few inches forward, lowering the top edge slightly, or tilting the panel back a touch may shift the reflection below your eye line. If the reflection remains centered, rotate the desk or move the monitor laterally.
Arrange the Desk at a Right Angle to Major Light Sources
The strongest desk move is to avoid facing directly toward or away from bright light. For windows, the classic recommendation is a 90-degree arrangement, and the same logic often helps with ceiling fixtures: place the screen so light approaches from the side instead of bouncing straight back into your eyes. A recommended monitor position is at a 90-degree angle to the window, and that principle also helps with overhead glare because it reduces direct reflection geometry.
In a home office with a single ceiling fixture, try placing the desk so the monitor is not directly under the light and not directly between you and the light. A difference of even 1 to 2 ft can matter. If the fixture is fixed in the room center, move the desk slightly off-center and angle the screen so the reflection lands to the side of your face instead of at eye level.
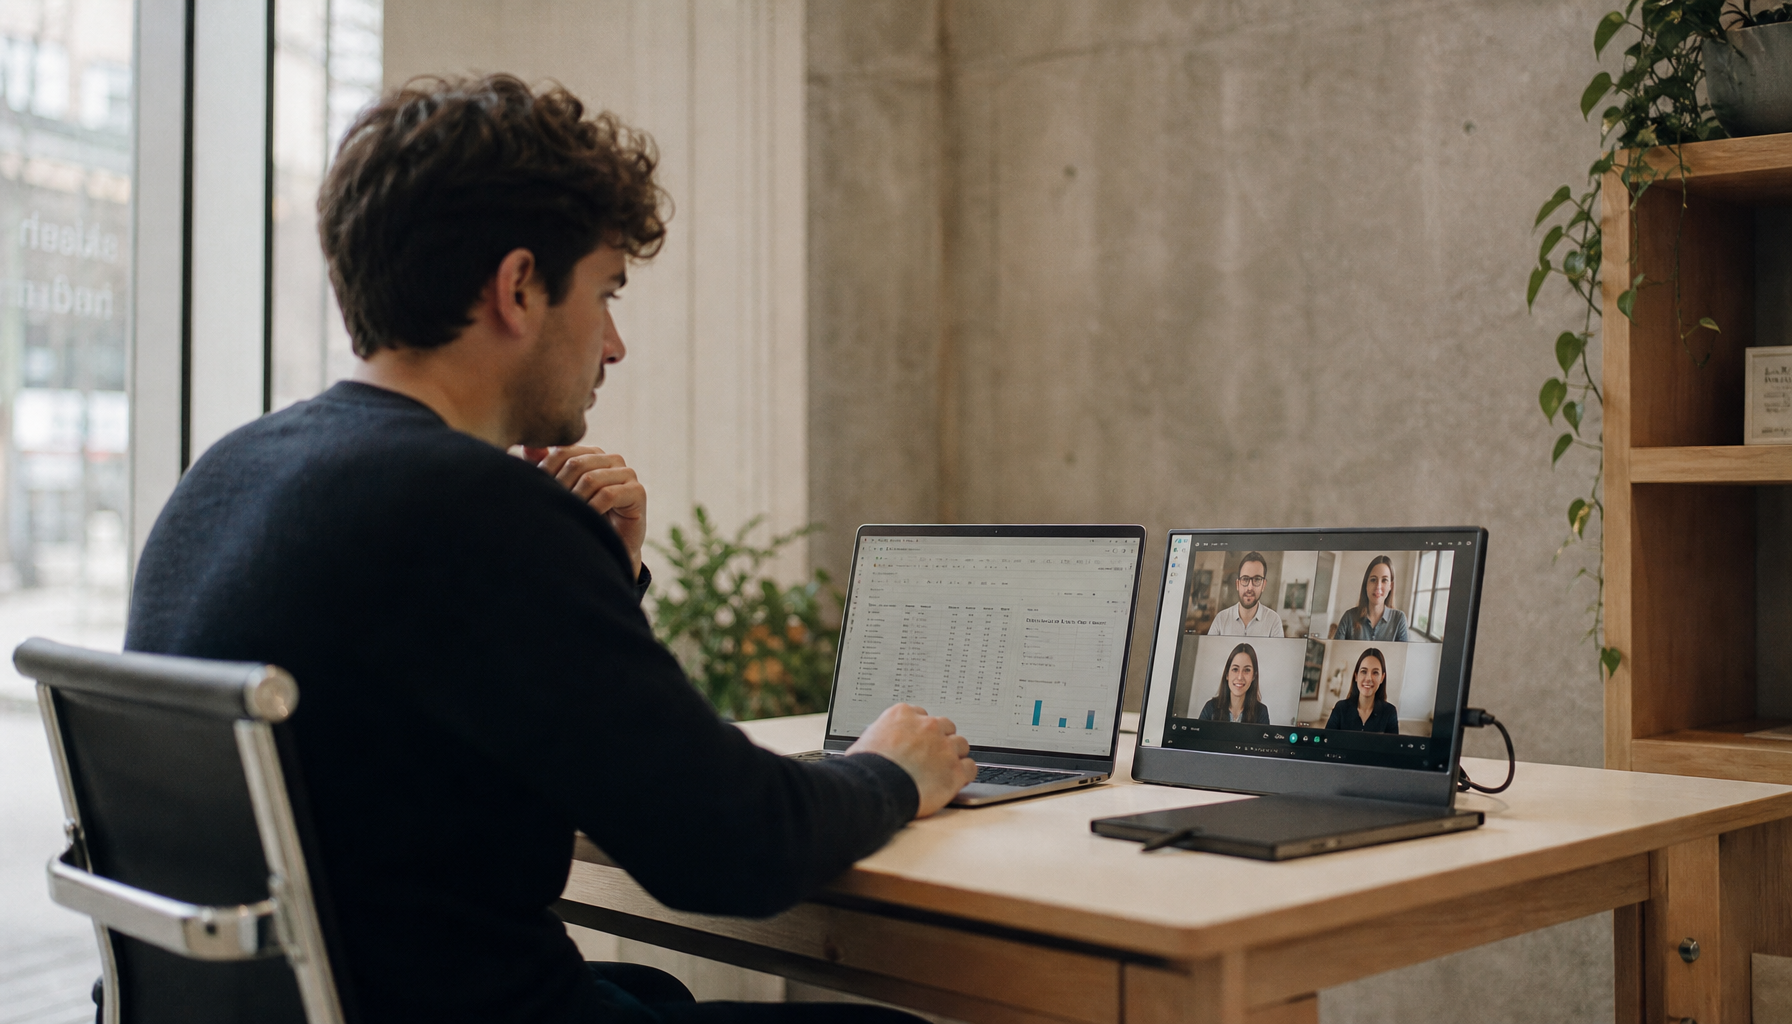
For multi-monitor setups, treat the full display array as one reflective surface. Angled side monitors can act like light catchers. A central 27-inch display may look clean while the left or right panel reflects a ceiling can light. Keep the primary screen directly in front of you, then curve secondary displays only as much as needed for comfortable viewing.
Set Monitor Height, Distance, and Tilt Without Sacrificing Posture
Glare fixes should not force your neck into a bad position. Ergonomics recommendations for placing the top of the monitor around eye level also suggest keeping the screen about one arm’s length away. That is a strong baseline because it keeps your gaze natural while giving you room to adjust tilt.
A practical setup starts with the monitor about an arm’s length away, with the top edge at or slightly below eye level. Then tilt the screen just enough to push ceiling reflections away from your direct viewing zone. Do not chase a perfect glare-free angle if it makes you lift your chin or hunch forward. For a 32-inch productivity display or ultrawide gaming monitor, a monitor arm is often worth more than an anti-glare accessory because it lets you fine-tune height, depth, and tilt as lighting changes.

Users with progressive lenses may need the monitor lower and slightly tilted back, because looking through the wrong part of the lens can cause neck craning. That detail matters: the best anti-glare layout is the one you can hold for hours without posture compensation.
Control the Ceiling Light Instead of Fighting It
If the ceiling light itself is harsh, desk geometry can only do so much. Effective office lighting depends on balanced illumination, glare control, and adaptable controls, not maximum brightness. Low-glare fixtures, diffusers, dimmers, and indirect light all reduce the chance that the fixture becomes a bright object reflected in the panel.
If you control the room, swap bare bulbs or exposed downlights for diffused fixtures. If you rent or work in a shared office, ask whether the fixture above your station can be dimmed, fitted with a diffuser, or switched to a warmer, lower-glare option. In a shared space, changing the whole lighting scene can affect coworkers, so a local solution such as relocating the desk, adding a monitor arm, or using a filter may be more realistic.
Fix |
Best For |
Tradeoff |
Desk rotation |
Strong direct reflections |
Needs floor space |
Monitor arm |
Fine tilt, height, and depth control |
Adds cost and setup time |
Diffused ceiling light |
Harsh overhead fixtures |
May require landlord or office approval |
Anti-glare filter |
Fixed desks or shared offices |
Can soften image clarity |
Task lamp or screen bar |
Documents, keyboard, desk surface |
Must be aimed away from the display |
Use Task Lighting That Supports the Screen
A desk lamp should light the work surface, not the panel. Effective desk lighting is usually layered, with a lamp supporting ambient light and daylight instead of overpowering them. Place the lamp to the side, keep the bulb outside your direct line of sight, and aim the beam downward across the desk.

For right-handed users, placing the lamp on the left side reduces hand shadows when writing; left-handed users usually benefit from the reverse. For monitor-heavy work, the lamp should illuminate the keyboard, notebook, or reference material beside the display. If the lamp creates a bright spot on the screen, rotate the lamp head down or move it farther to the side.
Screen bars can be useful because they cast light onto the desk from above the monitor, but they still need careful aiming. A poorly aimed bar can create the same reflection problem as a ceiling light, especially on glossy displays. The test is simple: turn it on, open a dark screen, and confirm that the beam does not appear on the panel.
Add Bias Lighting for Night Work and Immersion
Bias lighting is soft light behind the monitor aimed at the wall. It does not remove a ceiling reflection, but it reduces harsh contrast between a bright display and a dark room. That helps during late-night gaming, editing, trading, or writing sessions where a fully dark room makes the screen feel too intense.
The best bias light is hidden from direct view and kept moderate. If it is bright enough to tint the wall strongly or alter your perception of screen color, it is too strong for color-sensitive work. For a gaming monitor, soft rear-wall light can make dark scenes feel more comfortable without forcing you to raise screen brightness and crush shadow detail.
When to Use an Anti-Glare Filter
An anti-glare filter is a fallback, not the first move. Anti-glare screen filters may help reduce glare from ceiling lights or other indoor sources, especially in fixed offices where you cannot move the fixture or desk. The downside is that filters can reduce perceived sharpness, slightly change contrast, and interfere with color-critical workflows.
For office productivity displays, that tradeoff may be acceptable if the alternative is daily squinting and headaches. For competitive gaming, design, photo editing, or video work, start with desk orientation, monitor tilt, and lighting control first. Preserve panel clarity whenever possible.
Build a Reliable Glare-Free Setup
The highest-value sequence is direct: check the reflection while seated, rotate or shift the desk, set the monitor at arm’s length with the top near eye level, reduce harsh overhead light, then add controlled task lighting. Reducing ambient light and glare around the monitor improves contrast and can reduce eye fatigue, but the goal is balance rather than darkness.
A display should feel like a clean window into your work or game, not a mirror for the ceiling. Get the light out of the reflection path, keep your posture neutral, and your screen will deliver the contrast, clarity, and immersion you paid for.


