


Two cables can share the same connector and version label yet behave very differently because the real limit is the weakest link in the signal path. Cable construction, certification, pin integrity, shielding, bandwidth headroom, and port support all affect whether a monitor connection stays stable.
Does your screen light up perfectly with one HDMI, DisplayPort, or USB-C cable, then go black, flicker, or lock you to 60 Hz with another that supposedly matches it? That pattern usually shows the monitor is not the only variable. The goal is to determine whether the problem comes from the cable, the port, the display setting, or a hidden compatibility limit elsewhere in the chain.
The short answer: “same spec” rarely means “same real-world performance”
A DisplayPort cable does not improve picture quality just by costing more, but a low-quality or poorly built cable can still cause data errors, audio dropouts, startup problems, and unstable video. That is the core of the confusion. Two products may both say “DP 1.4,” “HDMI 2.1,” or “USB-C” on the box, yet one may be properly built and tested while the other works only under lighter demands.
That matters more on modern setups than it did on older office displays. If you are pushing 4K, high refresh rates, HDR, adaptive sync, monitor audio, USB hub data, or laptop charging through one cable, your margin for error gets smaller. A common failure pattern is that the setup works at 1080p or 60 Hz with the weaker cable, then falls apart as soon as you switch to the mode you actually bought the monitor for.
Why cable brands differ even when the label looks identical
Certification and build quality change the outcome
The most reliable DisplayPort advice is simple: buy certified cables from reputable makers, because uncertified or poor-quality cables are more likely to produce corrupted video, audio problems, or long-term instability. That does not mean every uncertified cable will fail, but it does mean the risk is higher when tolerances, shielding, and internal conductors are inconsistent.
A monitor cable is not just a plastic tube with the right-shaped plug. Inside, conductor quality, shielding, connector fit, and pin accuracy all affect whether the signal arrives cleanly enough for the display and graphics hardware to stay in sync. Practical monitor connection troubleshooting notes make the point clearly: loose or damaged cables, excessive bending, long runs, and interference can all cause flicker, “No Signal,” or missing high-refresh modes.

Bandwidth claims are not the same as stable bandwidth delivery
A DisplayPort connection can support far more bandwidth than older standards, but that does not guarantee every cable sold under a matching label can sustain your exact resolution and refresh rate cleanly. The difference shows up when a monitor that should run 4K or a high refresh rate suddenly falls back to a lower mode, loses signal during gaming, or wakes from sleep at the wrong resolution.
That behavior is especially common when the setup is close to the cable’s practical limit. A cable that looks fine at 1440p and 60 Hz may stumble at 4K and 144 Hz because the signal budget is tighter. The result is what many users mistake for a bad monitor: random flicker, brief black screens, or a display menu that shows an active connection while the PC cannot hold the target mode.

Connector shape can hide very different capabilities
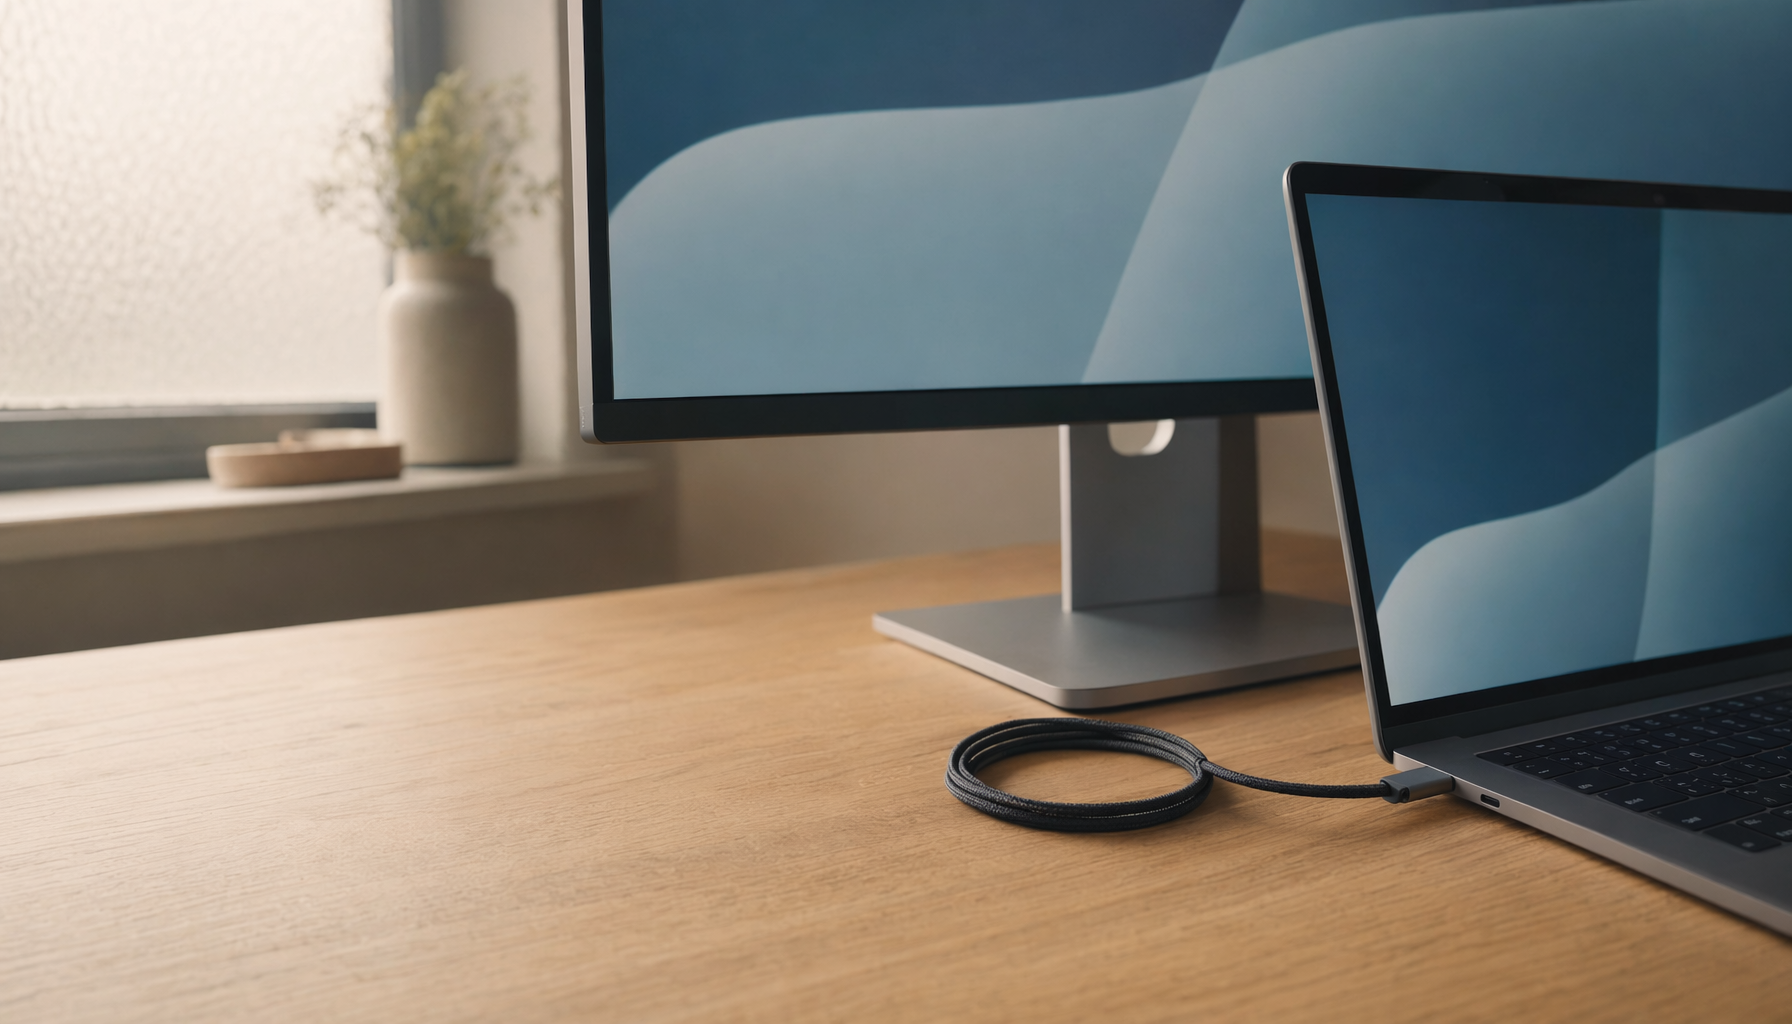
The most misleading example is USB-C. A USB-C monitor connection may carry video, data, audio, and power, but the connector shape alone proves almost nothing. One USB-C cable may support charging only, while another supports video output. From the outside, they can look nearly identical.

That is why one cable works and another does not even though both say USB-C. In practice, the working cable may support video, while the failing one may be built mainly for power or low-speed data. Portable monitors and single-cable desk setups expose this quickly because they often depend on the cable for both picture and power, and sometimes USB traffic as well.
What the symptoms usually mean
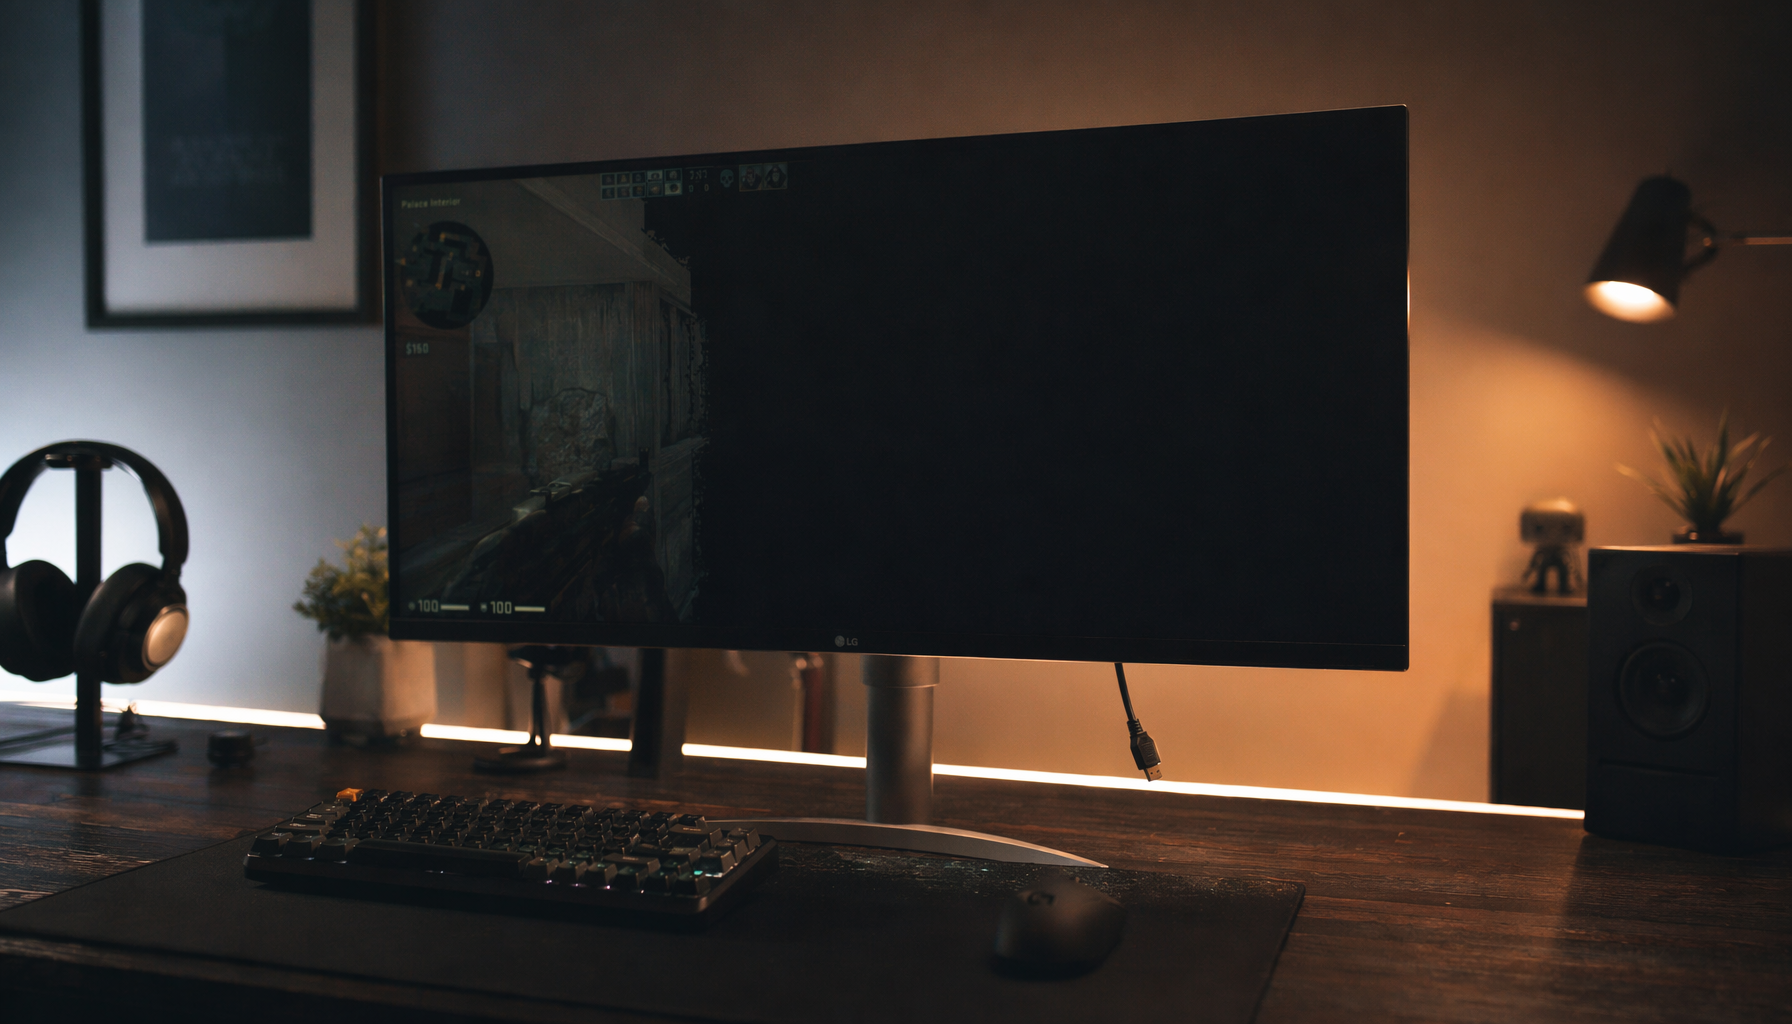
A black screen or “No Signal” message usually points to a connection problem. If one cable works and another does not, the second cable is the first suspect, not the monitor. That is even more likely if reseating the cable or swapping only that one part changes the result immediately.
Flicker, sparkling pixels, colored lines, or short blackouts usually mean the connection is unstable rather than completely absent. These symptoms often appear when the cable is marginal for the requested mode, physically damaged, poorly shielded, or loosely connected. In other words, the cable may still pass some signal, just not cleanly enough all the time.
A lower-than-expected refresh rate is another classic clue. If your 144 Hz or 240 Hz monitor suddenly tops out at 60 Hz with one cable, the issue is often bandwidth headroom, cable quality, or a port limitation rather than the panel itself. This is where people often waste time chasing driver issues before testing the known-good cable.
The monitor and port can still be part of the problem
The wrong input source can make a good cable look bad
A monitor set to the wrong input source can look completely dead. This sounds basic, but it causes a surprising number of false cable swaps, especially on displays with multiple HDMI and DisplayPort inputs or with USB-C beside DisplayPort.
Auto-detect helps, but it is not perfect. If your monitor supports manual input selection, force it to the exact port in use before judging the cable. A cable often gets blamed when the monitor is simply listening to the wrong input.
Physical wear matters more than people think
A cable with wear, strain, or damaged connectors can create intermittent problems, and the same principle appears in broader LCD hardware troubleshooting. Sharp bends behind a monitor arm, dust in the port, or a connector that no longer fits tightly can turn an otherwise correct spec into an unreliable connection.
If one cable works only when held at a certain angle, or if moving the monitor causes dropouts, treat that as a hardware integrity issue, not a software mystery. The signal path is already telling you the connection is compromised.
A practical way to test it without wasting an afternoon
A structured troubleshooting flow starts with power, cable, and input selection, and that sequence works well here too. First, use the working cable and note the exact mode that succeeds, such as 4K at 120 Hz or 1440p at 165 Hz. Then swap only the cable. If the problem appears instantly, you have isolated the variable that matters.

Next, lower the demand. If the failing cable works at 1080p and 60 Hz but not at your normal gaming or creative setting, the cable may not have enough real bandwidth margin for your target use. If it fails at every setting, inspect connector fit, pins, strain points, and the monitor’s input selection.
After that, test the same cable on another port or another monitor if available. If the problem follows the cable, replace it. If the problem stays with one port, the port or device path deserves more attention.
What to buy instead of guessing
A certified DisplayPort cable is the safer choice for demanding DisplayPort setups, and the same logic applies more broadly across monitor cables: match the cable to the actual workload, not just the connector. For gaming monitors, that means buying for the exact resolution and refresh rate you plan to run. For office docks and portable displays, that means confirming video support, not just charging support.

The tradeoff is straightforward. Cheap generic cables can work perfectly in light-duty setups and save money. The downside is that they are less predictable when you need high refresh rates, long sessions, sleep-wake stability, or single-cable USB-C convenience. A better cable does not magically improve image quality, but it does reduce the odds that your monitor experience gets capped by a hidden weak link.
Connection type |
What often goes wrong |
What usually fixes it |
DisplayPort |
Flicker, wake issues, wrong resolution, random dropouts |
Certified cable, firm latch engagement, correct refresh setting |
HDMI |
“No Signal,” limited refresh, unstable HDR or 4K mode |
Higher-capability cable, correct input source, shorter direct run |
USB-C |
No image, charging but no video, reduced refresh, dock instability |
Confirm video-capable cable and port support, remove the hub, test direct |
The cleanest display setup is rarely the most complicated one. Use the shortest direct cable that fully matches your monitor’s real workload, keep a known-good spare on hand, and trust repeatable testing over branding on the box. When one cable works and another does not, the label is not the truth. The signal path is.


