


Neutral spine alignment starts with the chair, then the desk, then the monitor. Support your feet, hips, lower back, elbows, and eyes as one connected setup instead of fixing screen height alone.
Does your neck feel tight after an hour of spreadsheets, ranked matches, or side-by-side research tabs? A chair-first reset can give you a testable improvement: less reaching, less chin lift, and fewer posture changes caused by fighting the screen. Use this sequence to tune your chair and monitor as one system.
What Neutral Spine Alignment Means at a Desk
Neutral spine alignment means your spine keeps its natural curves while your head stays balanced over your shoulders, your shoulders stay relaxed, and your pelvis is supported instead of rolled backward. It is not a rigid “sit up straight” pose. It is a stable working position that lets you type, read, aim, edit, and switch windows without constant compensation.
A well-arranged workstation should reduce strain by fitting the setup to the worker, and office ergonomics includes the chair, desk, keyboard, mouse, monitor, laptop, phone, and frequently used items. The key is sequence. If you raise your monitor before setting your chair, you may end up matching the screen to a slouched back or unsupported feet. That can feel fine for five minutes and fail during a real work session.
For display-heavy users, visual performance drives posture. If text is too small, glare is harsh, or the screen is too far away, you lean in. If the screen is too high, you lift your chin. If a secondary monitor is too far to the side, you twist. A high-quality monitor cannot deliver comfort or immersion if it is positioned around a compromised spine.
Start With the Chair, Not the Monitor
Your chair is the anchor. Sit back so your lower back meets the lumbar support, then adjust seat height until your feet rest flat on the floor or on a footrest. Your thighs should feel supported without pressure behind the knees. A practical seat-depth check is simple: leave about two to three fingers of space between the front edge of the seat and the back of your knees.

A chair that supports the spine should let your feet rest flat with thighs roughly parallel to the floor, and chair height should not be sacrificed just to fit a fixed desk. If your chair must rise so your elbows meet the work surface, use a footrest. Dangling feet pull the pelvis out of position, which can flatten the lower back and push the head forward.

Lumbar support is the lower-back contact area shaped to match the spine’s natural curve. Adjustable lumbar cushioning is useful because bodies differ; the support should feel like it fills the low-back curve, not like a hard ridge pushing you forward. If your chair has recline tension, set it firm enough that the backrest supports you without dropping backward. A slight supported recline can be comfortable, but an unstable recline makes the neck and core work harder.
Chair Setup Example
If you raise your chair 2 inches to get your forearms level with a high desk, your feet may no longer reach the floor. The correct fix is not lowering the chair and shrugging your shoulders all day. Keep the chair at elbow-friendly height, add a footrest, and preserve the chain from feet to pelvis to spine.
Match Desk and Arm Position Before Screen Height
Once the chair supports your lower body and back, move to the desk. Your elbows should sit close to your body at roughly a right angle, with forearms level or slightly downward and wrists straight. The keyboard and mouse should be close enough that you do not reach from the shoulder.
The work surface should align with resting elbow height, and armrests should let your arms rest gently while your shoulders remain relaxed. If armrests push your shoulders up, lower them. If they make your elbows hang, raise them or move them out of the way. For gaming, the same rule applies: a low-friction mouse pad and high-refresh display do not offset a shoulder that is hovering for hours.
This step matters because monitor placement depends on your actual seated eye height after your chair and arm posture are correct. Many monitor problems are really chair and desk problems in disguise.
Setup Element |
Good Signal |
Problem Signal |
Feet |
Flat on floor or footrest |
Dangling, tucked, or uneven |
Hips and knees |
Thighs supported, knees near hip level |
Knees high, pelvis curled back |
Lower back |
Lumbar curve supported |
Gap behind low back |
Elbows |
Close to body, relaxed |
Reaching or flared outward |
Wrists |
Straight and light |
Bent upward on desk edge |
Eyes |
Relaxed downward view |
Chin lifted or head pushed forward |
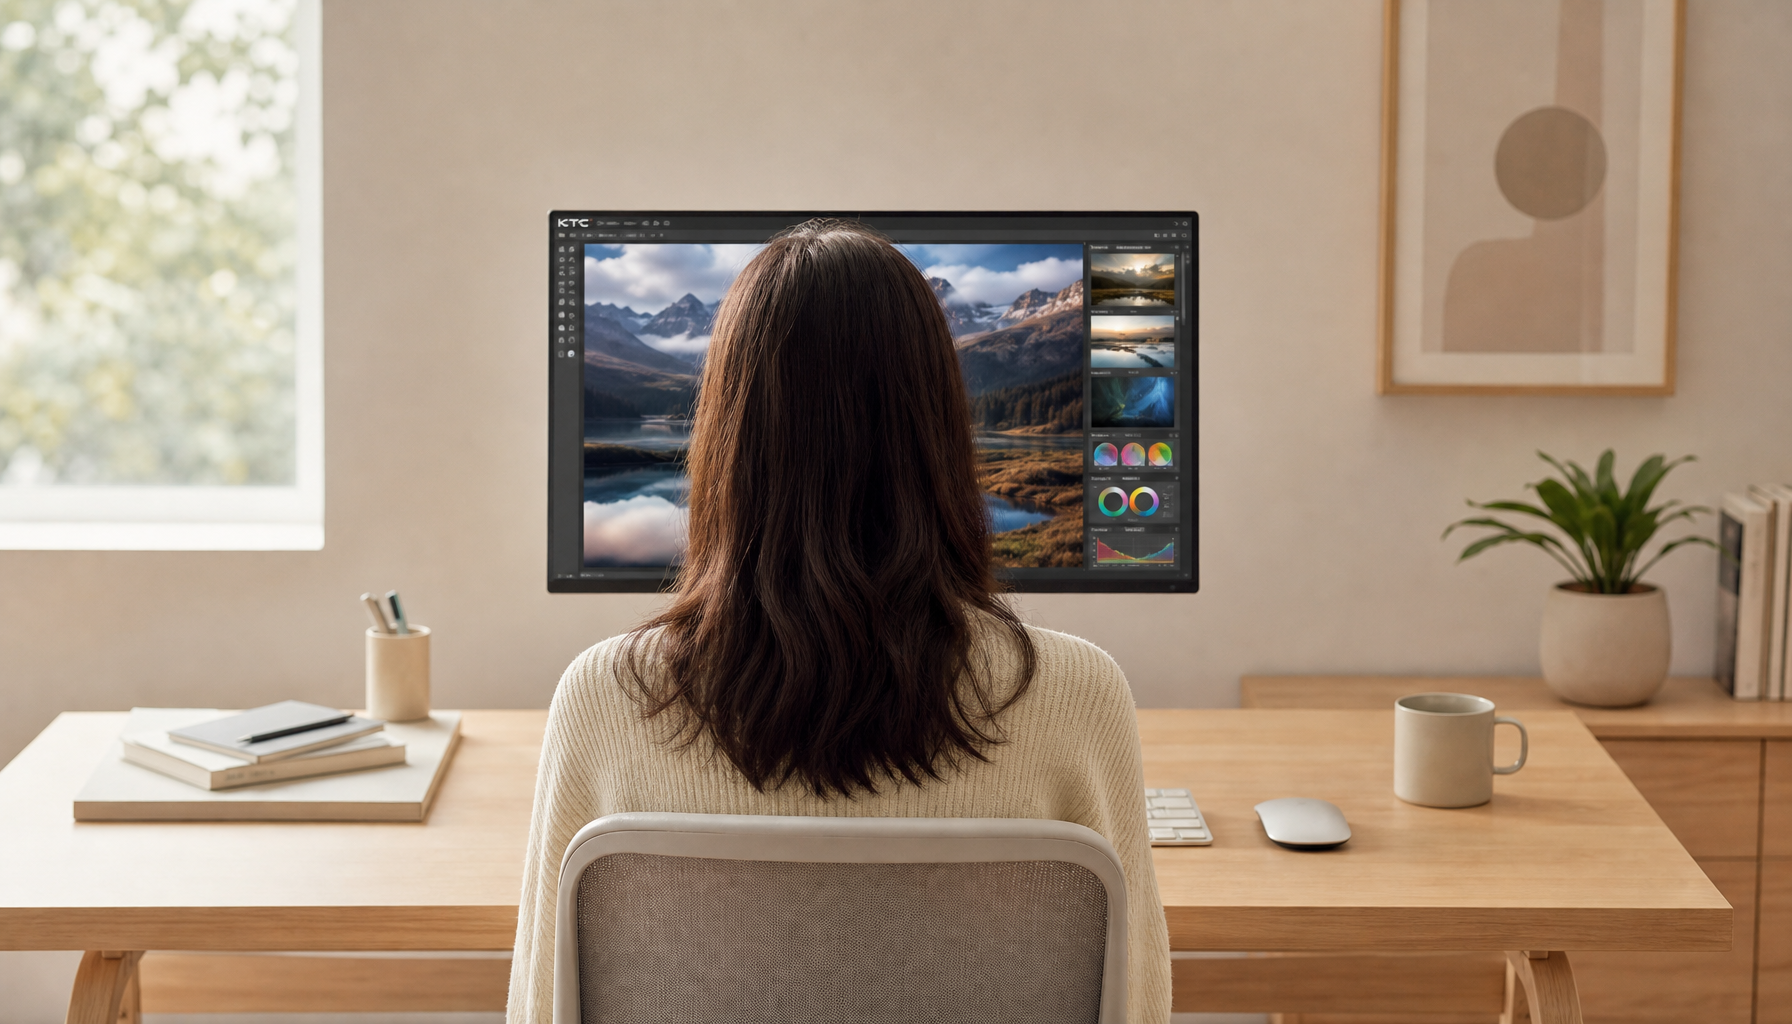
Set Monitor Height for the Eyes You Actually Use
Now adjust the monitor. Place the main screen directly in front of you, behind the keyboard, so your nose, sternum, keyboard, and display center line up. Start with the top of the screen at or slightly below eye level. For most users, the center of the active content should sit below eye height so your gaze falls slightly downward.

Monitor setup should support a relaxed viewing angle, and monitor positioning generally starts with the screen centered, about an arm’s length away, and with the top at or slightly below eye level. For a 24-inch to 27-inch display, that usually means about 20 to 28 inches from your eyes. Larger 32-inch screens often feel better farther back, around 31 to 39 inches, if your desk depth allows it.
The top-edge rule is a starting point, not a law. Tall displays, portrait monitors, curved ultrawides, and bifocal lenses change the answer. For a 34-inch ultrawide, focus on the central active content band instead of the top bezel. For progressive or bifocal lenses, lower the monitor by about 1 to 2 inches and tilt it upward slightly so you are not tipping your head back to read through the near-vision zone.
Gaming, Coding, and Office Work Need Slightly Different Tuning
For competitive gaming, many players prefer the screen center a little lower because it keeps the neck relaxed while the eyes scan the action. For coding, document work, and spreadsheets, the active text band may feel better slightly below eye level because reading naturally favors a downward gaze. For design or color work, distance and lighting become just as important as height because leaning in changes both posture and visual judgment.
A simple test works well: adjust the monitor, work normally for five minutes, then notice what moved first. If your chin lifted, the monitor is probably too high. If your head drifted forward, the text may be too small, the screen may be too far away, or glare may be reducing contrast. If your shoulders tightened, check keyboard and mouse reach before blaming the monitor.
Set Distance, Tilt, and Glare Like Performance Variables
Distance controls both eye effort and posture. Too close, and large screens force side-to-side head movement. Too far, and you lean forward or enlarge text poorly. About an arm’s length is a reliable baseline, but high-resolution monitors give you more flexibility because sharp text stays readable at comfortable distances.
The monitor should be no closer than 20 inches and no farther than 40 inches, and the distance should still let you read without leaning. Tilt the screen so the surface faces your eyes without forcing chin lift or neck bend. A slight backward tilt often works for standard monitors; lens wearers may need more upward tilt with a lower screen.
Glare is the hidden posture breaker. When reflections wash out text or dark game scenes, your body solves the problem by leaning, squinting, or craning. Position the monitor perpendicular to windows when possible, adjust blinds, and balance screen brightness with the room. For productivity displays, text clarity comes from the full chain: resolution, scaling, contrast, distance, and ambient light. For gaming monitors, matching brightness to the room also protects long-session comfort, especially in dark scenes where excessive brightness can feel immersive at first and fatiguing later.

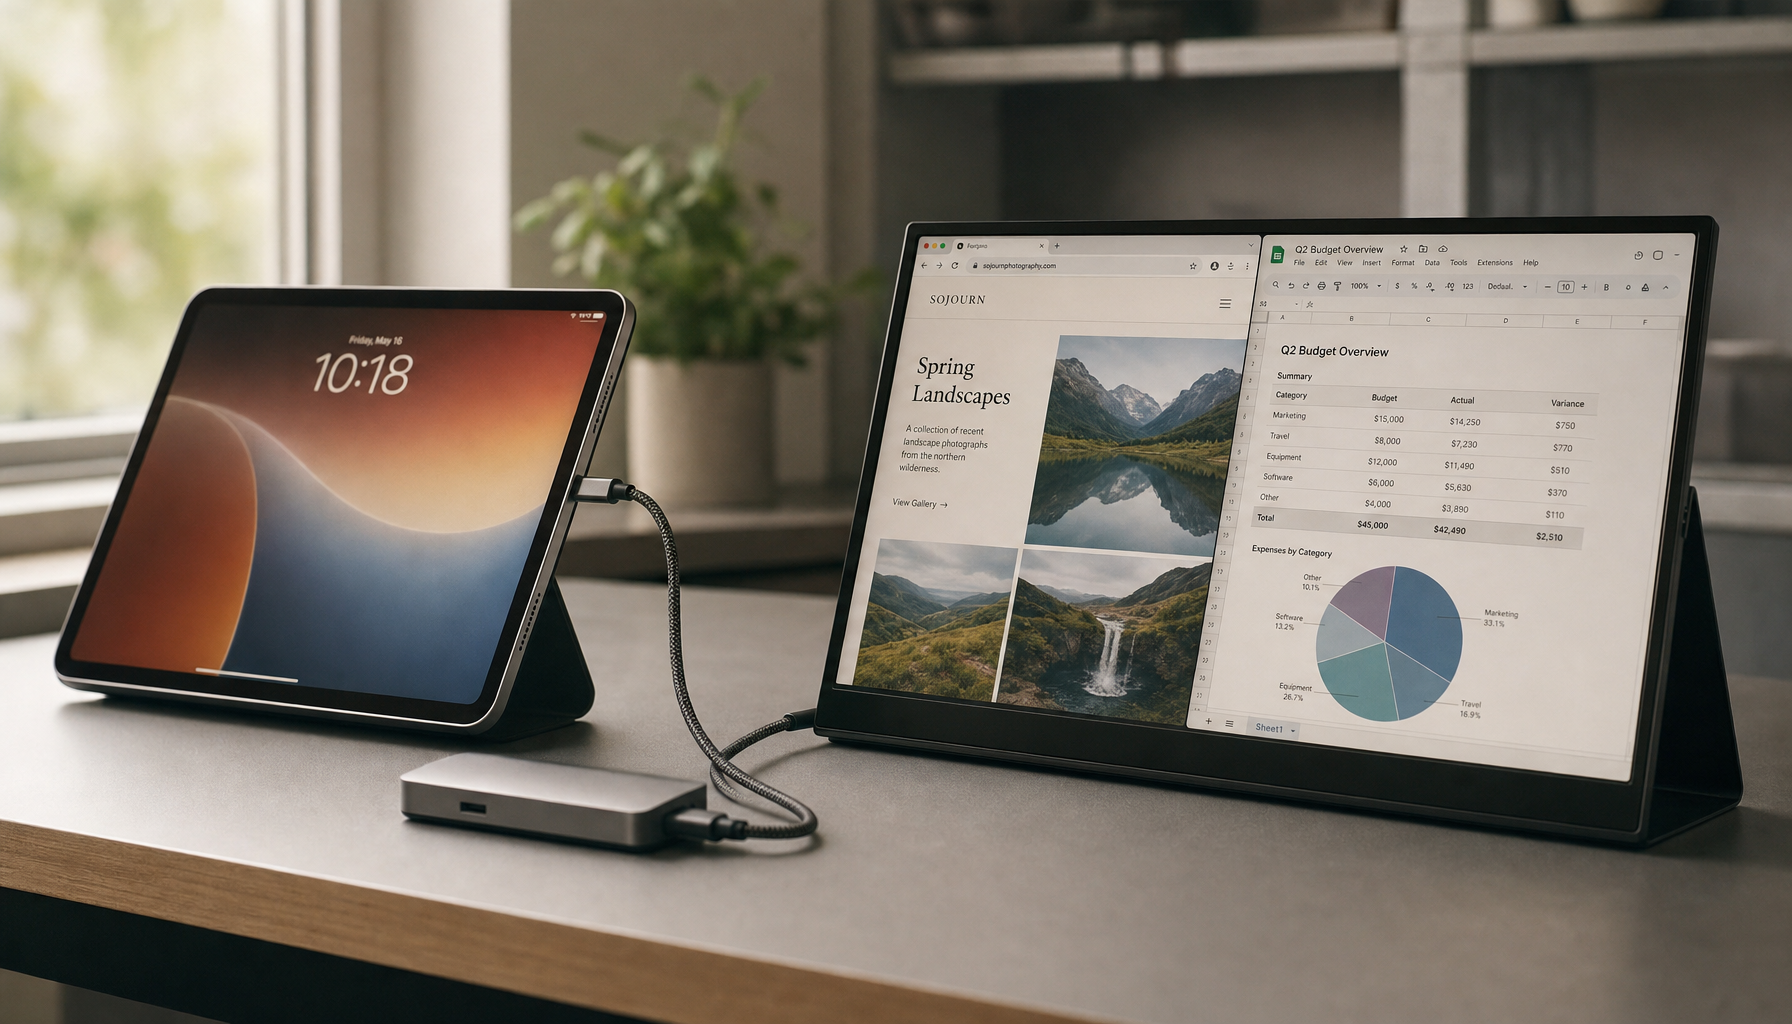
Dual Monitors and Portable Screens Need a Primary Display Strategy
Dual displays are powerful, but they punish indecision. If one monitor is used most, put it directly in front of you and angle the secondary display inward. If both are used equally, place the inner edges together and center your body on the join, creating a shallow arc around your seated position.

For multiple displays, equally used screens should reduce repeated neck rotation by staying close to the body’s centerline. A streamer, analyst, or developer might keep the main 27-inch display centered, with chat, dashboards, or documentation on a secondary screen angled inward. A portable smart screen should not sit flat beside a laptop for long sessions; raise it near main-screen height or use it for glanceable content that does not require constant neck rotation.
Laptops create a special tradeoff because the keyboard and monitor are fixed close together. For extended work, raise the laptop screen on a stand and use an external keyboard and mouse. Laptop ergonomics depends on accessories that let the screen reach proper height without forcing awkward arm, wrist, or shoulder posture.
Pros and Cons of Common Adjustment Tools
Monitor arms deliver the best precision because they make height, depth, and angle easy to change. They are especially valuable for sit-stand desks, shared workstations, ultrawides, and portable-display setups. The downside is cost, clamp compatibility, and the need to manage cable slack.
Monitor risers are cheaper and stable, but they usually adjust in fixed steps and can push the screen too high. Stacked books can work temporarily, but they are less secure and look less controlled in a clean workspace. Footrests solve a different problem: they preserve chair height when the desk is high. Their downside is that they add floor clutter and must be positioned so both feet rest evenly.
A sit-stand desk adds movement, but it does not automatically create neutral alignment. When standing, the same rules apply: elbows near a right angle, screen centered, and eyes slightly above the screen’s active center. Movement still matters because even a technically correct posture becomes uncomfortable if held too long.
Fine-Tune With a 10-Minute Neutral Spine Check
After adjusting everything, run a short real-world test. Open the type of work or game you actually use: a spreadsheet, code editor, aim trainer, video timeline, or browser with two reference panes. Sit back into the chair and let your hands fall to the keyboard and mouse. Your feet should feel supported, your lower back should touch the chair, your shoulders should stay low, and your eyes should land naturally on the upper-middle area of the display.
Even with a strong setup, staying seated for hours is not healthy, and regular movement helps ease strain. Use discomfort as data. Lower-back aching after 30 to 60 minutes often points to seat height, seat depth, or lumbar support. Neck stiffness often points to monitor height, distance, glare, or twisting. Tingling in the hands can involve wrist angle, armrest height, desk edge pressure, or reach distance.
The best display setup is not the one that looks symmetrical in a product photo. It is the one that lets your spine stay quiet while your eyes and hands do precise work. Set the chair first, tune the monitor second, then make small adjustments until comfort, clarity, and control line up.


