


A backpack-ready portable monitor setup works best when you choose a slim 14- to 16-inch display, use USB-C video when your laptop supports it, pack one reliable power fallback, and keep the stand, keyboard, mouse, and cables in a repeatable kit.
Ever open your laptop on a train, in a cafe, or at a shared office table and feel boxed in by one cramped screen? A well-built portable setup can give you the practical advantage of a second display without turning your commute bag into a tech drawer. Here is how to build a durable, fast-to-deploy monitor kit that fits in a backpack and actually improves daily work.
Start With the Backpack Constraint, Not the Monitor Spec Sheet
The biggest mistake is buying the most impressive screen first, then discovering it needs too many cables, a weak stand, or a separate charger every time you move. For commuting, the monitor is only one part of the system. The real setup is the screen, cover or sleeve, stand, video cable, power option, input devices, and the laptop arrangement you can repeat in under a minute.

A practical portable monitor is a slim external display that expands your laptop workspace while staying easy to carry. Portable monitor sizes commonly sit around 13 to 17 inches, which is the sweet spot for backpack use. In daily commuting, 14 inches is the compact choice, 15.6 inches feels closest to a laptop companion, and 16 inches with a 16:10 aspect ratio is often the performance-driven pick for documents, dashboards, coding, and research.

For a real-world packing test, place your laptop, charger, notebook, water bottle, and headphones in your backpack first. If the remaining laptop sleeve space is tight, choose a 14-inch monitor. If your bag already fits a 16-inch laptop comfortably, a 15.6- or 16-inch portable monitor can slide beside it without changing your commute rhythm.
Choose the Right Screen Size, Resolution, and Aspect Ratio
For office productivity, a 1080p portable monitor is still the value baseline because it is affordable, easy for most laptops to drive, and sharp enough at 14 to 15.6 inches. If you work in spreadsheets, timelines, design reviews, or split-window research, 2K or 2.5K on a 16-inch 16:10 panel gives you more vertical room without jumping to the cost and power demands of 4K.
Aspect ratio matters more than many buyers expect. Portable monitor testing commonly places laptop-friendly models in the 12- to 17-inch range, and matching screen size, resolution, and aspect ratio to your laptop improves usability. If your laptop is 16:10, a 16:10 portable display keeps window heights and scaling more consistent. If your laptop is 16:9, a 15.6-inch 1080p screen gives you a familiar layout and broad compatibility.
Commuter Profile |
Best Fit |
Why It Works |
Email, docs, browser work |
14-15.6 inch, 1080p IPS, 60Hz |
Light, affordable, enough space for notes or chat |
Data, coding, research |
16 inch, 2K or 2.5K, 16:10 |
More vertical space and cleaner text |
Creative review |
14-16 inch, bright IPS or OLED, strong color coverage |
Better image judgment away from the desk |
Travel gaming after work |
15.6-17 inch, 120Hz or higher |
Smoother motion for console or handheld gaming |
Prioritize USB-C, But Verify What Your Laptop Can Really Do
USB-C is the cleanest commuting connection because one cable can often carry video and power. The catch is that not every USB-C port supports video. You want a laptop port that supports DisplayPort Alternate Mode, Thunderbolt, or USB-C video output. If it does, your daily setup can be as simple as opening the stand, plugging in one cable, and switching to extended display mode.

The most common connection failures come from cable and power assumptions. A full-featured USB-C connection can carry video and power, while HDMI or Mini HDMI carries video only. USB-C video output still depends on the host device supporting DisplayPort Alternate Mode, so a laptop with HDMI may need one cable for video and another USB cable or charger for monitor power.
For commuters, pack a short USB-C cable rated for video, not just charging. Add a slim HDMI or Mini HDMI cable only if your laptop or monitor needs it. If you use an IT-managed work laptop, favor a plug-and-play monitor that does not require drivers, because workplace security policies may block software installs. Some touch, rotation, and advanced display controls may need drivers, but the core second-screen function should work without them.
Build a Cable and Power Plan That Survives Real Commutes
A backpack setup should have a primary path and a fallback path. The primary path is USB-C from laptop to monitor. The fallback path is HDMI for video plus USB power from your laptop, charger, or power bank. This small redundancy prevents the classic cafe problem: the monitor lights up at home, then fails at a shared table because the available port or cable does not supply enough power.
Power draw becomes more important with brighter, higher-resolution, or dual-screen portable monitors. Some portable monitors may need stronger ports or a second power input at maximum brightness, and testing of connectivity, power needs, brightness, and value shows why those criteria matter as much as resolution. In practice, if your monitor flickers, disconnects, or dims unexpectedly, reduce brightness first, then add external power.
A good commuting pouch contains one full-featured USB-C cable, one USB-C charging cable, one compact HDMI or Mini HDMI cable if needed, and one small wall charger. If your laptop charger already has enough output and the monitor supports pass-through power, you may be able to power the laptop and screen through one chain. Test that at home before relying on it during a workday.

Do Not Let the Stand Ruin the Setup
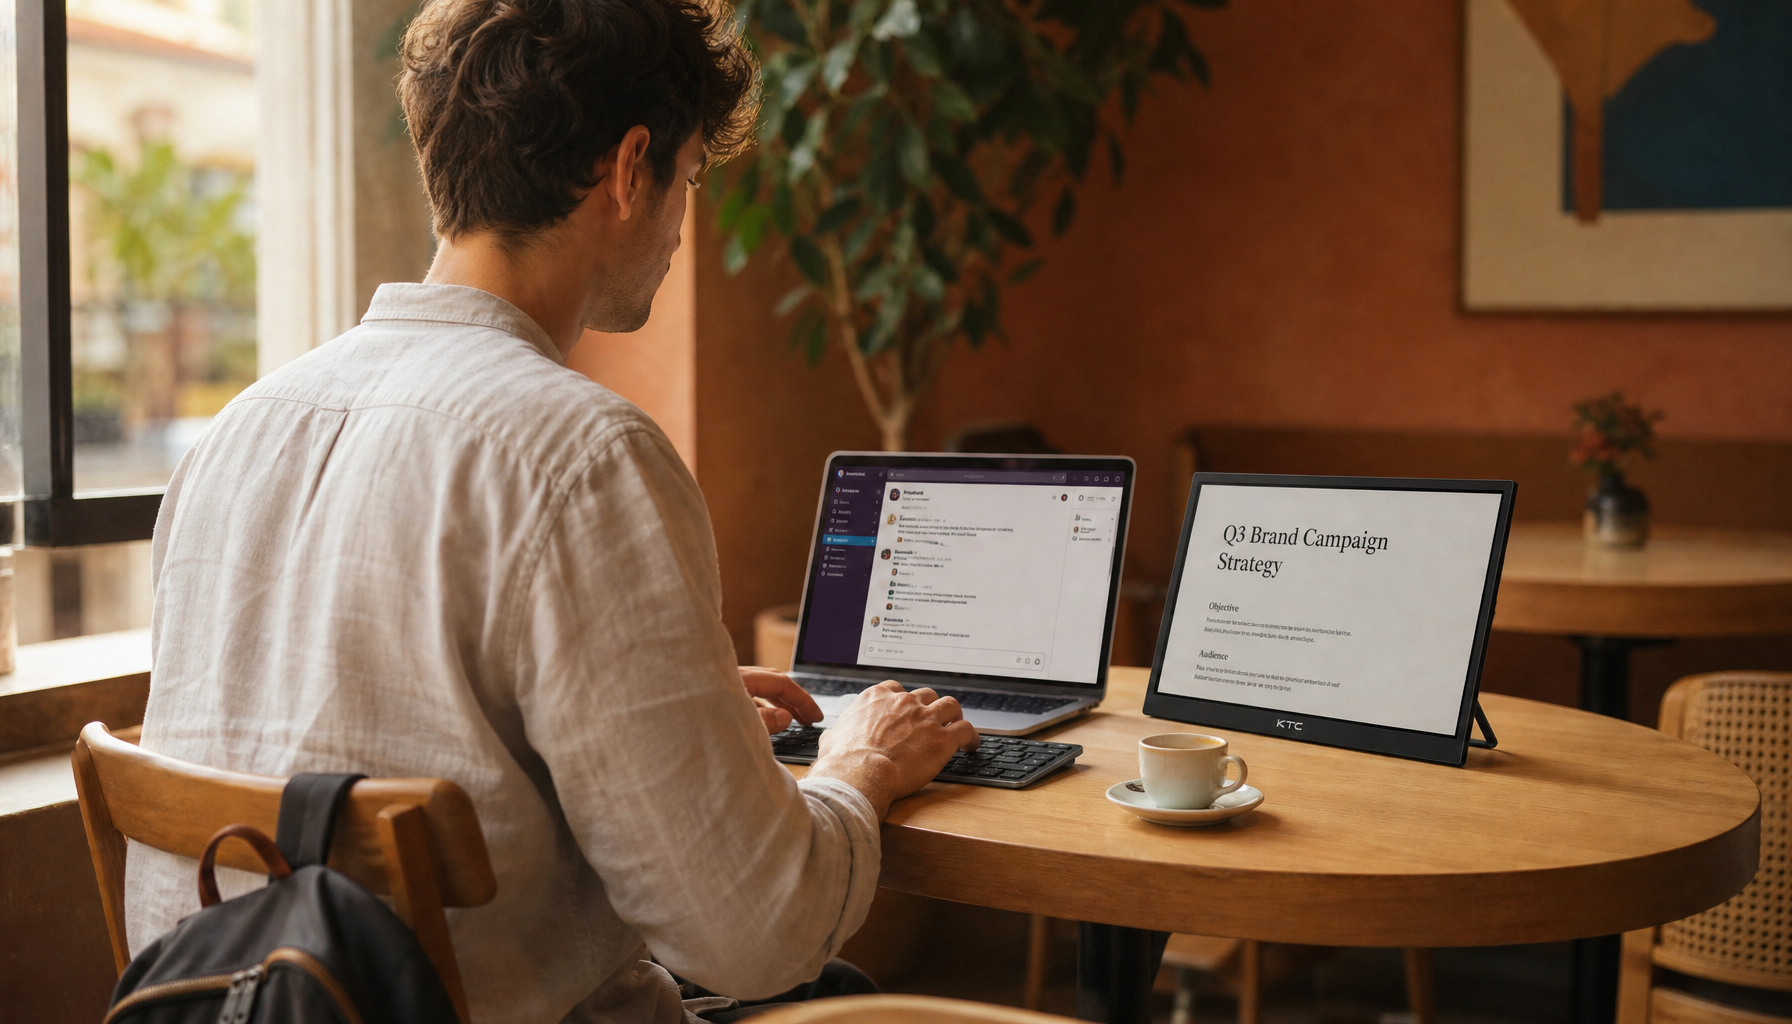
The stand decides whether your portable monitor feels professional or annoying. Thin magnetic covers are easy to pack, but they can slip on small cafe tables and offer limited viewing angles. Hinged stands, rigid kickstands, or compact folding stands are more stable and make the monitor usable beside a laptop instead of wobbling behind it.

Ergonomically, the top of the screen should sit at or slightly below eye level, and the display should be roughly an arm’s length away. A deskless workstation still needs a stable surface, raised screen, compact input devices, and a simple cable plan. On a coffee shop table, that usually means your laptop stays centered, the portable monitor sits to the side in extend mode, and a small keyboard or mouse only comes out when you have enough depth.
A simple calculation helps: if the table is only 20 inches deep, do not bring a bulky stand that pushes the monitor too far back or too close to your face. A flat kickstand with a 10- to 15-degree backward tilt usually works better than a tall riser in tight spaces. At a shared office bench or hotel desk, the taller stand becomes more useful because you can align the screen with your laptop and reduce neck strain.
Use Extend Mode for Productivity, Not Mirror Mode
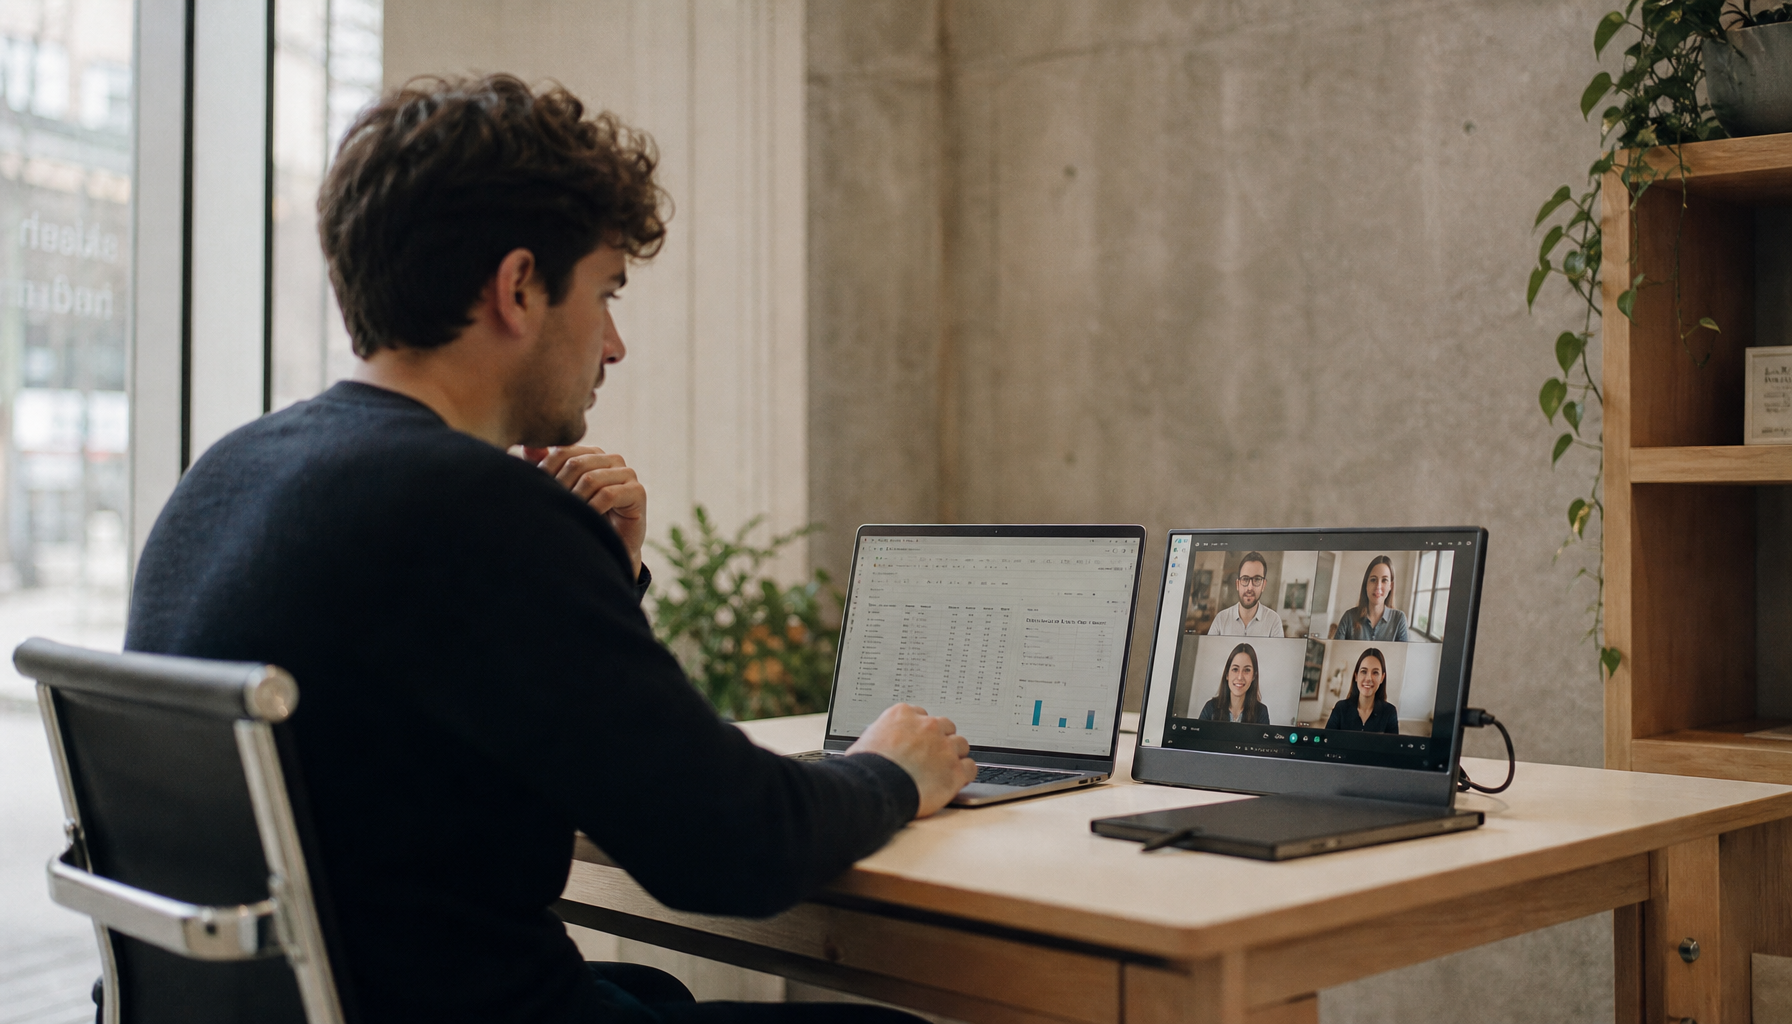
Mirror mode is useful for presentations, but it wastes the reason you carried a second display. Extend mode gives you a larger workspace. Put your main writing, spreadsheet, IDE, or design canvas on the laptop screen, then place chat, references, dashboards, calendar, or preview windows on the portable monitor.

Travel displays are most useful when they preserve a multi-screen workflow away from a fixed desk. On Windows, use the display settings to arrange the portable monitor on the same side where it physically sits. On macOS, arrange displays in System Settings so the cursor moves naturally between screens.
One reliable commuting layout is laptop in front, portable monitor to the right, messaging and reference windows on the right screen, and deep work on the laptop. If you are left-handed or working in a narrow seat, flip the layout. The goal is not symmetry; it is fewer window swaps and less attention loss.
Decide Whether Dual-Screen Portable Monitors Are Worth the Weight
Dual-screen portable monitors can recreate a desktop-style workflow, but they are not automatically better for daily commuting. They add screen space, yet they also add weight, bulk, power draw, and setup complexity. For frequent flyers, consultants, coders, analysts, and people who live in multiple browser windows, the trade can make sense. For most office commuters, one high-quality portable screen is the cleaner value.
One dual-screen portable monitor class uses two stacked 15.6-inch Full HD displays, a clamshell design, and a backpack-friendly footprint similar to a 16-inch laptop. Dual-screen portable monitor setups like that can be powerful when you need desktop-like space on the road. The same class of device can cost far more than a single portable display and may need more power than a basic USB-C monitor.
The decision is simple: if your daily work regularly uses three visible zones, such as spreadsheet, browser, and video call controls, a dual-screen unit may earn its space. If your second screen mostly holds email, team chat, notes, or reference material, buy one better portable monitor and keep your bag lighter.
Buy for Durability, Brightness, and Compatibility Before Flashy Specs
A commuter monitor lives a harder life than a desk monitor. It slides into backpacks, gets set up on uneven tables, and depends on whatever ports your laptop gives it. That makes durability, brightness, stand quality, and compatibility more important than spec-sheet drama.
A good baseline is a 14- to 16-inch IPS panel, 1080p or 2K resolution, USB-C plus HDMI, a protective cover, and brightness near or above 250 nits if you work near windows. USB-C connectivity can carry data, audio, video, and charging over a single cable, though some advanced features may require optional drivers.
Large online marketplaces show a flood of 15.6-inch 1080p IPS portable monitors, and portable monitor listings often emphasize USB-C, HDMI, speakers, console support, and travel use. Treat that as a starting filter, not proof of quality. Check the stand design, return policy, brightness claims, review patterns, included cables, and whether the monitor works with your exact laptop, tablet, phone, or console.
When DIY Makes Sense, and When It Does Not
A DIY portable monitor can be a clever project if you have an old laptop panel, the patience to identify the screen model, and a use case where rough edges are acceptable. A bare laptop screen needs a compatible LCD controller board, power, video input, and a protective case before it becomes a travel-ready display.
A DIY build can turn an old laptop screen into a lightweight monitor when the exact panel model and connector details are matched to the right controller. Old laptop screen projects are especially attractive for video production, workshop use, or budget experiments. For daily commuting, though, commercial portable monitors usually win on enclosure quality, cable simplicity, warranty, and packability.
If your goal is reliable work every morning, buy a finished display. If your goal is learning, repurposing parts, or building a custom on-set monitor, DIY is rewarding but should not be your primary work screen until you have tested the enclosure, power stability, and cable strain relief.
A Backpack Setup That Works in the Real World
A dependable daily kit looks like this in practice: a 14- to 16-inch portable monitor in a sleeve, a full-featured USB-C video cable, a backup HDMI cable, a small charger or power bank if your monitor needs it, compact earbuds or headset, and a slim mouse. Add a folding keyboard only if you often raise the laptop on a stand; otherwise it adds weight without much benefit.

At home, test the entire workflow before the commute. Plug in the monitor, confirm extend mode, set scaling, arrange the display position, adjust brightness, and open the apps you use most. Then unplug everything, pack it, and set it up again from the bag. If the second setup takes too long or needs a cable you forgot, fix the kit before the workday depends on it.
A portable monitor setup should feel like performance equipment, not luggage. Choose the screen that fits your bag, your ports, and your work pattern; keep the cable plan simple; and let the second display earn its space every time it reduces tab switching, improves posture, or keeps your focus visible.


