


Perfect multi-monitor alignment takes two passes: first make the physical panels match your eyes, desk, and bezels, then make the operating system’s virtual layout match the real arrangement so your cursor and windows cross cleanly.
Does your mouse jump up when it crosses screens, or does a game cockpit line break right at the bezel? A careful setup can remove cursor dead zones, reduce neck strain, and make mixed-size displays feel like one controlled workspace. Here is a practical workflow for aligning different monitor heights, bezels, resolutions, and panel types without chasing impossible precision.
Start With the Right Definition of “Aligned”
Monitor alignment has two meanings, and confusing them wastes time. Physical alignment means the screen edges, bezel gaps, tilt, and height line up on the desk. Software alignment means the operating system, GPU surround mode, or app understands where each display sits in the virtual desktop.
A setup can be physically neat but digitally wrong. That is when your cursor crosses from the center of one screen to the upper edge of another. A setup can also be digitally smooth but physically uneven, which is common when one monitor has a thicker bottom bezel, a shorter stand, or a different pixel density.
The best result comes from deciding which alignment point matters most. For office work, align the primary monitor to your eye line and make cursor movement predictable. For racing, flight simulation, and panoramic gaming, align the image horizon and account for bezel gaps. For mixed productivity and gaming, choose a primary screen as the reference and tune the others around it.
Set the Primary Monitor First
Your main display should control the ergonomic setup, not the tallest stand or cleanest frame. For long sessions, the top of the screen should sit at or slightly below eye level, with the center of the display below your straight-ahead gaze. Ergonomic recommendations commonly put comfortable monitor distance around arm’s length, and monitor height and distance matter because looking sharply up, down, or sideways adds neck and shoulder load over time.
A simple real-world check works better than guessing. Sit in your normal chair position with your feet planted and shoulders relaxed. Look straight ahead, then let your eyes drop naturally. The upper third of the main screen should feel easy to scan without lifting your chin. If the screen text looks small at that distance, increase scaling or font size instead of pulling the monitor closer.

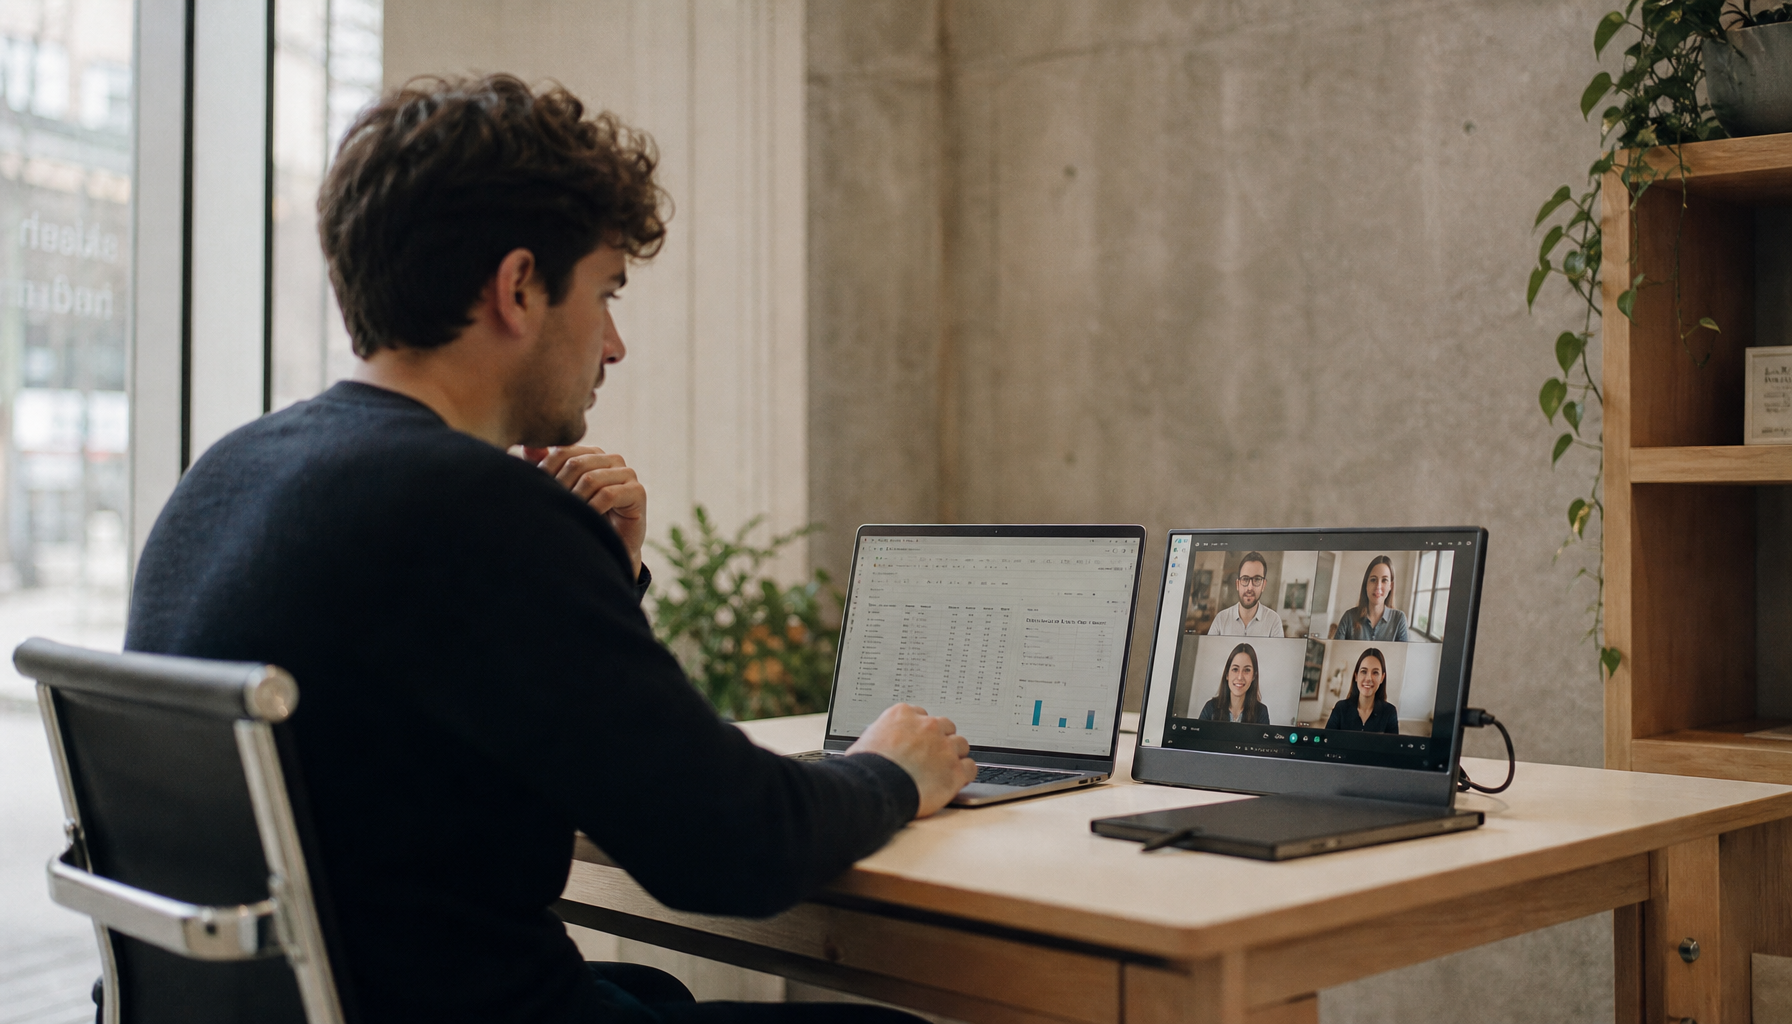
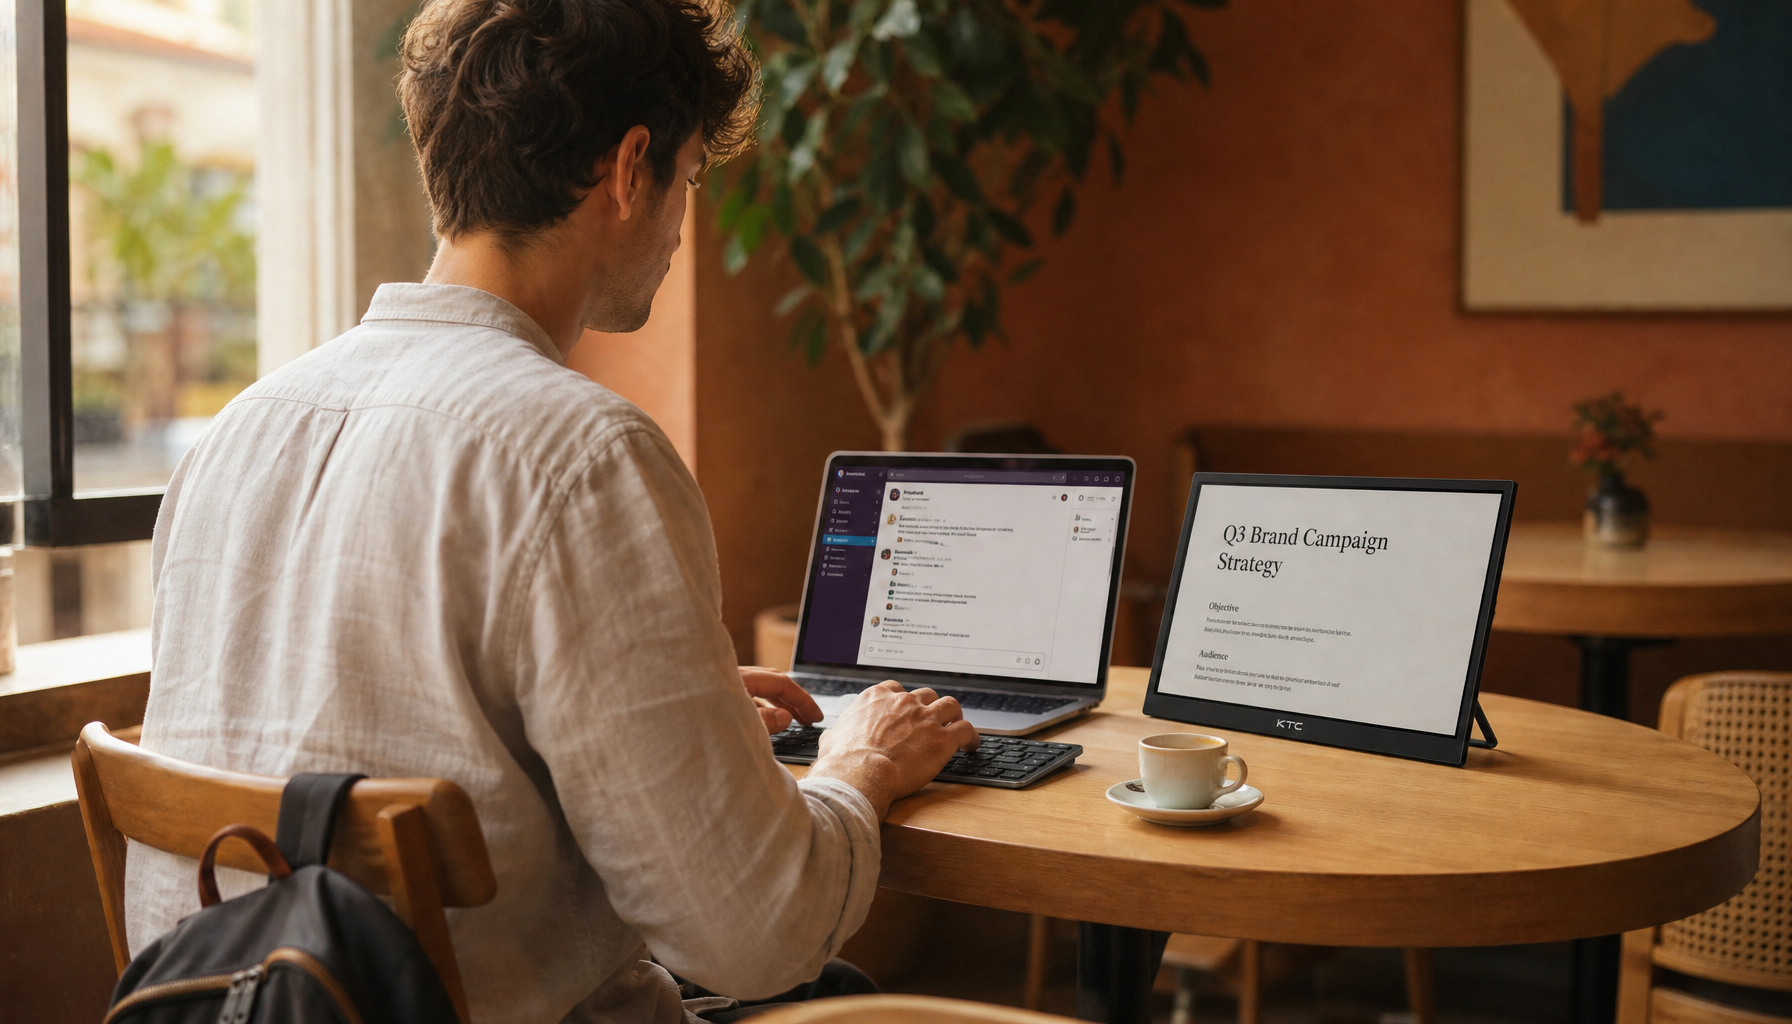
For dual monitors used equally, place both screens at the same distance and angle them slightly inward, like a shallow cockpit. For unequal use, keep the primary monitor directly in front and place the secondary to the side. This avoids the classic productivity trap where every email, spreadsheet, or chat glance turns into a neck rotation.
Match the Physical Edges Before Touching Software
Before opening display settings, make the desk setup mechanically stable. Different bezels and stands often create the illusion of a software problem when the issue is really that one panel sits lower, tilts farther back, or has a thick bottom chin.
Use height-adjustable stands, VESA monitor arms, or risers to bring the active screen areas into the same visual plane. Books can work temporarily, but they make fine-tuning difficult and consume desk space. A dual arm is usually the cleaner long-term solution because it lets you adjust height, depth, tilt, and rotation independently.

When bezels differ, do not align the plastic outer frames. Align the lit image area. A monitor with a thick bottom bezel may need to sit physically higher so the visible pixels line up with the adjacent screen. Use a full-screen window with a horizontal line, spreadsheet grid, or browser edge dragged across both displays. If the line steps up or down at the join, adjust the arm or stand until the content line, not the casing, looks continuous.
There is one important tradeoff. Aligning top edges is often best for office comfort because it keeps eye travel consistent. Aligning screen centers can feel better when monitors have very different sizes or dot pitch, especially when you move the cursor through the middle of the desktop most often. The more mismatched the screens are, the more you should optimize for your most-used crossing point rather than trying to make every edge perfect.
Alignment Target |
Best For |
Tradeoff |
Top edges |
Office work, reading, coding, email |
Cursor may feel offset near lower edges |
Screen centers |
Mixed-size monitors, portrait side screens |
Top and bottom edges will not line up |
Horizon or game centerline |
Sim racing, flight sims, cockpit games |
Less ideal for normal desktop windows |
Active pixel area |
Different bezels and bottom chins |
Plastic frames may look uneven |
Configure the Virtual Layout in the OS
Once the panels are physically placed, open your display settings and drag the monitor rectangles until they match the real desk. The on-screen arrangement should match the physical layout because display arrangement controls how the cursor moves between screens.
In your operating system’s display settings, identify each monitor, then drag each numbered rectangle into position. If your cursor jumps upward when moving from left to right, lower the rectangle for the second display. If it hits an invisible wall near the corner, the virtual edges are probably not overlapping where your hand expects them to.

Set every monitor to its native resolution first. A 27-inch 1440p screen and a 24-inch 1080p screen will never match pixel-for-pixel in physical size, but native resolution keeps each panel sharp. Then adjust scaling so app windows and text feel similar in size. This is usually better than forcing a non-native resolution, which softens text and makes high-refresh gaming panels look worse than they should.
Understand the Dot Pitch Problem
Different monitor sizes and resolutions create different pixel densities. A 27-inch 1440p display is roughly 109 pixels per inch, while a 24-inch 1080p display is about 93 pixels per inch, and a 27-inch 1080p display falls to about 81 pixels per inch. That is why pixel density affects perceived sharpness and why identical windows may look physically larger or smaller across screens.
Two monitors with different pixel densities can be perfectly aligned at one point, not everywhere, unless one image is scaled. Scaling can make cursor movement feel smoother and window sizes more consistent, but it may reduce sharpness. Native resolution preserves image quality, but edges and pointer travel may not line up perfectly across the entire height.
For productivity, center-align the most common cursor path. If you move mostly between browser tabs and chat windows around mid-screen, align the virtual rectangles around their vertical centers. If you drag windows by title bars, align the top edges. For gaming, align the horizon or cross-screen focal line instead of the desktop edges.
Compensate for Bezels in Games and Simulators
Bezels are physical gaps. Bezel correction tells the GPU or game engine to hide a small slice of the image behind that gap so lines appear continuous across screens. Without it, a cockpit bar, road lane, or aircraft wing can look broken. With too much correction, part of the image appears missing.

Flight and racing sim users notice this immediately because wide fields of view magnify geometry errors. Triple-screen simulator discussions often distinguish between a stretched single wide view and a true multi-view setup: triple-screen rendering can reduce fisheye distortion, but bezel gaps and side-screen geometry still need careful tuning.
A practical setup method is to display a straight horizontal reference across all screens, then adjust bezel compensation until the line appears to pass behind the bezels naturally. If a wing, road stripe, or cockpit frame loses too much length at the seam, reduce the compensation. If it bends or jumps outward, increase it slightly. For triple monitors, also match side-screen angles to the software’s field-of-view assumptions; a flat physical layout with aggressive side views often creates warped edges.
Calibrate Brightness and Color After Alignment
Even perfectly aligned monitors can feel wrong if one panel is brighter, cooler, or lower contrast than the others. Start with brightness, contrast, and color temperature in each monitor’s on-screen display. Use a neutral web page, grayscale test image, or the same document dragged across screens.
Calibration has limits. Discussions about uneven IPS gaming panels make a key point: screen uniformity problems cannot be fully solved with a profile because different areas of the same panel may have different brightness, tint, or gamma behavior. If one display looks warm on the left and cool on the right, software can improve the average, but it cannot make the hardware uniform.
For mixed monitors, aim for visual consistency rather than lab perfection. Match white backgrounds so they are not jarringly different, then match shadow detail so dark UI panels do not crush on one screen and wash out on another. If one monitor is mostly for chat, monitoring tools, or reference pages, it does not need creator-grade color accuracy. If one screen is for photo, video, or design work, make that the calibrated reference and tune the others to be comfortable companions.
Use Hardware When the Stands Are the Limiting Factor
Some stock stands simply cannot align different monitors well. They may lack height adjustment, wobble at the edges, or force one screen too far forward. In that case, a VESA arm or alignment bracket is not a luxury; it is the fix.
A monitor alignment bracket is a hardware accessory intended to help multiple displays sit evenly, and retail listings for a monitor alignment bracket show the category exists for users who want cleaner multi-screen joins. The caution is compatibility. Before buying, check VESA mount size, monitor weight, desk clamp clearance, panel thickness, and whether the arm allows independent height and tilt adjustment. A rigid bracket can make identical monitors look excellent, but separate adjustable arms are usually better for mixed sizes and different bezel designs.
Troubleshooting Common Alignment Failures
If the cursor crosses too high or too low, the OS layout is wrong. Reopen display settings and move the virtual monitor rectangles, then test again by crossing at the same physical point.
If windows look bigger on one screen, you are seeing scaling or pixel-density differences. Keep native resolution and adjust scaling, accepting that sharpness and physical size are a tradeoff.
If a straight line breaks across bezels, the physical panels are not aligned or the bezel correction is off. Check physical height first, then tune software correction.
If one screen feels uncomfortable even after alignment, revisit ergonomics. Workstation safety material treats monitor placement as part of the full setup, and dual-monitor ergonomics are especially important when one display is used more than the other. The main screen belongs in front of you; the secondary should support the workflow, not pull your posture off-center all day.
FAQ
Should I align monitor tops or centers?
Align tops for office work if both monitors are similar in size and used for reading or window dragging. Align centers when monitors are different sizes or when your cursor usually crosses near the middle of the display. For gaming, align the in-game horizon or focal line.
Can software fix different bezel sizes?
Software can compensate for the image gap created by bezels, especially in games and GPU surround modes. It cannot change the physical casing, stand height, viewing angle, or pixel density.
Is a monitor arm worth it for mixed monitors?
Yes, if your current stands lack height, tilt, or depth adjustment. A good arm lets you align the active pixel areas instead of being trapped by uneven stock stands.
Why do my monitors still look mismatched after alignment?
Panel type, brightness, gamma, color temperature, and uniformity all affect visual consistency. Match brightness and white point first, then decide whether the remaining difference is acceptable for each screen’s role.
Perfect alignment is not about making mismatched hardware pretend to be identical. It is about choosing the right reference point, locking in ergonomic height, matching the virtual desktop to the real desk, and tuning bezels, scaling, and color until the setup disappears into the work or the game. A well-aligned display wall feels faster, calmer, and more immersive because every transition behaves the way your eyes and hands expect.


