


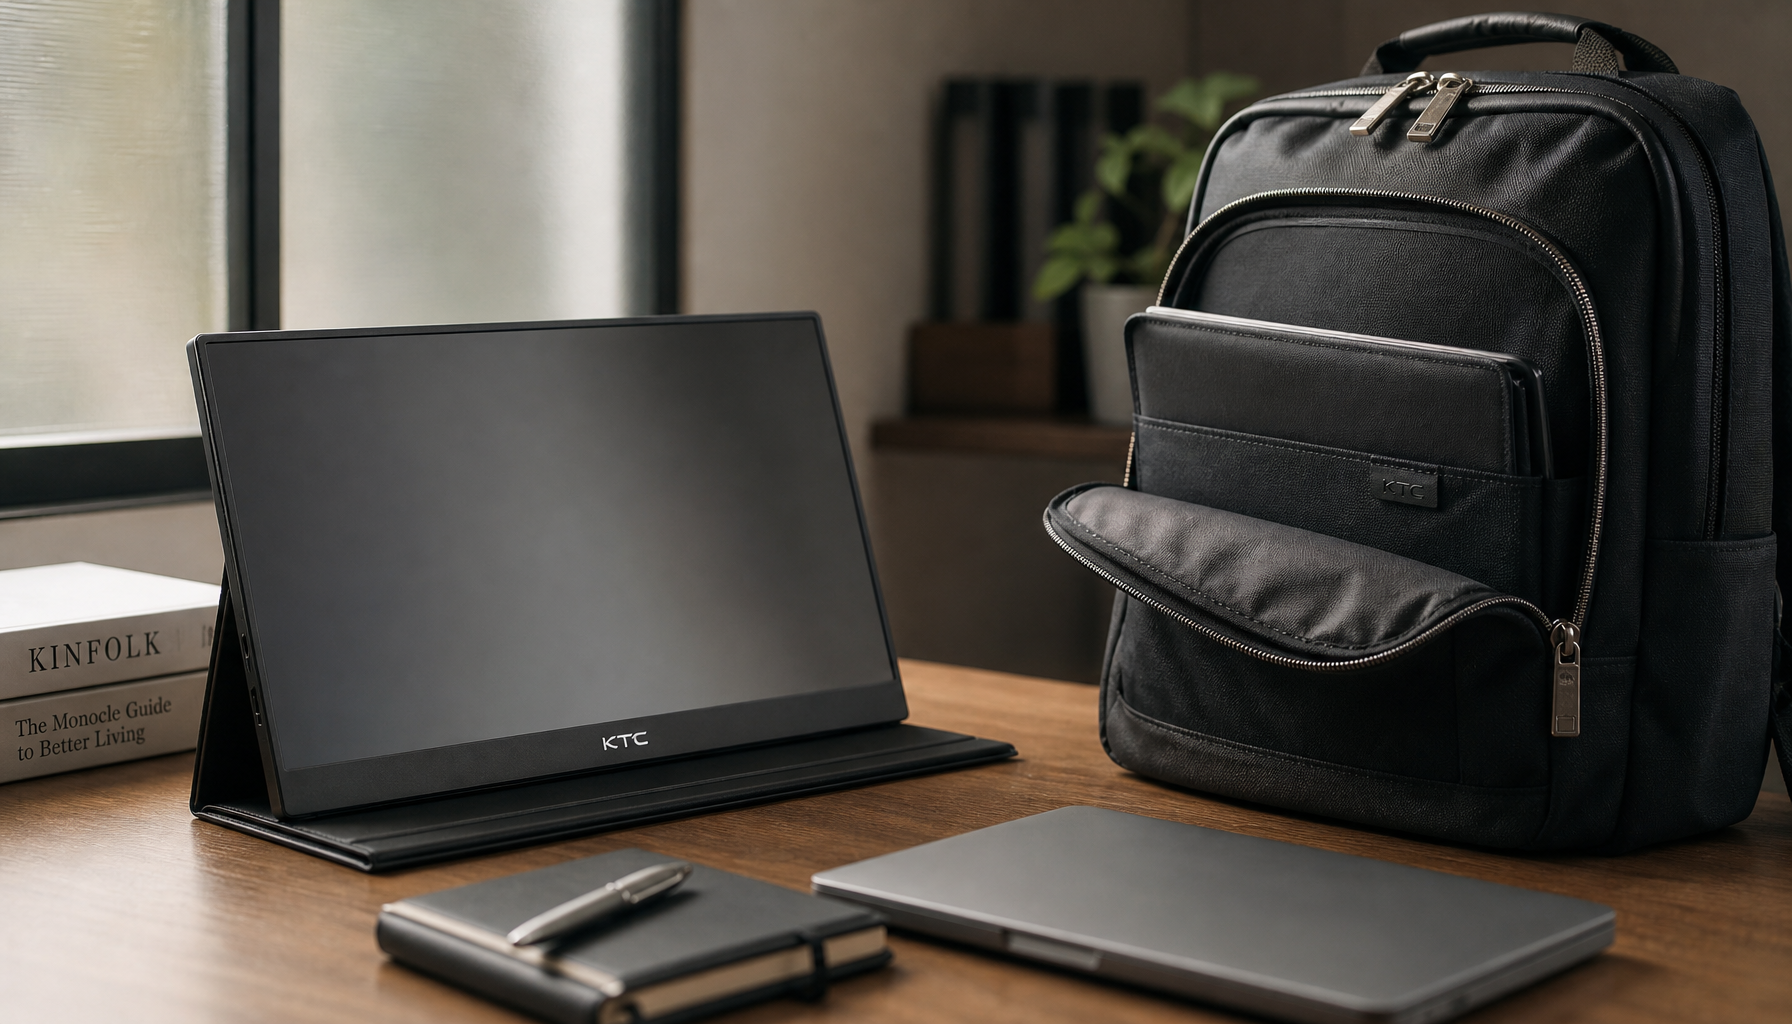
OEM monitor panel lottery risk is mostly about unit-to-unit variation, not a guaranteed defect. In plain terms, two monitors with the same model name can still differ a little in brightness uniformity, color balance, or backlight behavior. This guide shows how to inspect a new unit fast, judge what looks normal, and decide whether to keep it, retest it, or contact support before the return window closes.

What Panel Lottery Means in Practice
For buyers, panel lottery means the visible differences that can show up between otherwise identical monitors. That can include slight tint shifts, corner glow, uneven edges, or backlight behavior that looks different from unit to unit. It does not automatically mean the monitor is bad.
A useful baseline is the idea that display standards treat some pixel defects as acceptable within defined classes, while still leaving room for visible uniformity complaints that are outside those pixel rules. The ISO 9241-307 pixel classes are a technical reference point, not a universal pass-fail rule for brightness evenness. ISO 9241-307 pixel classes help frame the technical floor, but they do not tell you whether a monitor looks good enough for your desk.
That is why the right question is not "Is every difference a defect?" It is "Is this unit behaving within the kind of variation buyers should expect, or does it look repeatably off?" If you are buying OEM or value-brand displays, a quick arrival inspection is the safest way to answer that question.
For broader OEM buying context, the OEM value blueprint is a useful follow-up once you know whether the unit itself looks worth keeping.
How to Check a New Monitor on Arrival
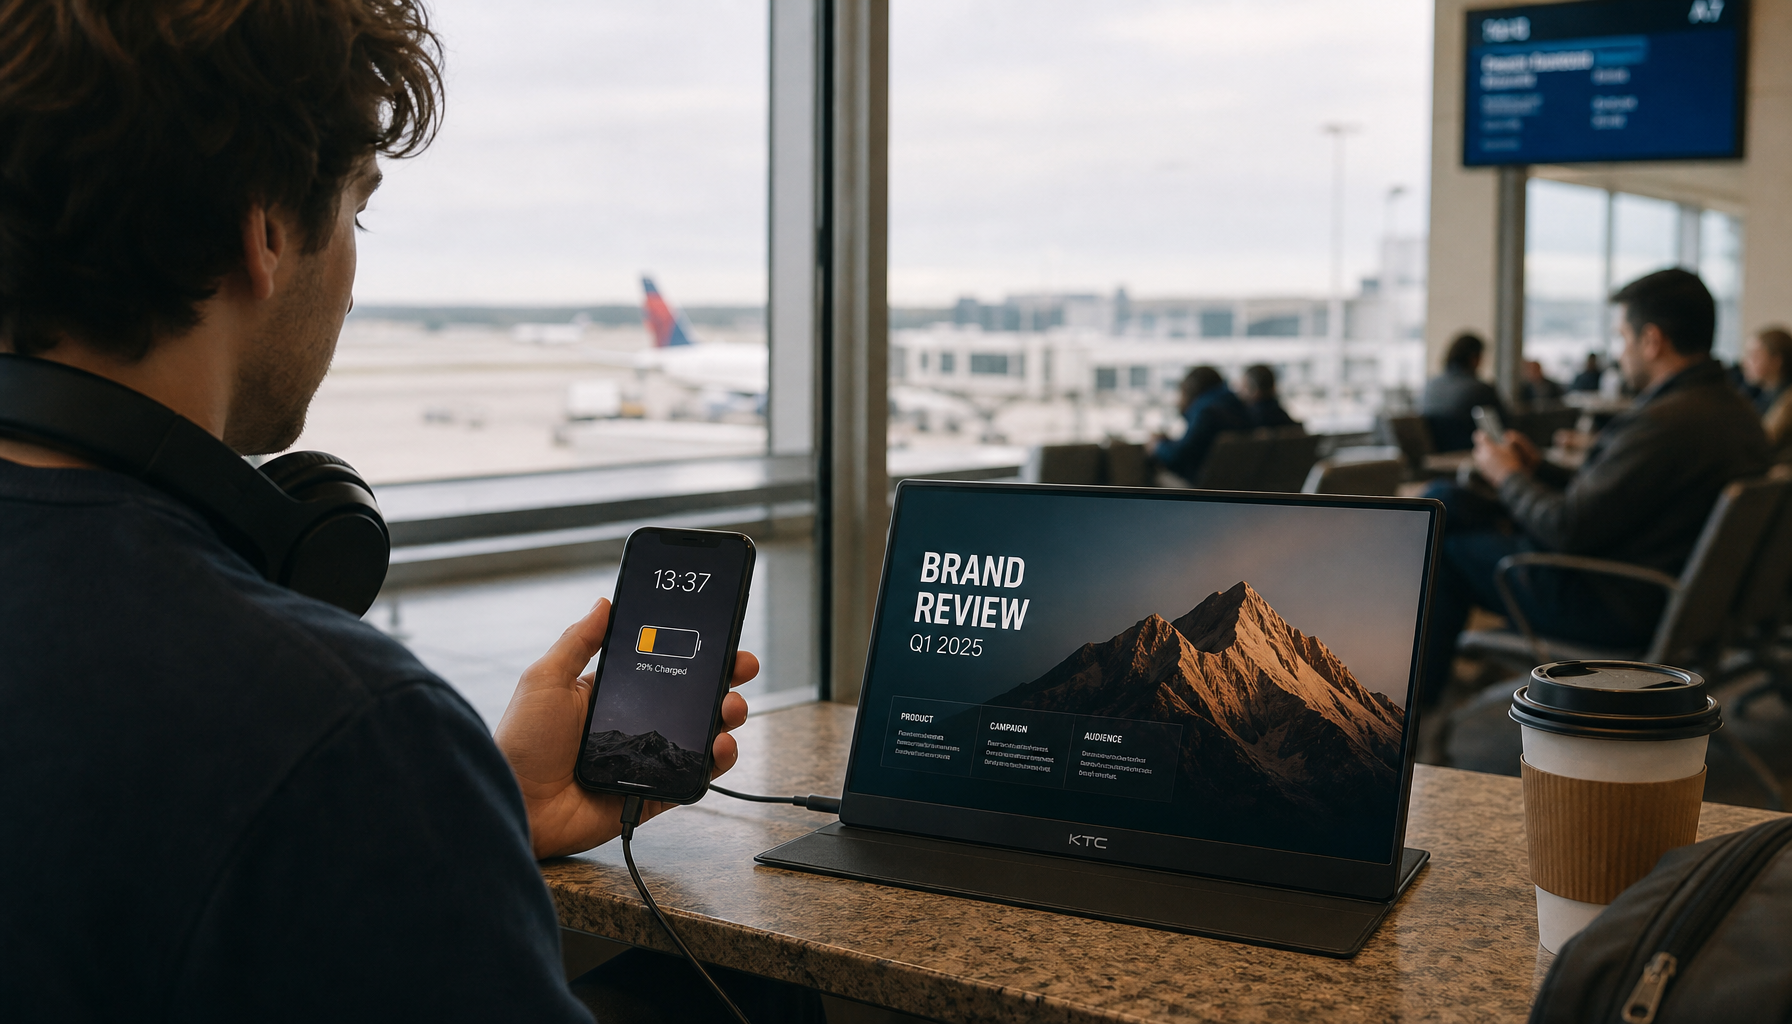
The fastest arrival workflow is simple: inspect the box, power on the monitor, check the panel in a few patterns, then save proof while the return window is still open. You do not need special tools for the first pass.
- Check the shipping box first. Look for crushed corners, punctures, or obvious impact marks before you unseal anything. If the carton is damaged, photograph it before setup.
- Inspect the panel body and stand. Look for cracks, scuffs, loose parts, or anything that suggests shipping stress.
- Power it on at normal brightness. Do not judge the panel from the first boot splash alone, because many screens use bright startup images that hide uniformity issues.
- Open a black, white, red, green, and blue test screen. Solid colors make dead pixels, stuck pixels, bright spots, and edge irregularities easier to see.
- Check grayscale and a dark scene. This is where uneven corners, glow, or local-dimming artifacts are usually easier to notice.
- View the screen from your normal seat position, then slightly off-axis. That helps separate a true panel issue from a viewing-angle effect.
- Compare the result in SDR and, if relevant, HDR. Some settings make the same panel look much more uneven than it really is.
- Save photos and a short note. Record what you saw, which input you used, and what settings were active before you reset anything.
If you want a deeper walkthrough for pixel-specific testing, the solid-color pixel test guide is a good method reference. Use it as a testing aid, not as proof that a return will be approved.
Normal Variation Versus a Real Problem
This is where many buyers get tripped up. A panel can look odd in one room, one angle, or one picture mode and look normal in another. That is why you should judge repeatable behavior, not a single dramatic photo.
| Symptom | Often Normal Variation | More Likely A Problem | What To Do Next |
|---|---|---|---|
| IPS glow | Changes with viewing angle and dark-room position | Stays severe even from a normal seated angle and appears inconsistent with the panel type | Recheck from your real seating position and compare multiple angles |
| Backlight bleed | Can be minor at the edges on some units | Bright leakage stays fixed, obvious, and distracting in regular use | Test in a dark room and document with a black screen |
| Mini-LED blooming | Can appear around bright objects on dark backgrounds because local dimming is working | Looks extreme across many scenes or remains distracting after settings checks | Compare SDR, HDR, and dimming modes before escalating |
| Tint shift or corner warmth | Small differences may be visible and stable across scenes | One corner or side is much stronger than the rest in normal content | Check grayscale and a white test screen |
| Dead or stuck pixels | Small isolated pixel issues may fall within accepted classes in some standards | Multiple visible pixels or a pattern of failed pixels | Capture close photos and contact support |
| Settings-related darkness | HDR, local dimming, brightness, or room light can make a good panel look uneven | The issue persists after resetting picture mode and testing another input | Re-test with factory settings and another cable |
IPS glow is viewing-angle dependent, which means the corner haze can change as you move. Backlight bleed is different because it is a more fixed light leakage that does not change much with angle. That distinction matters when you are deciding whether the issue is just how the panel behaves or something you should escalate. IPS glow versus backlight bleed is one of the clearest places to start.
A practical rule: if the issue changes a lot when you shift your position, it is more likely to be glow or angle behavior. If it stays in the same place and looks equally bad across several checks, it is worth documenting and sending to support.
Where Mini-LED Variance Fits Into Buyer Expectations
Mini-LED can improve HDR impact, but it also introduces its own visible behavior. That means buyers should separate three things: backlight behavior, panel uniformity, and unit-to-unit variation. Those are related, but they are not the same.
Mini-LED Backlight Behavior
Mini-LED local dimming can create blooming or halation, which is a glow around bright objects on dark backgrounds. In many setups, that is a trait of the lighting system rather than a panel defect. Mini-LED blooming and halation is especially easy to notice in dark menus, subtitles, and high-contrast game scenes.
That means a Mini-LED unit can look different from a non-Mini-LED monitor even when it is working normally. If a dark scene looks a little haloed, the first check should be settings, not a return request.
Fast IPS and VA Consistency Expectations
Panel family matters too. Fast IPS models often show more angle-related glow than VA panels, while VA can have a different contrast and dark-scene look. Buyers should compare the unit against its own expected behavior, not against a different panel type.
For example, KTC's 27-inch Mini-LED options include models built around different panel families and use cases. That mix is useful context, but it is not proof that one unit will look identical to another. If you are comparing options, check the actual product page and current specs before assuming a panel type tells the whole story.
The M27T6S 27-inch Mini-LED model is a good example of a value-oriented Mini-LED display where HDR behavior and color tuning matter, while the M27P6 27-inch Mini-LED model sits at a higher-resolution, higher-HDR tier. Those are different buying targets, so the consistency check should be judged against the model you actually ordered.
What to Check Before Assuming a Panel Is Bad
Before you call the screen inconsistent, verify the basics first. Check HDR on or off, local dimming mode, refresh rate, input source, and room lighting. Then look at the same issue across a few test screens and normal content.
If the effect only appears in one mode, it may be a settings interaction. If it survives a reset, appears in the same place, and still looks wrong in normal use, the case for support gets stronger.
What to Do When the Unit Looks Different
If the monitor looks uneven, the goal is to build a clean record before the return or warranty window gets complicated. Keep the box, keep the foam, and make the issue easy for support to verify.
- Re-test with neutral settings. Reset picture mode, turn off any unusual enhancements, and check the monitor in SDR first.
- Take photos in the same room lighting. Use the same viewing position and, if possible, the same test screen each time.
- Capture both test patterns and real content. A single black screen is useful, but support also benefits from seeing the problem in everyday use.
- Photograph the serial number and box condition. That helps connect the evidence to the shipment you received.
- Note the input, cable, and source device. A bad cable or the wrong input mode can mimic a panel problem.
- Contact support with a short summary. State when you noticed the issue, what you tested, and whether it remained after a reset.
US buyers should work quickly because the practical safety net is often the return window, not a long diagnostic process. Retailers may handle dead-pixel and uniformity complaints differently, so keep your evidence organized and do not assume the first reply is the final one. Newegg's dead-pixel return update is a useful example of why early documentation matters.
For calibration and picture-setting questions, the value monitor calibration tradeoff guide is a helpful next step if the panel seems okay but not perfectly tuned.
Final Takeaway
The best way to handle OEM monitor panel lottery risk is to inspect early, compare across a few conditions, and escalate only when the issue is repeatable. Mild glow, blooming, or angle-related change can be normal, but fixed bright leakage, visible pixel faults, or obvious unevenness deserve documentation. If the unit looks off after a reset and a few careful checks, contact support before the return window closes.
If you want a broader browse path after the inspection, compare all monitors or narrow to Mini-LED options once you know what kind of behavior you are willing to live with.
Frequently Asked Questions
What Counts as Normal Panel Variation in a Monitor?
Small differences in glow, tint, or corner brightness can be normal if they stay stable, depend on viewing angle or room light, and do not come with obvious damage or repeated pixel failure. The key is whether the panel behaves consistently in everyday use, not whether it looks identical under every test screen.
How Can I Test a New Monitor for Panel Lottery Issues?
Use a quick arrival routine: inspect the box, check for damage, run solid black, white, red, green, and blue screens, then compare the result in SDR and HDR if needed. Save photos before changing settings or discarding packaging, because that evidence matters more than a memory of what it looked like.
Can Mini-LED Monitors Still Show Uniformity Differences?
Yes. Mini-LED can improve HDR contrast and brightness, but blooming, halation, and local-dimming behavior can still vary by scene and by unit. That is why a Mini-LED monitor should be judged on repeatable behavior and normal-room use, not only on the most dramatic dark scene.
What Photos Should I Gather If a Panel Looks Uneven?
Take the same issue in multiple shots, using the same lighting and viewing angle. Include test patterns, normal content, the serial number, and the box condition if it is still available. A short note about settings, input, and source device can make support review much faster.
Why Might Two Identical Monitors Look Different Side by Side?
Even two identical models can differ a bit because of unit-to-unit variation, calibration, viewing angle, and room lighting. If one unit looks clearly better, compare them from the same seat position and in the same picture mode before deciding which one to keep.


