


When a console stops detecting a monitor after you move to a new cable or HDMI port, the fix is usually to reset the signal chain: power cycle both devices, select the correct input, test a known-good HDMI cable, bypass adapters, and restart the console in a low-resolution video mode if needed.
Is your console suddenly showing “No Signal” right after a cable swap that should have improved the setup? In real troubleshooting, the fastest win is isolating the cable, port, input setting, and video mode before assuming the monitor or console has failed. This sequence will help you bring the picture back and know when hardware repair is the smarter move.
Why Cable or Port Switching Breaks Detection
Modern monitors do more than receive video. When you connect a console, the monitor and console negotiate resolution, refresh rate, HDR, audio support, and copy-protection behavior through the HDMI connection. If you move from one HDMI port to another, add an adapter, switch from an older cable to a new one, or route the console through a capture card or soundbar, that handshake can fail.

A “No Signal” message usually means the monitor is not receiving a compatible input, not necessarily that the console is dead. Monitor troubleshooting sources consistently recommend checking the selected input, reseating the cable, testing another cable or port, and confirming the source device is powered and awake when a display shows “No Signal.” In a gaming setup, that matters because HDMI 1 might support a different feature set than HDMI 2, and a cable that handled 1080p may not reliably carry 4K at 120Hz with HDR.
Think of it like changing lanes on a high-speed road. The console may still be outputting a signal, but the monitor may be listening to the wrong lane, or the new lane may not support the speed you selected.
Start With the Fast Signal Reset
The most reliable first move is a full power reset of the signal path. Turn off the console completely, not rest mode. Turn off the monitor and unplug it from power for about a minute. Disconnect the HDMI cable from both ends, then reconnect it firmly to the console and the monitor. Plug the monitor back in, turn it on, manually select the exact HDMI input, and then power on the console.

This works because standby modes can preserve a failed handshake. Console repair guidance frequently starts with simple cable and power checks because no-video issues are commonly linked to HDMI cable problems, incorrect input settings, or console display settings rather than immediate board failure, as summarized in common console troubleshooting advice on no sound or video output.
For example, if your console worked on HDMI 1, then you moved it to HDMI 2 and the monitor stayed black, do not keep restarting only the console. The monitor may still be locked to HDMI 1 or holding a stale handshake from the previous source. A complete unplug-reconnect cycle forces both sides to renegotiate.
Confirm the Monitor Input, Not Just the Cable
Monitor input menus are small, and it is easy to assume “Auto” will handle everything. It often does not. Use the monitor’s joystick or buttons to open the on-screen display and manually select the port where the console is connected. If the monitor has “Auto Select,” “Input Priority,” or a similar setting, try disabling it temporarily and choosing the console input yourself.
Auto-input switching often depends on a fresh signal event or HDMI-CEC behavior, and monitor support can be less TV-like than users expect. Some displays switch from a PC to a console when the console wakes, but fail to switch back or fail to notice a source that is already running. Accessories such as KVMs, HDMI switches, adapters, docks, capture devices, and soundbars can also interfere with the detection handshake, especially with auto-input switching.
The quick test is simple: connect the console directly to the monitor with no switch, splitter, capture card, or audio extractor. If the picture returns, the console and monitor are probably fine, and the accessory path is the real suspect.
Test the Cable Like a Performance Part
Not all HDMI cables are equal. A cable that works for 1080p at 60Hz may fail when the console tries 4K, HDR, VRR, or 120Hz. After switching cables, use the shortest known-good HDMI cable you have and connect directly. If possible, use the cable that shipped with the console or an Ultra High Speed HDMI cable for current high-bandwidth console setups.
Cable and connector problems are also a leading first-check item in monitor diagnostics. Before assuming a monitor is failing, display repair guidance recommends checking connectors on both ends and replacing the cable to rule out a connection issue, especially when the screen flickers or cuts out with movement due to a loose cable.
Here is the practical performance tradeoff.

Setup Choice |
Advantage |
Risk |
Direct HDMI from console to monitor |
Best detection reliability and lowest troubleshooting complexity |
May bypass soundbar or capture setup |
HDMI switch or KVM |
Convenient for shared desk setups |
Can disrupt EDID, wake behavior, or high-refresh support |
Long passive HDMI cable over 25 ft |
Flexible room layout |
Higher chance of signal dropouts |
Older HDMI cable |
Often works for basic 1080p |
May fail with 4K, HDR, VRR, or 120Hz |
If a new cable caused the failure, do not assume “new” means “better.” A reliable shorter cable beats a long, thin, unverified cable every time.
Reset Console Video Output When the Monitor Cannot Display the Mode
If the console is still running but the monitor stays black, the console may be outputting a mode the new port or monitor path does not support. This is common after moving from a TV to a gaming monitor, from a 4K display to a 1080p portable screen, or from a full-bandwidth HDMI port to a limited one.
Use the console’s low-resolution startup, safe-mode, or video-output reset process for your model, then change video settings after the picture returns. The useful principle is to force the console into a basic output mode first, then re-enable higher settings one at a time. After the picture comes back, choose a resolution and refresh rate the monitor explicitly supports.
This is where performance discipline matters. Do not immediately turn on every premium feature again. Start with 1080p at 60Hz. Then try 1440p or 4K. Then try 120Hz. Then enable HDR, VRR, or ALLM if your monitor supports them. If the screen goes black after one change, you have found the incompatible setting.
Know the Difference Between No Signal and Monitor Failure
A monitor that says “No Signal” is usually telling you it cannot see a valid video input. A monitor that has power but shows no visible menu, no self-test screen, no backlight, or severe panel artifacts may have its own hardware problem.
Monitor component guidance separates black-screen causes into video-signal loss, firmware problems, backlight failure, power-board failure, and mainboard failure, so the same “black screen” symptom can have very different roots depending on whether the monitor menus and power light still behave normally during a black screen or no-display. A useful home test is to open the monitor menu with no console connected. If the on-screen display appears, the panel and backlight are at least functioning. If the monitor power light is on but the screen is dark, shining a cell phone flashlight close to the panel may reveal a faint image, which points toward backlight failure rather than a console issue.
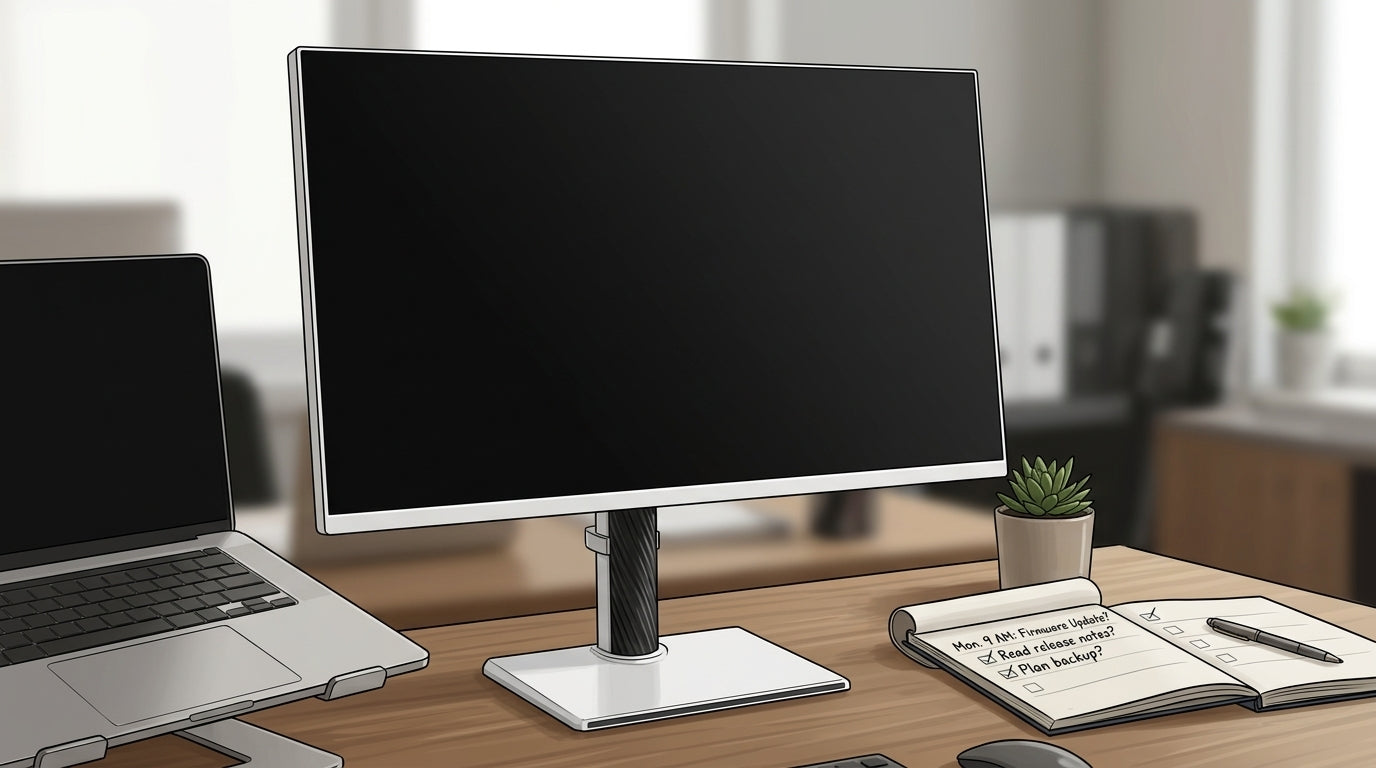
Another simple isolation test is to connect a different device, such as a laptop or another console, to the same monitor port with the same cable. If that device works, the monitor path is probably usable. If nothing works on that port but another monitor input works, you may have a damaged HDMI port on the monitor.
Check for Physical HDMI Port Damage
Cable swaps sometimes reveal damage that was already building up. A slightly bent HDMI plug, a port with loosened internal contacts, or strain from a heavy cable can cause intermittent detection. Inspect both the console and monitor ports with a bright light. Look for a loose fit, bent center tongue, debris, or a connector that moves more than the others.

HDMI port damage is a known console repair category, and repair-focused sources describe HDMI port replacement as the usual fix when physical port damage stops video output to a display because of HDMI port damage. If wiggling the cable changes the signal, stop testing aggressively. Repeated movement can worsen solder-joint or connector damage.
The value call is straightforward. A cable replacement is cheap. A monitor input change costs nothing. A console HDMI port repair can be worthwhile if the console otherwise works well, but it is not a setting you can fix in the menu.
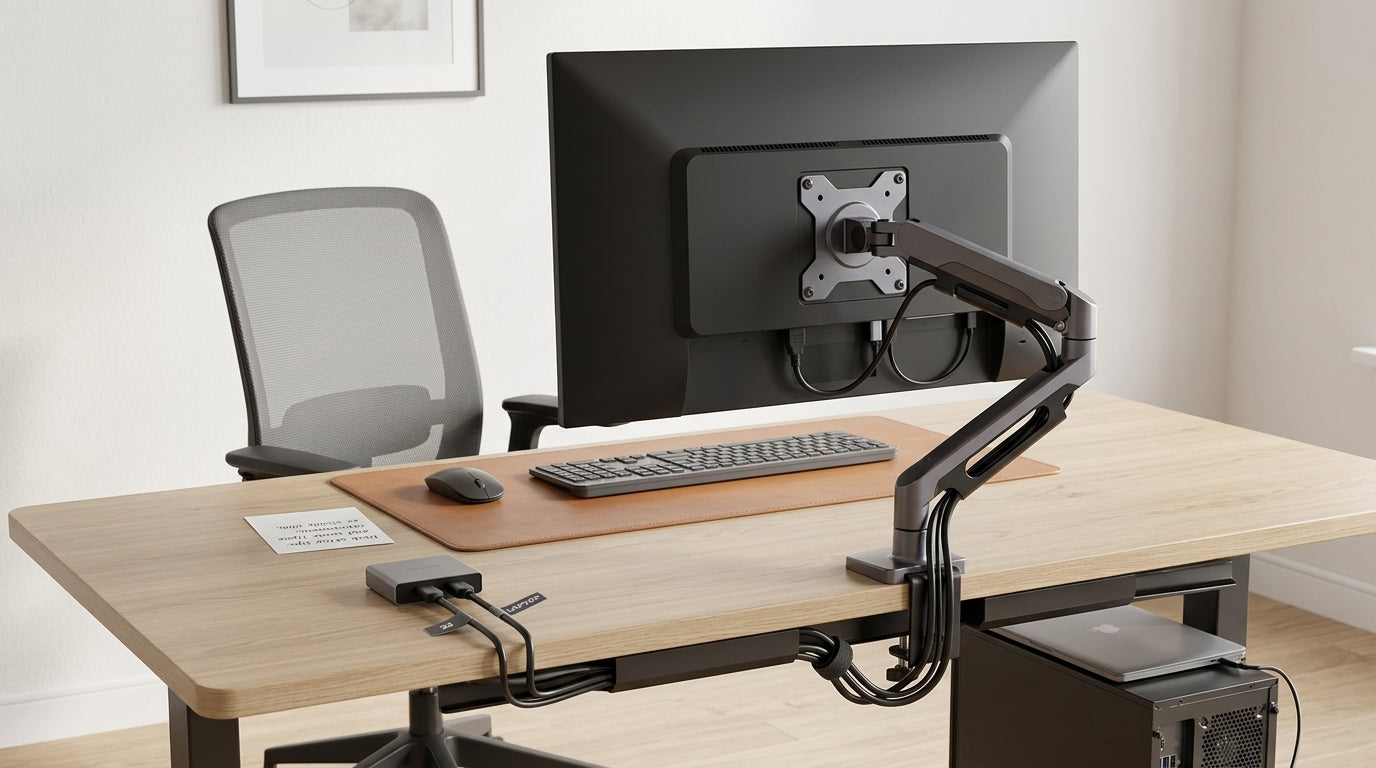
Reduce the Setup to One Clean Path
If the console still is not detected, strip the setup down to the minimum working path. Use one console, one power cable, one HDMI cable, and one monitor. Remove receivers, HDMI splitters, switch boxes, USB-C hubs, docks, capture cards, and adapters. Set the monitor to the correct input manually. Then test each HDMI port on the monitor.
General repair guidance recommends identifying whether the issue is hardware-related or software-related by observing symptoms, patterns, and error behavior before attempting repairs to identify whether the issue is hardware-related. For display detection, that means asking whether the failure follows the console, follows the cable, follows the monitor port, or appears only when an accessory is in the chain.
For example, if the console works on Monitor A with Cable 1 but not Monitor B with the same cable, focus on Monitor B’s input, supported resolution, and HDMI port. If the console fails on every display with every cable, the console’s HDMI output or video settings become more likely.
When a Portable Smart Screen Is Involved
Portable monitors add one more variable: power. Some portable screens need enough USB-C power to run the panel before they can reliably accept HDMI video. If your portable display uses mini-HDMI for video and USB-C for power, connect power first, wait for the screen to wake, then connect HDMI and select the input.
USB-C display setups can also fail when the connected port is data-only rather than video-capable. While that issue is more common with laptops and hubs than game consoles, the principle still matters for hybrid desk setups: not every USB-C port carries video, and power instability can stop a monitor from being detected through DisplayPort Alt Mode.
For travel screens, use the supplied power adapter when possible. A weak USB port from a console, dock, or battery pack may light the screen but still leave it unstable during video negotiation.
When to Stop Troubleshooting and Seek Repair
Stop DIY troubleshooting when you have tested multiple known-good HDMI cables, multiple monitor inputs, a direct connection with no accessories, a low-resolution console reset, and another display. If the console fails everywhere, the HDMI port, encoder, or board-level video path may need professional repair. If the monitor fails with every source and cannot show its own menu or self-test, the monitor may need service or replacement.
A failing monitor often shows patterns beyond one no-signal event, such as recurring flicker, missing screen sections, slow brightness recovery, stuck pixels, or a dark panel with power still present. Those symptoms are more consistent with internal display wear than a simple cable swap, and monitor-failure guidance treats them as signs to check warranty coverage or plan replacement when they persist.
FAQ
Why does my console work on a TV but not on my monitor?
The TV may support the console’s current resolution, HDR mode, or refresh rate while the monitor does not. Reset the console to a basic video mode, connect directly, and then build back up from 1080p at 60Hz.
Can a bad HDMI cable show power but no picture?
Yes. HDMI does not power the monitor, so the monitor can turn on normally while receiving no usable video signal. This is why cable reseating, cable replacement, and port testing come before deeper repair assumptions.
Should I use HDMI 2.1 for every console monitor setup?
Use it when you want 4K at 120Hz, VRR, or other high-bandwidth features on current consoles. For 1080p at 60Hz, a reliable older HDMI cable may work, but a certified high-bandwidth cable gives more headroom and fewer handshake failures.
A console-to-monitor setup should feel instant and predictable. Treat the cable, port, input mode, and video setting as one performance chain, then test from the outside inward. Most detection failures after switching cables or ports are solved before repair enters the conversation.


