


Set the console’s video output to 1440p/QHD, then confirm your monitor can accept a 2560 by 1440 signal over HDMI. If 1440p is missing, the issue is usually HDMI mode support, EDID reporting, refresh-rate limits, or a fallback to 1080p.
Start With the Console’s Resolution Menu
On current consoles, choose 1440p in the display settings when the system detects a compatible monitor. Use the screen and video menu to test or select 1440p output, then choose 60 Hz or 120 Hz depending on what your display supports.

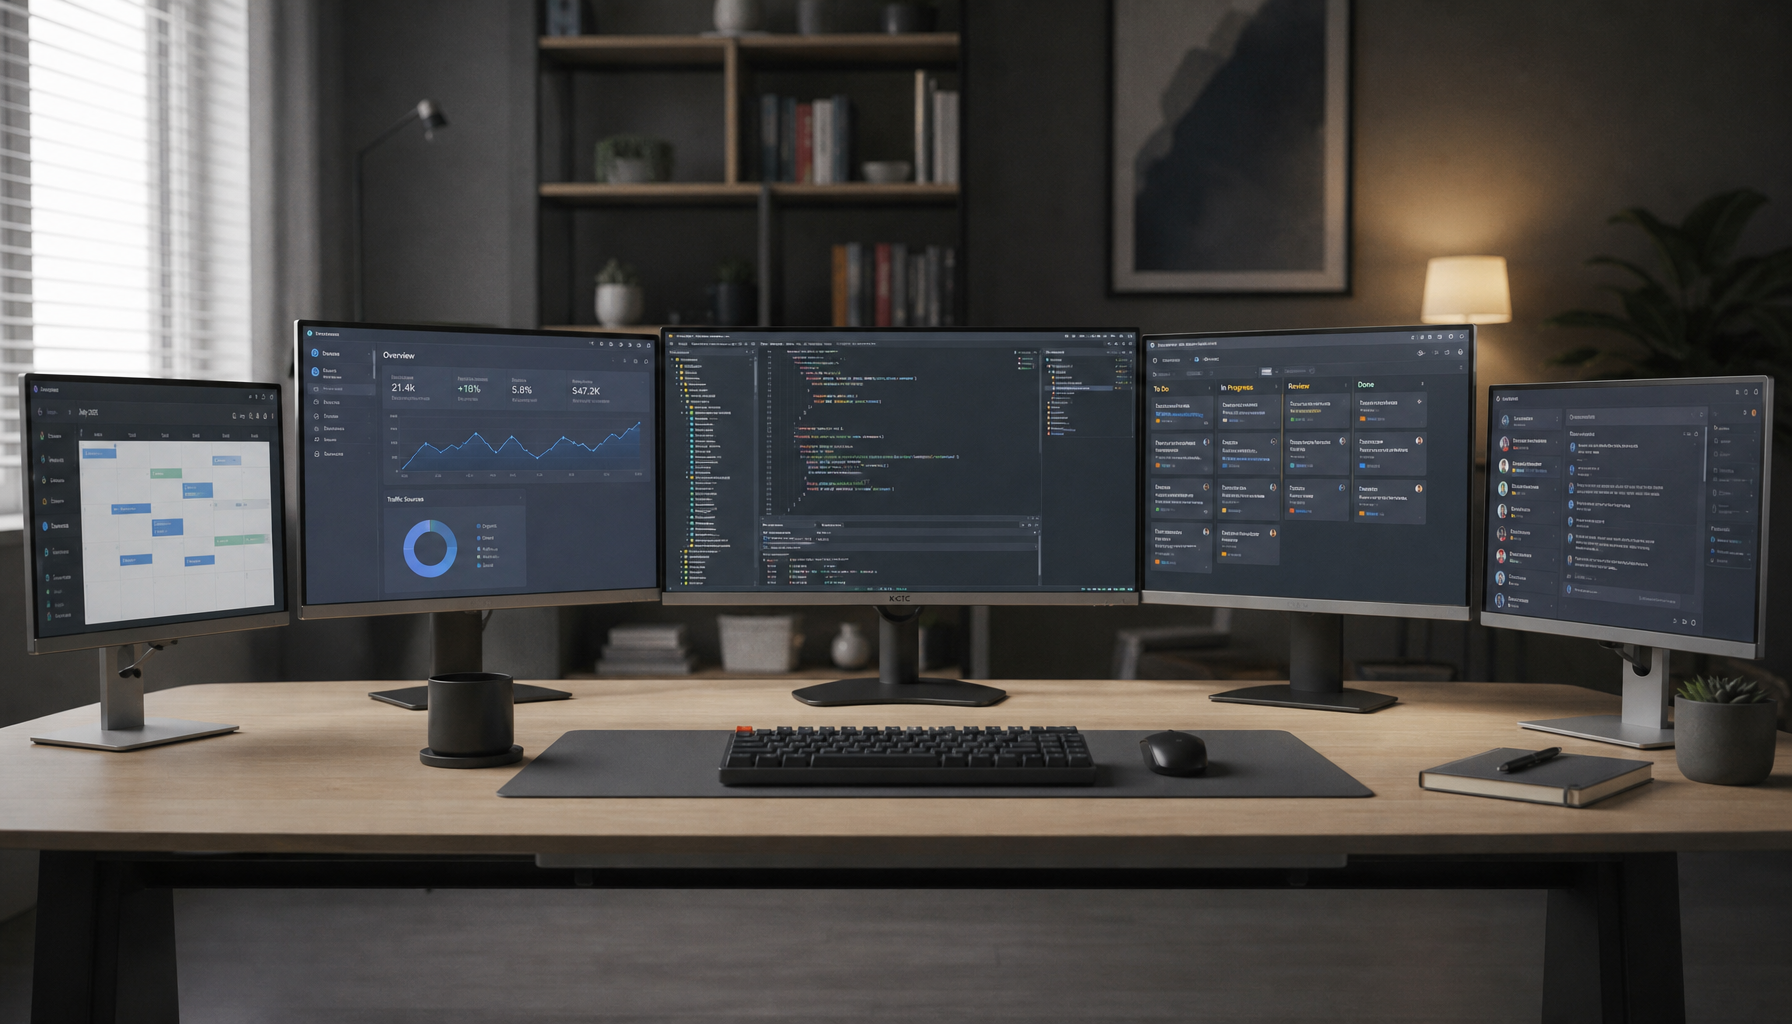
This works best on a true QHD monitor, because 1440p is 2560 by 1440: sharper than 1080p, lighter to drive than 4K, and a strong match for 27-inch gaming displays. A good 1440p monitor gives console players a practical balance: crisp UI, cleaner edges, and smoother high-refresh play without paying for 4K bandwidth they cannot use.
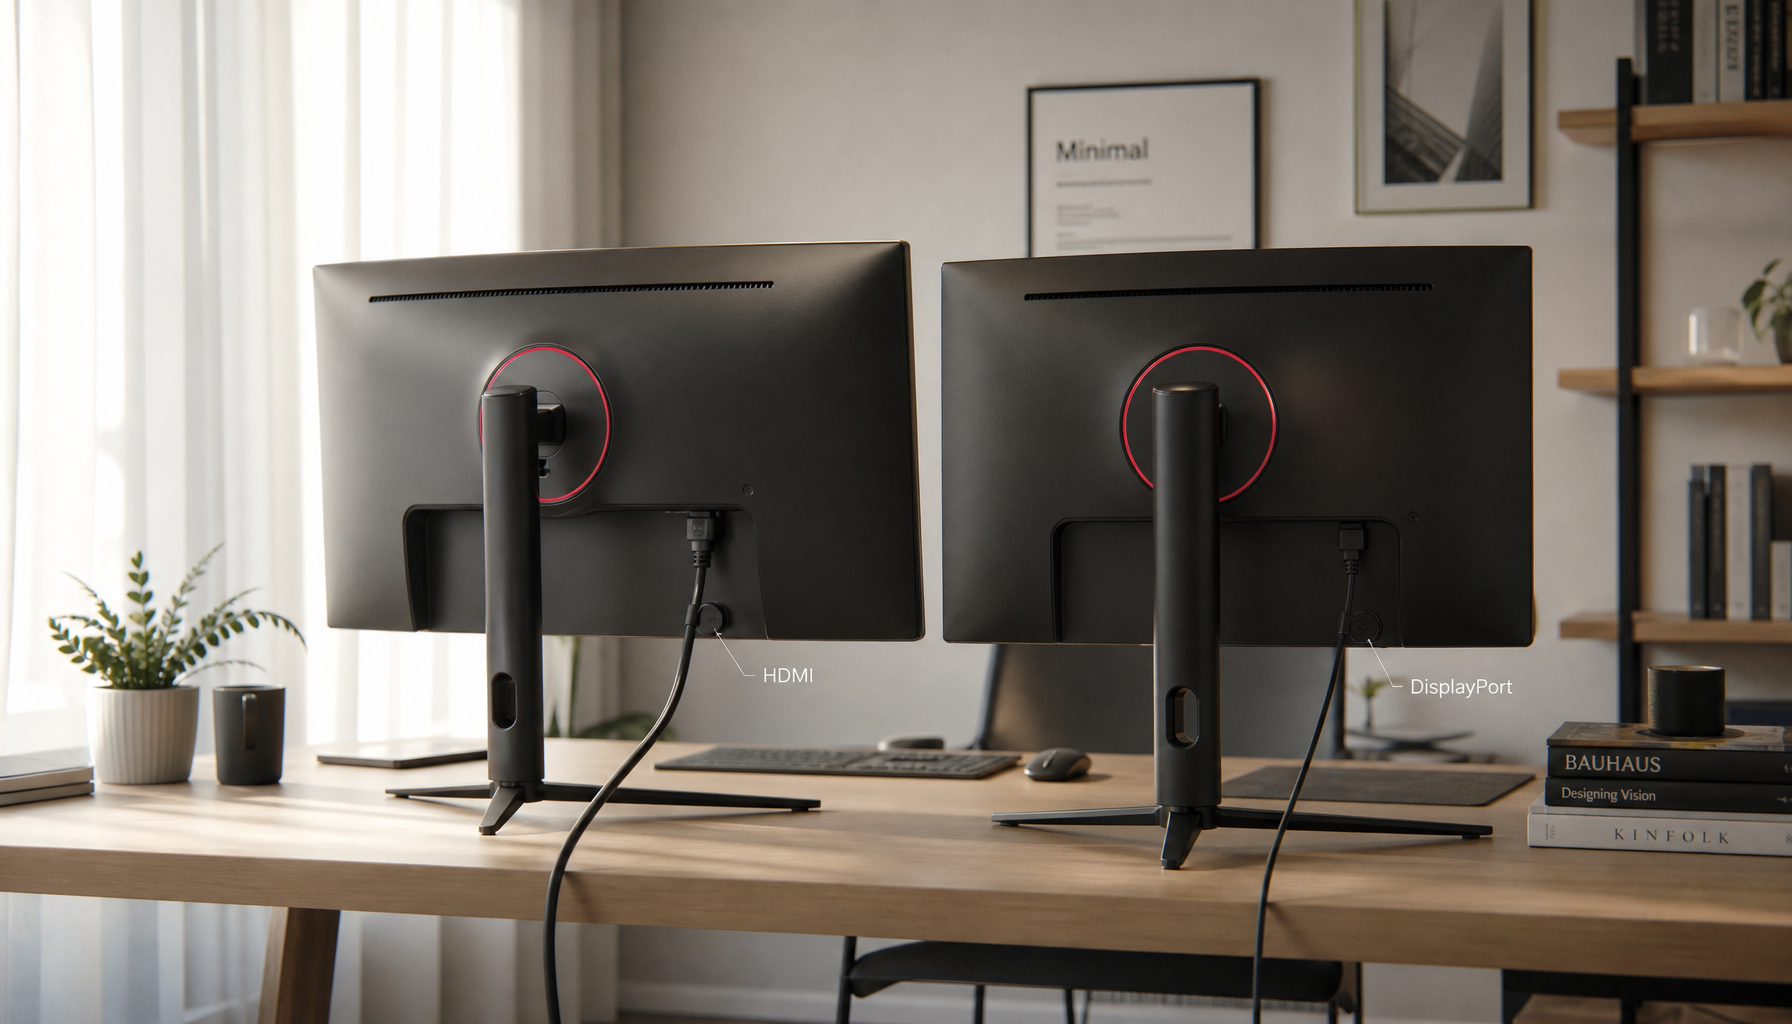
- Use the monitor’s HDMI port, not DisplayPort through an adapter.
- Set the console to 1440p, then test 120 Hz separately.
- Disable unsupported HDR or VRR if the screen goes black.
- Update the monitor firmware if the manufacturer provides one.
- Try a certified high-speed HDMI cable.
Why 1440p May Not Appear
A monitor can be physically 1440p and still fail the console handshake. The console reads the monitor’s EDID, which is the display’s supported-mode list; if 1440p over HDMI is not advertised, the console may only offer 1080p.
Some monitors support their best resolution and refresh rate over DisplayPort but limit HDMI. That is common on older gaming monitors built mainly for PC graphics cards. A console gaming monitor should be checked specifically for HDMI resolution, refresh rate, VRR, and HDR behavior, not just the panel’s headline specs.

There is also a TV-versus-monitor difference. Many TVs prioritize 720p, 1080p, and 4K video modes, while 1440p is more common in PC monitors. If your display does not advertise 1440p, forcing it usually is not possible from the console alone.
If the Monitor Accepts 4K But Is Not 4K
Some 1440p monitors accept a 4K signal and downsample it to the native panel. That can look cleaner than native 1440p in some games because the image starts with more pixel data before being scaled down.
This is not the same as real 4K. The monitor still displays 1440p pixels; it is simply processing a higher-resolution input. The benefit is smoother edges and potentially richer texture detail, while the cost is heavier console rendering load or a lower performance mode.
If your monitor does not accept 4K input at all, you cannot use 4K downsampling as a workaround; you need native 1440p output support instead.
Tune for Sharpness, Motion, and Value
For competitive games, 1440p at 120 Hz is usually more valuable than chasing a 4K signal your monitor cannot show. A 1440p 144Hz monitor class display is built around that balance: enough resolution for detail and enough refresh for fast control.
After the console locks to 1440p, tune the monitor itself. Use Game or Custom mode, keep sharpness near default, set overdrive to Normal or Fast rather than the maximum setting, and enable VRR only if both the console and monitor support it cleanly. Basic display calibration settings like brightness, contrast, and color temperature can make the image look sharper without adding input lag.

If 1440p still will not show after every setting check, the most reliable fix is hardware: a monitor with confirmed HDMI 1440p console support. That approach avoids scalers, adapters, and unstable signal tricks while giving the console a clean QHD target.


