


Your DisplayPort 1.4 monitor is usually stuck at 4K 60Hz because the signal chain is bandwidth-limited, the wrong display mode is selected, DSC is unavailable, or a dock, adapter, cable, GPU, or monitor setting is forcing a lower mode.
You bought a 4K 144Hz monitor, plugged in DisplayPort, and the operating system still acts like 60Hz is the ceiling. In real troubleshooting, the fastest practical win is to verify the actual signal, then remove every weak link between the GPU and panel. You will know exactly where to check, what settings matter, and when the hardware simply cannot carry 4K 144Hz.
Why 4K 144Hz Is Harder Than “DisplayPort 1.4” Makes It Sound

A 4K display runs at 3,840 x 2,160, which is about 8.3 million pixels per frame, and pushing those pixels 144 times per second is a much bigger job than 4K 60Hz. That is why 4K gaming monitors need both a capable display link and a strong graphics card, especially when gaming above 120Hz.
DisplayPort 1.4 is powerful, but it is not magic. Its headline bandwidth is 32.4 Gbps, while the maximum data rate is 25.92 Gbps, and DisplayPort 1.4 commonly supports demanding modes such as 4K 120Hz, 10-bit color, HDR, and Display Stream Compression. The catch is that 4K 144Hz often depends on DSC, reduced color settings, or the exact monitor implementation.
DSC, short for Display Stream Compression, is a visually lossless compression technology that lets a display mode fit inside the available pipe. If your GPU, cable path, dock, adapter, or monitor input does not negotiate DSC correctly, the system may fall back to 4K 60Hz because that mode is easier and safer to carry.
The Most Common Reasons You Only See 60Hz
The first suspect is not usually the monitor panel. A high-refresh monitor stuck at 60Hz is commonly caused by settings, cable bandwidth, GPU overrides, docks, power-saving features, or monitor-side input options, and the monitor stuck at 60Hz troubleshooting pattern starts with confirming what the monitor is actually receiving.
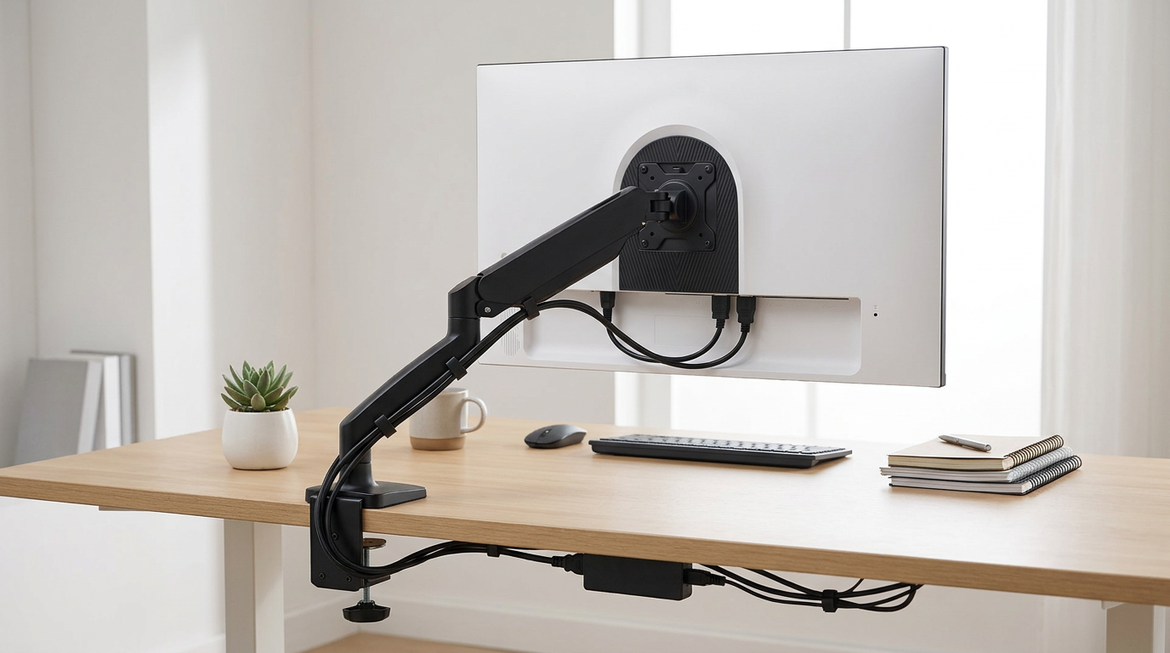
A weak or wrong cable can advertise a connection but fail the high-bandwidth mode. With digital video, a poor cable usually does not make colors subtly less accurate; it more often causes missing refresh-rate options, flicker, black screens, artifacts, or a drop to a lower mode. In practice, a short certified DisplayPort cable connected directly from the GPU to the monitor is the cleanest baseline.
Adapters are another common trap. HDMI-to-DisplayPort, DisplayPort-to-HDMI, USB-C hubs, capture devices, and KVM switches can reduce available bandwidth or block DSC. Even when every connector physically fits, the display link may no longer be equivalent to a direct DP 1.4 connection.

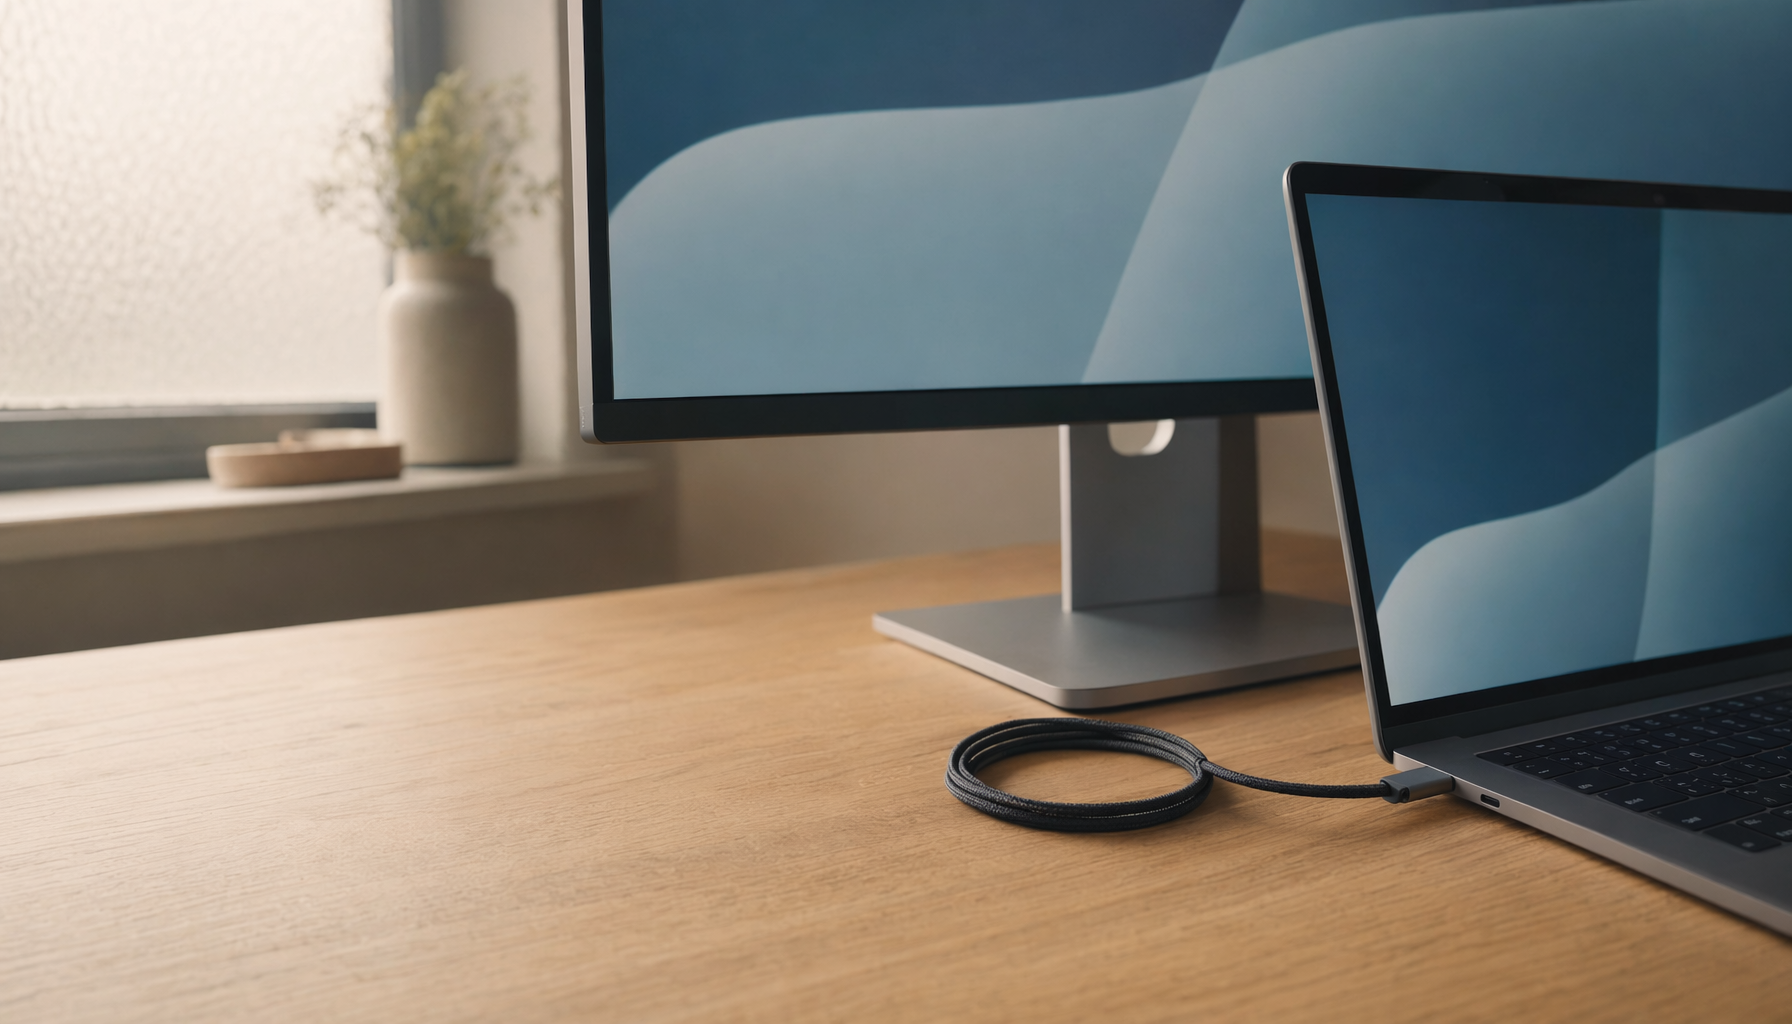
Laptop setups add one more layer. USB-C can carry DisplayPort video, but the port must support DisplayPort Alt Mode, USB4, or Thunderbolt; a USB-C shape alone does not guarantee video capability. USB-C docking stations may also split lanes between video and USB data, so a dock that prioritizes fast USB devices can leave too little display bandwidth for 4K 144Hz.
Check the Mode Before Replacing Hardware
Start with the operating system’s advanced display settings. Open display settings, select the 4K monitor, and check the refresh-rate drop-down. If 144Hz is available, select it and confirm the monitor’s on-screen display reports 144Hz, not just the operating system.

If only 60Hz appears, check your GPU control panel. Look for the resolution and refresh-rate section, then choose the resolution listed under the PC category rather than the Ultra HD, HD, SD section if both are available. Also check display scaling, variable refresh behavior, and any custom resolution entries that may be restricting the mode.
The monitor’s own menu matters too. Many gaming displays have an input compatibility setting where DisplayPort can be set to an older version for legacy devices. Set DisplayPort mode to the highest available option, disable energy-saving display modes, and enable any required overclock setting if your model uses one to expose 144Hz, 160Hz, or higher modes.
Cable, Port, and Dock Reality Check
The most reliable test is simple: connect the monitor directly to the discrete GPU with a short, known-good DisplayPort cable rated for DP 1.4 or better. Avoid the motherboard video output unless you are intentionally using integrated graphics, because that path may not expose the same modes as the dedicated GPU.
Here is the practical read on common connection paths.

Connection path |
4K 144Hz outlook |
Practical takeaway |
Direct DP 1.4 from desktop GPU |
Possible when GPU, monitor, cable, and DSC support align |
Best first test for PC gaming |
DP 1.4 through KVM or dock |
Uncertain |
Check the device’s exact 4K refresh rating |
USB-C to DisplayPort |
Possible if Alt Mode bandwidth is sufficient |
Prefer direct USB-C to DP over conversion-heavy adapters |
HDMI 2.0 |
Usually capped around 4K 60Hz |
Not the right path for 4K 144Hz |
HDMI 2.1 |
Strong option when both devices support it |
Better for consoles and some 4K high-refresh TVs |
HDMI is not automatically worse, but version matters. HDMI 2.0 is widely associated with 4K 60Hz, while HDMI 2.1 has a much higher ceiling, and HDMI 2.1 is the more relevant HDMI target for 4K 120Hz and high-refresh entertainment setups. For a desktop gaming monitor, DisplayPort is still often the more direct and predictable route.
Do You Also Need the GPU to Render 144 FPS?
Refresh rate and frame rate are related but not identical. Refresh rate is how often the display updates, while FPS is how many frames the GPU produces, and refresh rate problems can show up as choppy motion, flicker, laggy cursor movement, or poor gaming responsiveness.
You can set a monitor to 4K 144Hz even if a game only runs at 90 FPS, but you still need a GPU and port that can output the display mode. For gaming, the experience depends on both the link and rendering horsepower. 4K gaming above 120Hz requires serious graphics performance, which matches what you feel when a sharp 4K panel is paired with a midrange GPU and ultra settings.
For productivity, 144Hz can still feel worthwhile. Cursor movement, window dragging, spreadsheet scrolling, and timeline scrubbing all feel more immediate. Still, if your secondary monitor is only for email, chat, or reference material, locking that screen to 60Hz or 75Hz can reduce display load while keeping the primary 4K gaming monitor at full speed.
HDR, 10-Bit Color, and Chroma Settings Can Change the Answer

A monitor may expose 4K 144Hz with 8-bit color but not with 10-bit color and HDR enabled. That is not a defect; it is a bandwidth tradeoff. Higher refresh, higher resolution, HDR, deeper color, and full chroma all compete for the same connection budget.
If 4K 144Hz disappears after enabling HDR, try 4K 120Hz with HDR, or test 4K 144Hz with 8-bit color. If the monitor supports DSC, update the GPU driver and confirm the monitor’s DisplayPort mode is set correctly. If the image becomes unstable, stepping down from 144Hz to 120Hz can be the smarter performance choice, especially for a work-and-play setup where reliability matters more than a spec-sheet victory.
A Practical Fix Sequence That Usually Works
Begin by confirming the monitor’s own information screen. If the OSD says 3,840 x 2,160 at 60Hz, the operating system is not merely misreporting; the panel is receiving 60Hz.
Next, select the highest refresh rate in the operating system’s advanced display settings, then repeat the same check in the GPU control panel. After that, bypass every adapter, dock, KVM, and hub by running a direct cable from the GPU to the monitor. Set the monitor input to the newest DisplayPort mode, disable power-saving display features, and enable any overclock option required by the monitor.
If 144Hz still does not appear, update the graphics driver from the GPU vendor. Then test another certified DisplayPort cable. Firmware updates and custom resolution tools should come last because they can solve edge cases, but they also carry more risk than a cable, setting, or driver fix.
When 4K 60Hz Is the Correct Limit
Sometimes 60Hz is not a problem to fix; it is the actual limit of one part of the chain. An older GPU output, HDMI 2.0 port, basic USB-C dock, office laptop, or non-DSC path may support 4K 60Hz perfectly but never 4K 144Hz. That is why display shopping should include the whole path, not just the monitor’s advertised refresh rate.
For a performance-first desktop, the ideal chain is a GPU with DP 1.4 or better, a direct certified DisplayPort cable, a monitor input set to DP 1.4 mode, current drivers, and DSC support when the target mode requires it. For a laptop, the safest high-refresh path is usually direct USB-C to DisplayPort from a port that explicitly supports high-bandwidth video.
FAQ
Why does my 144Hz monitor only show 60Hz in the operating system?
The operating system may only expose 60Hz when it detects a bandwidth-limited signal, an older display mode, a driver issue, or a monitor setting that hides higher refresh rates. Check advanced display settings, then the GPU control panel, then the monitor OSD.
Can DisplayPort 1.4 do 4K 144Hz?
It can in the right setup, often with DSC or specific color settings. If DSC is not available or the signal path is interrupted by a dock, adapter, or weak cable, 4K 60Hz or 4K 120Hz may be the realistic limit.
Is HDMI better than DisplayPort for 4K 144Hz?
For PCs, DisplayPort is often the cleaner gaming-monitor choice. HDMI 2.1 can be excellent for 4K high refresh, especially on consoles and TVs, but HDMI 2.0 is commonly a 4K 60Hz bottleneck.
Should I buy a new monitor cable?
Yes, if you are using an unknown, old, long, damaged, or bundled cable that has not been verified for high-bandwidth DP 1.4 use. A short certified cable is one of the cheapest ways to eliminate a major failure point.
A 4K 144Hz monitor only delivers its full value when every link in the chain can carry the mode. Lock down the direct connection first, verify the real signal on the monitor OSD, then tune color, HDR, and refresh rate around the performance you actually need.


