


Use your smart display as the single destination, then route every console through the right HDMI switch, KVM switch, or display input plan based on whether you need video only, shared USB controls, or full 4K 120Hz gaming.
Tired of reaching behind your display every time you switch consoles? A clean switch-based setup can keep three or four systems connected at once, preserve your best refresh-rate settings, and reduce wear on both cables and ports. Here is how to build a reliable, low-lag setup that feels like a proper command center instead of a cable chore.
The Core Setup: One Display, Many Consoles

The simplest solution is an HDMI switch, which routes multiple console inputs into one HDMI output connected to your smart display. In practical terms, two current-generation consoles, a portable console dock, and a retro scaler or media device can stay plugged into the switch, while a single cable runs from the switch to the display.
For modern console setups, the key is choosing a switch that matches your display’s best capability. If your smart display supports 4K at 120Hz, VRR, or ALLM, do not buy a basic older switch just because it has enough ports. Modern consoles benefit from HDMI 2.1-class bandwidth, and HDMI 2.1 switchers are specifically positioned for 4K 120Hz and newer console features.
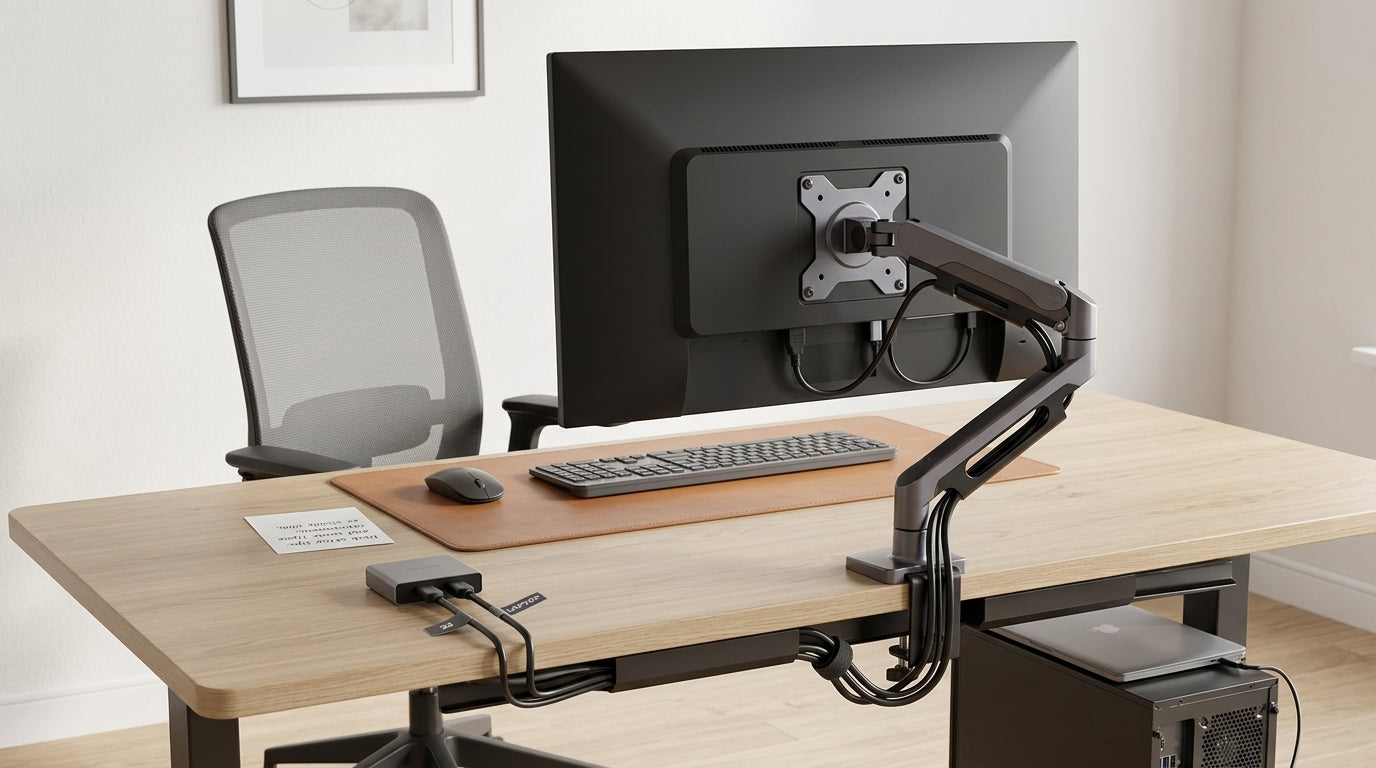
A real-world example is a desk with a 32-inch 4K smart display, two high-performance consoles, a portable console dock, and a gaming laptop. A 4x1 HDMI 2.1 switch gives each source a permanent input, then sends one output to the display. You switch consoles from a remote, a front button, or auto-switching if the hardware handles it cleanly.
Choose the Right Switching Method
There are three practical ways to avoid constant cable swapping. The right choice depends on whether you only need video switching, whether your display has enough built-in ports, and whether you also want to share USB devices or speakers.

Method |
Best For |
Main Advantage |
Main Tradeoff |
Display input switching |
Two devices and enough ports |
No extra hardware |
Slower menu-based switching |
HDMI switch |
Multiple consoles to one screen |
Clean, affordable video routing |
Usually does not share USB peripherals |
KVM switch |
Console plus PC or laptop desk setup |
Switches video and USB together |
Costs more and requires careful spec matching |
Manual input switching works when your display has enough HDMI ports and you do not mind using the on-screen menu. It is the lowest-cost path because each console plugs directly into the display. The downside is friction: smart display menus are not always fast, and some monitors bury input selection behind several button presses.
An HDMI switch is better when your problem is mostly video. Multiple consoles feed into the box, and the box feeds the display. This also reduces port wear because you are not repeatedly unplugging cables from the back of the display. Video switches can share displays without repeatedly moving cables, but they usually do not handle keyboards, mice, or other USB devices.
A KVM switch is the polished workstation option. KVM stands for keyboard, video, and mouse, and it lets one display and set of USB peripherals move between systems. If your smart display doubles as a productivity screen for a laptop and a console screen at night, a KVM switch can make one-button switching much cleaner than juggling display inputs and USB hubs separately.
Match the Switch to Console Performance
The most common mistake is buying a switch with the right number of ports but the wrong performance ceiling. A high-performance console connected to a 4K 120Hz display should pass through a switch that supports the same level of output. Otherwise, the console may fall back to 4K 60Hz, lose VRR, disable HDR options, or show a black screen until settings are changed.
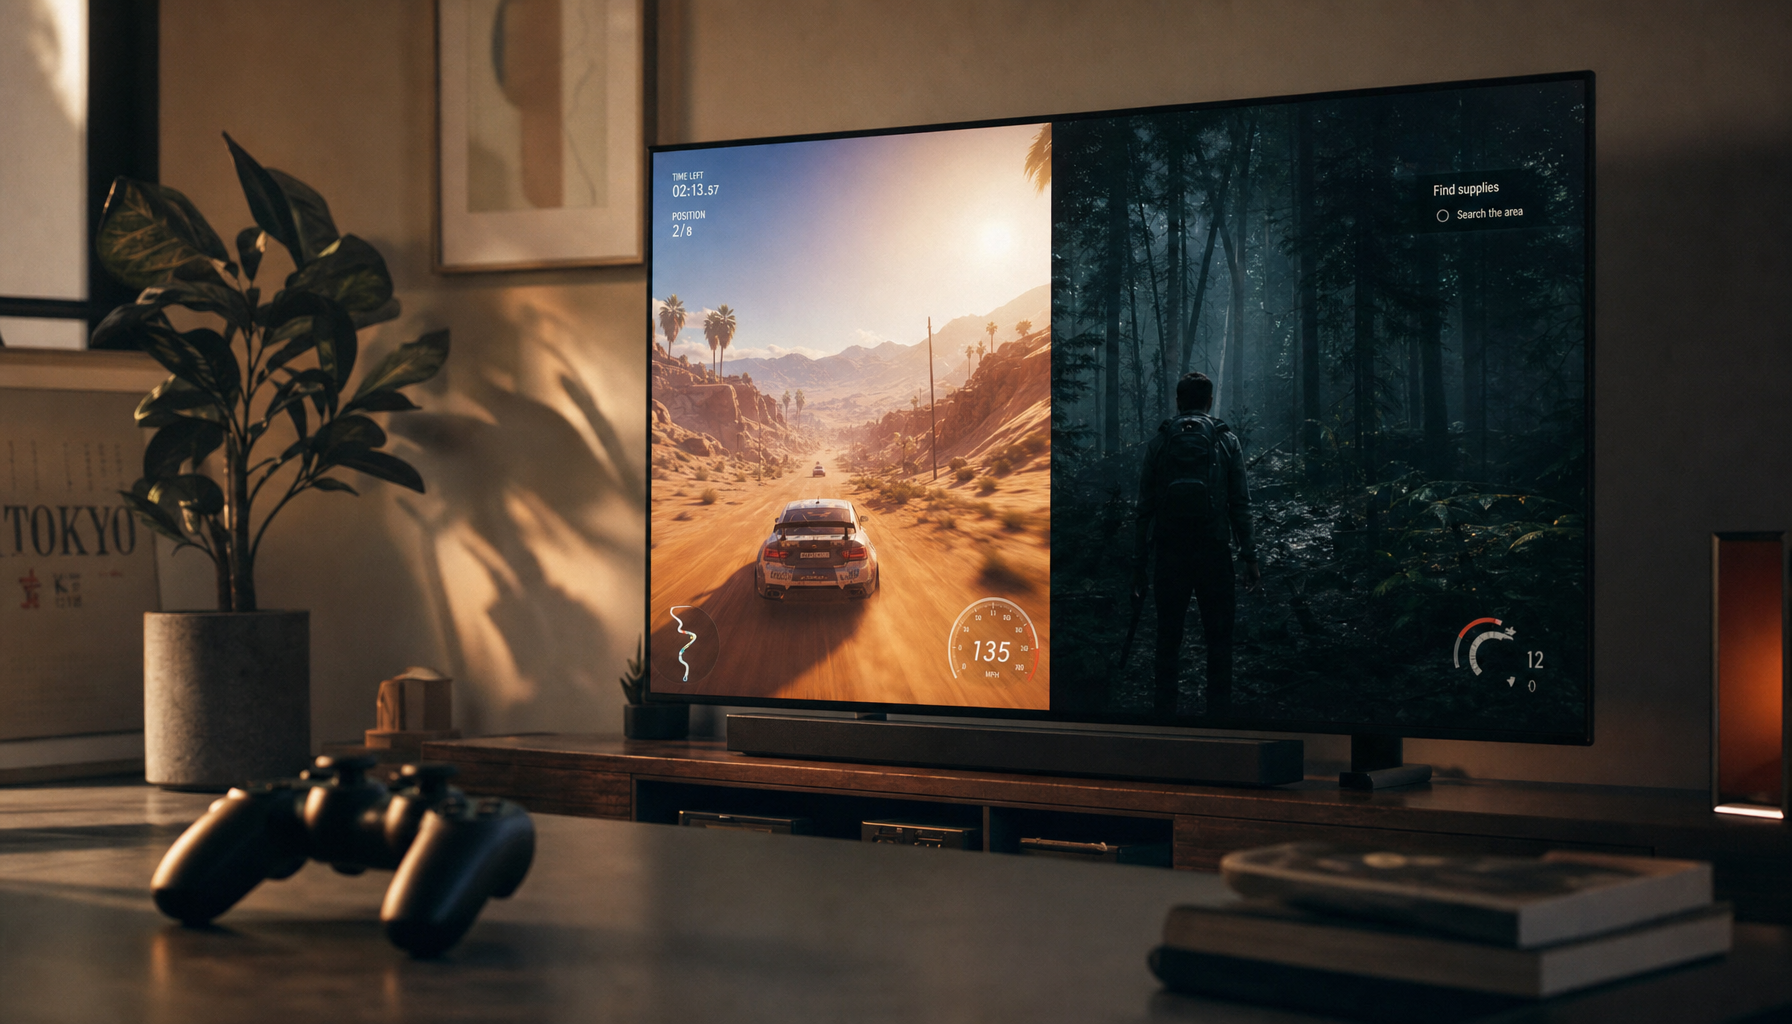
VRR, or Variable Refresh Rate, helps the display match changing console frame rates to reduce tearing and stutter. ALLM, or Auto Low Latency Mode, can trigger a display’s game mode automatically on compatible screens. These are not luxury acronyms when you play fast shooters, racing games, or action titles; they affect how responsive and stable the screen feels.

For console-first buying, do not overpay for features the console cannot use. Monitor testing guidance notes that console players should prioritize platform-matched specs rather than extreme refresh rates above 120Hz, because many console games will not use those higher ceilings. A 4K 120Hz smart display with strong HDR and low input lag is usually a better console match than a 300Hz esports monitor with weak HDMI support.
Do Not Ignore Audio
Many smart displays and gaming monitors have limited speakers, and some have no speakers worth using. If all consoles run through an HDMI switch, audio normally travels along the same HDMI signal into the display. That is convenient, but only if the display can output sound the way you want.
For headset play, the easiest path is often the controller headset jack or each console’s wireless headset system. For desktop speakers, check whether the display has a headphone jack or optical output. If it does not, an HDMI audio extractor can split sound from the HDMI chain and send it to speakers, though you need one that supports the same video format as the rest of the setup.
A practical example: if your HDMI switch supports 4K 120Hz but your cheap audio extractor only supports 4K 60Hz, the extractor becomes the bottleneck. The setup should be console to switch, switch to display, and audio out from the display whenever possible. Use extraction only when your display cannot feed speakers cleanly.
Set Up the Display for Each Console
After the cables are connected, go into each console’s video settings and match the display’s native resolution, refresh rate, HDR capability, and VRR support. A console may not automatically choose the best mode through a switch, especially if the switch handles EDID imperfectly.
EDID is the display information that tells the console what resolutions, refresh rates, audio formats, and HDR modes are supported. Some better HDMI switchers include EDID controls, often with auto or pass-through modes. Auto is usually fine, but if a console keeps misdetecting the display, pass-through or a fixed EDID mode can stabilize the handshake.
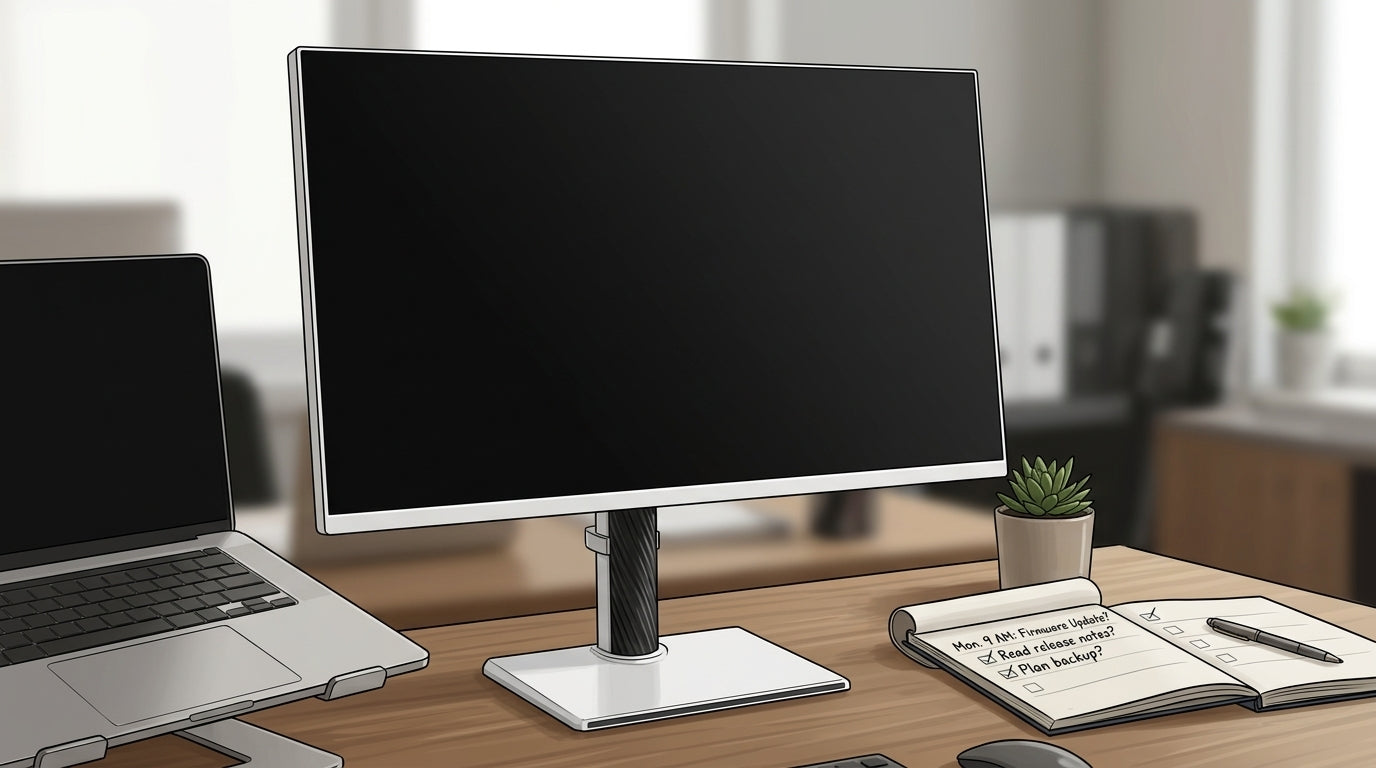
For image quality, monitor fundamentals still matter. Gaming monitor guidance puts common resolutions into clear context: 1080p fits smaller 25- to 27-inch displays, 1440p suits many 27- to 35-inch setups, and 4K is recommended for larger screens where sharpness is easier to see. If your smart display is 32 inches or larger, 4K makes menus, HUDs, and game worlds look cleaner from a normal desk distance.
Smart Display Buying Priorities for Multi-Console Setups
If you are choosing a new smart display for several consoles, count the inputs first. Multiple HDMI ports are helpful, but they do not eliminate the need for a switch if you own more devices than the display can handle. More important, confirm which ports support the best gaming features. Some displays have one high-bandwidth HDMI port and several lower-spec ports.
Panel choice also affects the experience. OLED delivers excellent contrast, deep blacks, and fast response, which makes cinematic games and dark-room play feel more immersive. Mini-LED and strong LCD options can be better for bright rooms, long productivity sessions, and static UI-heavy use because they can deliver high brightness without the same burn-in concerns. HDR labels can also be misleading unless the panel technology and brightness hardware can produce convincing highlights and black levels.

For mixed office and gaming use, ergonomics are not cosmetic. A height-adjustable stand, tilt, and VESA mount support make it easier to keep the screen comfortable for spreadsheets during the day and controller play at night. A monitor arm can also create space for the HDMI switch, console docks, and speaker routing without turning the desk into a cable shelf.
Troubleshooting Signal Drops and Black Screens
If the display says “no signal,” start with the basic checks because they solve most problems: confirm the console is powered on, reseat the HDMI cables, select the correct switch input, and select the correct display input. Then test the console directly into the display. If it works directly but not through the switch, the switch or one cable in the chain is the likely issue.
If the image appears but 120Hz, HDR, or VRR is missing, check the console’s video information screen. Then confirm every link in the chain supports the target format. One older HDMI cable, one low-bandwidth switch, or one underpowered audio extractor can force the whole setup down to a weaker mode.
If auto-switching behaves unpredictably, turn it off if your switch allows it. Some consoles keep partial power for updates, charging, or quick resume features, which can confuse auto-detection. In a multi-console desk setup, a remote or front-panel button is often more reliable than automatic switching.
FAQ
Can I connect three consoles to one smart display?
Yes. Use a 3x1 or 4x1 HDMI switch if the display has only one suitable HDMI input, or plug consoles directly into separate HDMI ports if the display has enough full-featured ports. For high-performance consoles, prioritize a switch that preserves 4K 120Hz, HDR, VRR, and ALLM when your display supports them.
Will an HDMI switch add input lag?
A good passive-style HDMI switch or quality powered switch should not add noticeable lag in normal console play. The bigger risk is buying a switch that limits resolution, refresh rate, VRR, or HDR, which can make games feel worse even if the added latency itself is minimal.
Is a KVM switch better than an HDMI switch for gaming consoles?
A KVM switch is better when the smart display is shared with a PC or laptop and you want USB peripherals to switch too. For consoles only, an HDMI switch is usually simpler and better value.
Do I need HDMI 2.1 for every console?
No. Portable console docks and older consoles do not need HDMI 2.1-level bandwidth. But if your setup includes a newer high-performance console connected to a 4K 120Hz display, HDMI 2.1 support matters for getting the full experience.
Build It Once, Play Faster
The best multi-console smart display setup is not complicated: use a full-spec HDMI switch for console-only rigs, a KVM for hybrid work-and-play desks, and direct display inputs only when your port count and menu controls are already convenient. Match every cable and box to your display’s real performance ceiling, then leave the swapping behind and let the screen do what it was built to do.


