


One good display can handle both web and print work if you treat it as two repeatable viewing setups, not one “perfect” mode.
Does your screen look great until a print comes back too dark, or until a web image looks oversaturated on another device? A practical one-monitor workflow fixes that by pairing the right panel and gamut with two distinct presets: one for sRGB web work and one for print-oriented soft proofing. You will leave with a buying framework, calibration targets, and a simple routine you can repeat.
What One Display Can and Cannot Do
One monitor can be accurate enough for both jobs
A color-accurate IPS monitor with wide-gamut support is the most realistic starting point for mixed web and print work. The core idea is simple: web output usually targets sRGB, while print prep benefits from a display that can show more of a wide-gamut RGB space or P3 and can be soft-proofed against a printer profile. That is why a single wide-gamut monitor with a trustworthy sRGB mode is usually more flexible than a basic office panel that only looks vivid in its default mode.
Calibration does not make every workflow identical. Print still depends on paper, printer ICC profiles, and viewing light, while web output depends on how browsers, apps, and other displays interpret tagged files. The goal is consistency, not perfection, which is exactly how print calibration guidance frames the problem: align the monitor to known targets, control brightness, and keep room lighting stable.
The biggest failure point is usually brightness, not color theory
A common print mismatch is a display that is simply too bright, which makes edits look fine on screen and come out dark on paper. In practice, that means a monitor that feels punchy for gaming, HDR demos, or retail-floor visuals can be a poor reference for print unless you lower luminance and use a controlled preset.

Wide-gamut displays add another trap: non-color-managed apps can look oversaturated because they assume sRGB. That behavior shows up clearly in real-world wide-gamut workflow problems, where the same image looks right in a color-managed app and too saturated elsewhere. For a one-display setup, that is why the monitor needs both accurate profiling and an easy way to switch into an sRGB-constrained mode.
Which Monitor Features Matter Most Before You Calibrate
Prioritize panel type, gamut, and resolution
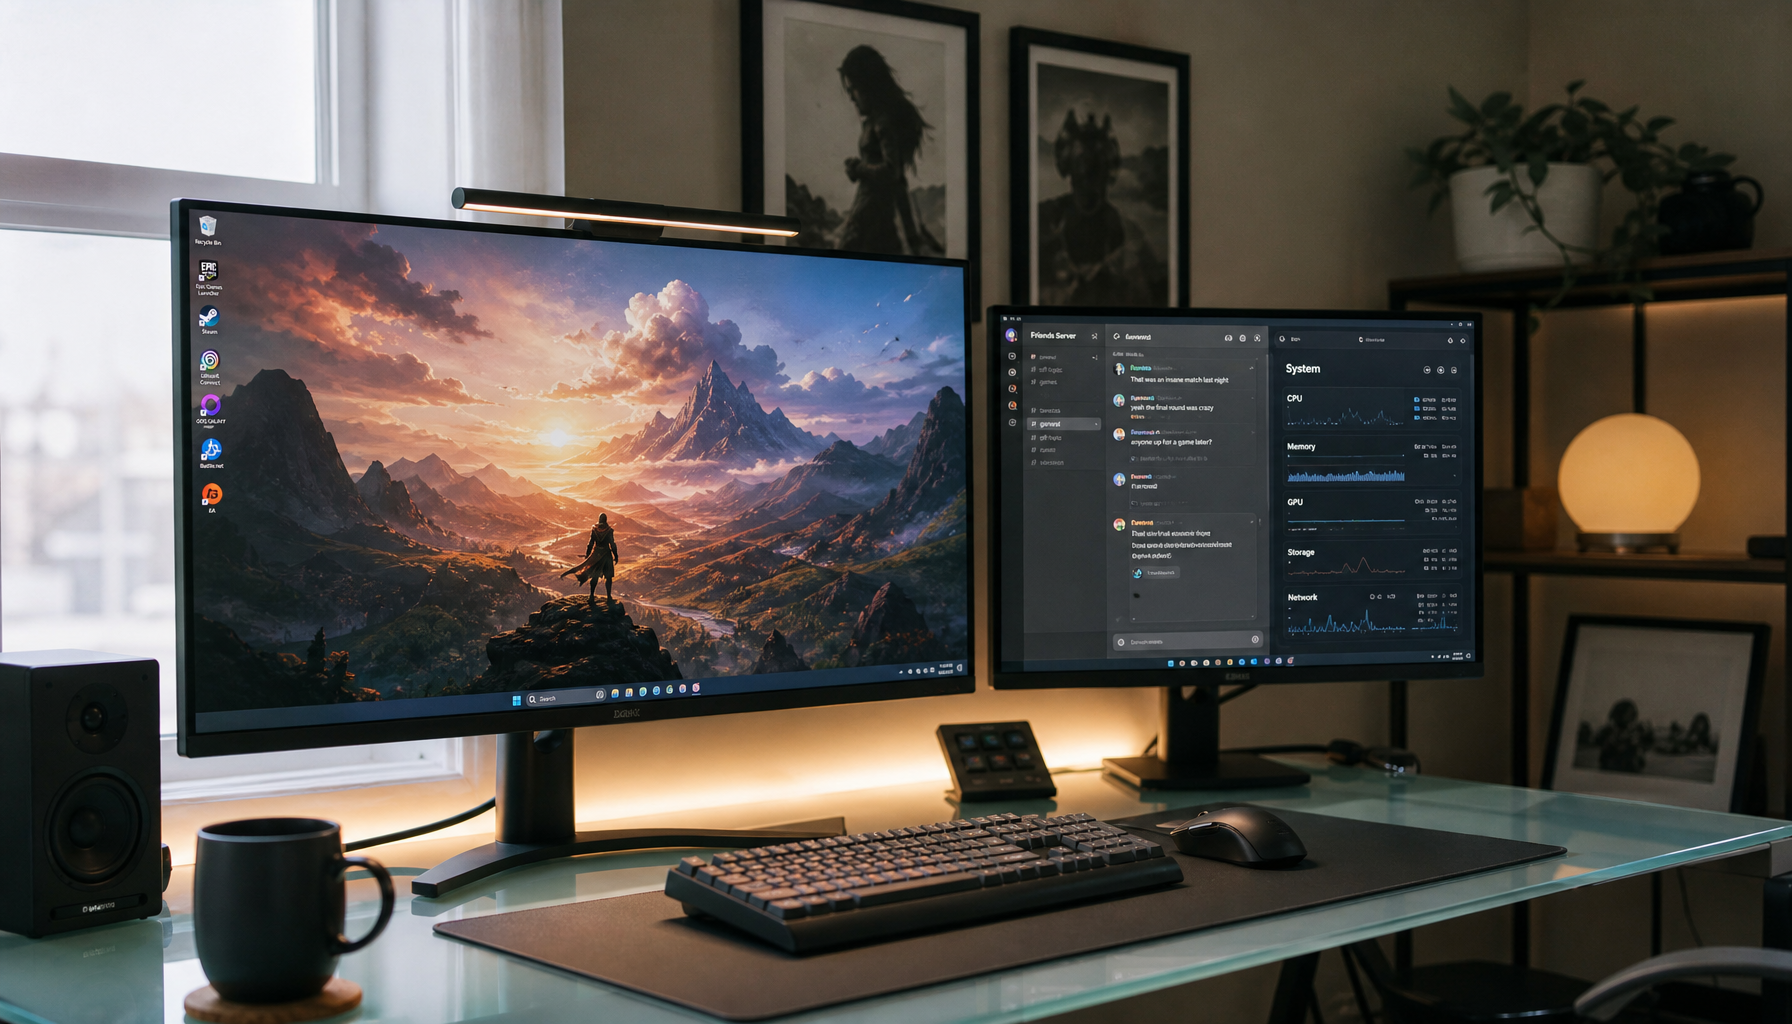
An IPS panel remains the safest choice for mixed creative work because it gives better color stability and viewing angles than cheaper panel types. For a one-monitor desk, 27 inches and 4K is the practical sweet spot: enough density for retouching and layout, enough space for palettes, and still manageable in a home office. If you edit timelines as well, a 21:9 ultrawide can reduce scrolling, but only if it still meets the same color standards.
A useful gamut target is near-full sRGB coverage for web work and more than 90% of a wider space such as a wide-gamut RGB space or DCI-P3 for print-aware creative work. A wide-gamut RGB space is typically the better fit when print is the priority, while P3 is often more useful for digital-first and video-heavy workflows. If your display only covers sRGB well, it can still do good web work, but its print preview headroom is more limited.
Look for mode switching and hardware-friendly controls
A wide-gamut display with correct profiling works well inside color-managed apps, but one-display convenience depends on how easily you can switch modes. Useful features include an sRGB preset, user-calibration slots, hardware calibration support, and quick access to brightness and white point controls. Factory calibration helps, but it is not a substitute for periodic recalibration.
If you also use the same monitor for gaming or motion-heavy preview, high refresh is fine, but it should not outrank color behavior. A 120 Hz or 144 Hz panel can make scrolling, animation review, and 3D work feel smoother, yet for mixed web and print use, accuracy, uniformity, and stable presets matter more than chasing 240 Hz. Portable monitors are the opposite case: they are convenient travel screens, but many lack the controls and consistency needed for reliable print matching.
Build Two Presets on the Same Monitor
Web preset: predictable sRGB output
A web-focused preset should center on Gamma 2.2 and D65, with the monitor in its native sRGB mode if that mode is accurate. Keep this preset for exporting site images, social graphics, storefront banners, and other content meant to survive normal laptop and cell phone viewing. If a gaming monitor has a wide native gamut, the sRGB clamp matters even more, because it prevents the “everything looks extra saturated” effect.
For a practical desk setup, use this web preset as the default mode during everyday editing, browsing, and review. On a 27-inch 4K IPS monitor, that usually means a slightly brighter screen than your print preset so the interface feels natural in normal office light. The exact brightness can vary by room, but the key is that web review should be comfortable without drifting into showroom brightness.
Print preset: lower luminance and controlled proofing
A print-oriented calibration target usually keeps Gamma 2.2 and D65, but drops luminance into roughly the 100 to 120 cd/m² range. Some print-focused workflows go even lower, closer to 80 to 100 cd/m², especially when room light is dim and the goal is a closer match to paper. This is the preset you switch to before judging shadow detail, skin tones, and paper white.

The second part of that preset is soft proofing. A soft-proof workflow simulates the printer and paper ICC profile on screen, with Black Point Compensation enabled and either Relative Colorimetric or Perceptual chosen based on the paper type. That matters because a monitor cannot become a printer; it can only preview what the printer is likely to clip, compress, or darken.
Calibration Routine That Works in Real Desks
Use a colorimeter and control the room first
A probe-based calibration workflow is still the reliable way to tune one monitor for both jobs. Warm the display for at least 30 minutes, disable any ambient-light auto adjustment, set the monitor to its target mode, and calibrate with a colorimeter. Save the resulting ICC profile, then repeat the process every 2 to 4 weeks so drift does not slowly undermine your edits.
Room light matters more than many buyers expect. A screen calibrated for print in a dim room can feel wrong in a bright office, and a panel set up next to a sunny window will tempt you to raise brightness too far. For print checks, consistent neutral lighting is part of the workflow, not an optional extra. That is also why glossy panels, while vivid, are harder to trust when reflections change throughout the day.

Check the apps, not just the monitor
A color-managed app workflow should honor the display profile and tagged documents correctly, but not every app does. That is why a file can look correct in one program and too saturated in another on the same wide-gamut monitor. If you review web graphics in non-color-managed tools, the safest workaround is to switch the monitor into its sRGB preset before making judgment calls.
This is also where creators using video tools or mixed media apps need to be careful. In some pipelines, viewer color handling can differ from the main timeline, so what looks matched in one page or preview window may not be matched in another. On a single display, preset discipline matters: use the right monitor mode, then verify the app is showing the right transform.
Recommended One-Monitor Targets
Workflow |
Color mode |
White point |
Gamma |
Luminance |
Best use |
Web default |
sRGB |
D65 |
2.2 |
Room-dependent, moderately bright |
Websites, ecommerce images, general SDR content |
Print preview |
Wide gamut + soft proof |
D65 |
2.2 |
100-120 cd/m² |
Paper matching, tonal checks, proof review |
Prepress-leaning print |
Wide gamut + soft proof |
D50 or D65 by workflow |
2.2 |
80-100 cd/m² |
Tighter print matching in controlled light |
Digital video crossover |
P3-capable preset |
D65 |
2.2 |
Moderate to bright |
Motion graphics, video thumbnails, digital campaigns |
What to Buy If You Want One Display to Do Both
The safest spec stack for mixed creative work
A monitor buying checklist for this use case starts with 27 inches, 4K resolution, IPS, near-full sRGB, and strong coverage of a wide-gamut RGB space or P3. Add low Delta E, good panel uniformity, and USB-C or another video connection if the display will anchor a laptop-based desk. Those basics matter more than marketing terms like “creator” or “pro.”
For buyers trying to merge creative work with gaming or entertainment, the compromise is straightforward: choose the most color-stable panel you can afford, then treat refresh rate as a secondary bonus. High-refresh displays can absolutely be part of a mixed setup, but if the panel has a weak sRGB mode, uneven corners, or brightness that jumps around with local dimming, it will be harder to trust for print prep.
When one monitor is not enough
A wide-gamut workflow becomes harder when you regularly need to judge out-of-gamut colors for both print and standard web output in non-color-managed software. If your daily work includes browser QA, ad creative review, and printer-proof approval, a second sRGB-only reference screen can still be useful.
The same warning applies to budget and portable displays. If the panel lacks usable RGB controls, stable brightness, or calibration support, no software trick will turn it into a dependable print screen. In that case, buying a better main monitor is usually more effective than spending time trying to rescue a limited panel.
Practical Next Steps
Action checklist
- Choose a 27-inch or larger IPS display with 4K resolution if desk space and budget allow.
- Confirm the monitor has an accurate sRGB mode plus wide-gamut coverage for a wide-gamut RGB space or P3.
- Calibrate with a colorimeter after a 30-minute warm-up and save separate web and print presets.
- Use Gamma 2.2 and D65 for both presets, then lower print luminance to about 100-120 cd/m².
- Soft-proof print jobs with the correct paper/printer ICC profile before export.
- Recalibrate every 2 to 4 weeks and keep room lighting consistent.
- Review non-color-managed apps in sRGB mode to avoid false saturation.
A one-display workflow succeeds when the monitor is good enough to switch roles cleanly. The display does not need to be perfect at everything, but it does need accurate sRGB behavior, useful wide-gamut coverage, and controls that let you move between web review and print proofing without guessing.
FAQ
Q: Can a gaming monitor work for both web and print design?
A: Yes, if it has an accurate sRGB mode, stable brightness control, and strong calibration results. High refresh alone does not help print matching, so color behavior matters more than raw speed.
Q: Should I calibrate to a wide-gamut RGB space for print and sRGB for web?
A: Usually, you should keep the monitor properly profiled and use separate presets or modes rather than thinking of calibration as “becoming” a color space. Web review is best judged in sRGB mode, while print work is better handled with a wide-gamut preset plus soft proofing.
Q: Why do my prints still look darker after calibration?
A: The most common reason is still too much screen brightness or inconsistent viewing light. Lower the print preset luminance, check the paper/printer ICC profile, and compare prints under controlled light rather than under mixed room lighting.


